Clay bead bracelets are beautiful, customizable, and fun to make. Whether you are a beginner or an experienced crafter, creating these bracelets can be a rewarding and enjoyable experience. This comprehensive guide will walk you through the necessary steps, materials, and tips to make your own clay bead bracelets. We’ll cover everything from choosing the right clay to baking, assembling, and customizing your pieces. Let’s get started!
 Materials You Will Need
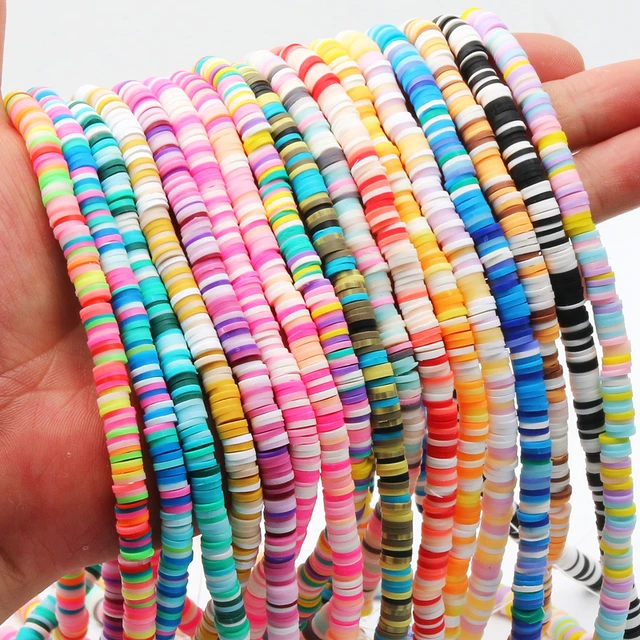
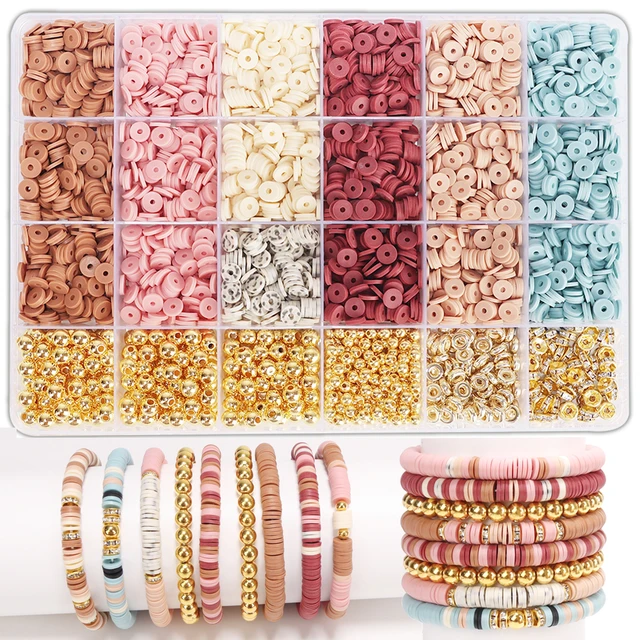
Clay
Polymer Clay: The most popular and recommended type of clay for making beads is polymer clay. It’s flexible, easy to mold, and comes in a variety of colors.
Air-Dry Clay: This type of clay is also an option, especially if you do not have access to an oven. However, it might not be as durable as polymer clay.
Tools
Clay Roller or Acrylic Rod: To flatten the clay evenly.
Clay Cutter or Knife: For cutting the clay into pieces.
Needle or Skewer: To make holes in the beads.
Baking Sheet: If you’re using polymer clay and need to bake it.
Oven: Required for baking polymer clay.
Elastic String or Stretch Cord: To string the beads and make the bracelet.
Bead Reamer or Sandpaper: For smoothing the edges of the beads.
Pliers and Bead Stoppers: Optional tools for assembling the bracelet.
Optional Decorations
Glitter, Mica Powder, or Paint: For adding extra shine or color to the beads.
Charms or Pendants: For additional decoration.
Jewelry Findings: Clasps, jump rings, and other findings for finishing the bracelet.
 Step-by-Step Guide to Making Clay Bead Bracelets
Step 1: Preparing Your Workspace
Clean Surface: Ensure you have a clean, flat surface to work on. Lay down some parchment paper or a silicone mat to keep your clay clean.
Gather Tools: Collect all the necessary tools and materials. Having everything within reach will make the process smoother.
Step 2: Condition the Clay
Knead the Clay: Start by conditioning the polymer clay to make it soft and pliable. Knead the clay in your hands until it becomes smooth and easy to work with.
Flatten the Clay: Use a clay roller or an acrylic rod to flatten the clay to your desired thickness. Typically, a thickness of about 1/4 inch works well for beads.
Step 3: Cutting and Shaping the Beads
Cutting Shapes: Using a clay cutter or knife, cut the clay into small pieces. You can cut shapes such as circles, squares, or any other design you prefer.
Shaping the Beads
Roll into Balls: Take each piece of clay and roll it between your palms to form a smooth ball. Ensure all the beads are roughly the same size.
Create Unique Shapes: If you want unique shapes, use molds or shape the clay by hand into different designs like oval, teardrop, or cylinder.
Step 4: Adding Holes to the Beads
Insert a Needle: Carefully insert a needle or skewer through the center of each bead to create a hole for stringing. Ensure the hole is large enough for your string or cord.
Clean the Holes: Make sure the holes are free of excess clay so they don’t close up during baking.
Step 5: Baking the Clay Beads (For Polymer Clay)
Preheat the Oven: Preheat your oven according to the polymer clay manufacturer’s instructions. This is usually around 275°F (135°C).
Arrange on Baking Sheet: Place the beads on a baking sheet lined with parchment paper or a silicone mat.
Bake: Bake the beads for the recommended time, usually around 15-30 minutes depending on the size and thickness of your beads. Follow the instructions on the clay package carefully.
Step 6: Cooling and Smoothing
Cool Completely: Allow the beads to cool completely after baking. They will harden as they cool.
Smooth Edges: If there are any rough edges or imperfections, use a bead reamer or fine sandpaper to smooth them out.
Step 7: Decorating and Adding Details (Optional)
Painting: If you want to add additional colors or details, you can paint the beads with acrylic paint once they are completely cool.
Glitter or Mica Powder: You can add sparkle by applying glitter or mica powder to the beads before baking, or add it with a sealant after baking.
Sealing: For added durability, seal the beads with a clear varnish or polymer clay glaze.
Step 8: Stringing the Beads
Choose a String: Cut a piece of elastic string or stretch cord to the desired length of your bracelet, plus a little extra for tying knots.
String the Beads: Slide the beads onto the string in your desired order. You can mix clay beads with charms, pendants, or other types of beads for a unique design.
Test the Fit: Wrap the bracelet around your wrist to check the fit. Make adjustments as necessary.
Step 9: Finishing the Bracelet
Tie Knots: Once you’re satisfied with the arrangement and fit, tie a secure knot in the string. Make sure the knot is tight and won’t come undone.
Optional: Use Bead Stoppers: To reinforce the knot, you can add a dab of jewelry glue or use bead stoppers.
Trim Excess: Cut off any excess string with scissors.
Step 10: Wearing and Caring for Your Bracelet
Wear with Pride: Enjoy your custom-made clay bead bracelet! Wear it with pride or give it as a hand-made gift to friends and family.
Proper Storage: Store your bracelet in a jewelry box or a cloth bag to protect it from dust and damage.
Handling Care: Handle with care to avoid over-stretching the elastic cord, which can weaken over time.
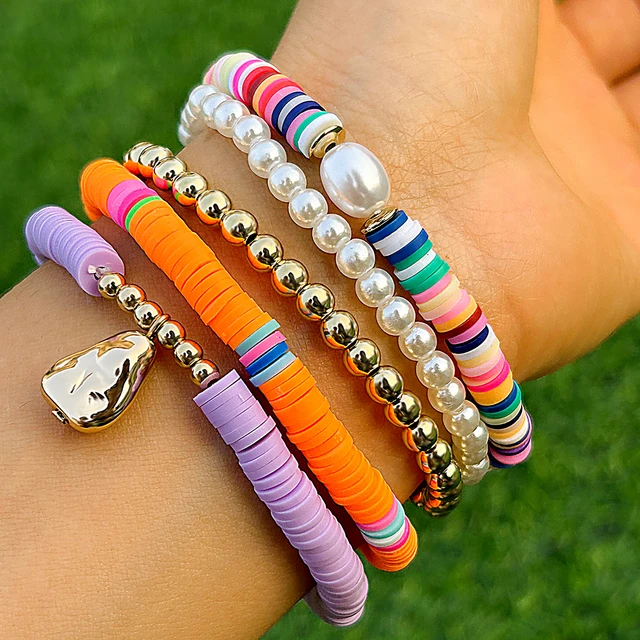
 Creative Ideas and Tips for Clay Bead Bracelets
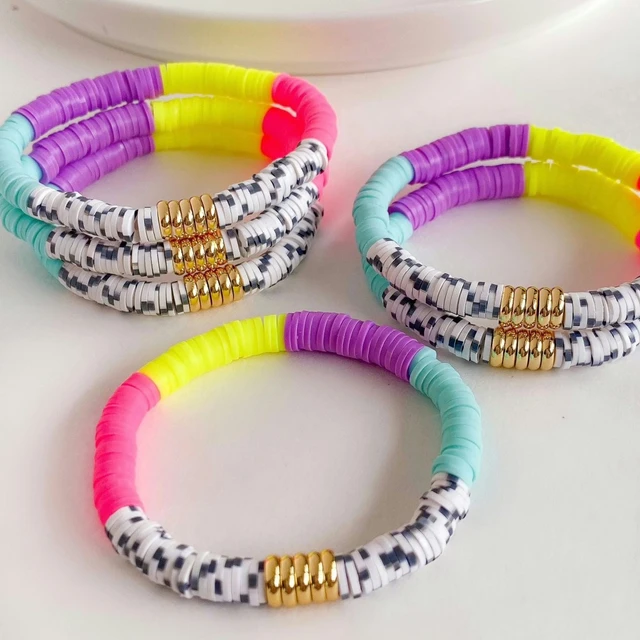
Color Combinations
Monochromatic: Use different shades of the same color for a subtle, elegant look.
Complementary Colors: Combine colors that complement each other, such as blue and orange or red and green.
Rainbow: Create a vibrant, multi-colored bracelet that includes all the colors of the rainbow.
Textures and Patterns
Marbled Effect: Combine different colors of clay and twist them together to create a marbled effect.
Stamps and Imprints: Use small stamps or textured objects to imprint designs onto the clay beads before baking.
Layering: Layer different colors of clay and shape them into beads for a unique, multi-dimensional look.
Adding Accents
Charms and Pendants: Add metal or acrylic charms and pendants to your bracelet for extra flair.
Letter Beads: Personalize your bracelet with letter beads to spell out names, initials, or meaningful words.
Natural Elements: Incorporate natural elements such as wooden beads, semi-precious stones, or shells.
Troubleshooting Common Issues
Cracking in Beads
Insufficient Conditioning: Make sure to thoroughly knead and condition the clay before shaping it.
Baking Issues: Ensure the oven is preheated and maintain the correct temperature throughout the baking process.
Sticky Clay
Use Cornstarch: If the clay becomes too sticky, dust your hands and tools with a little cornstarch to prevent it from sticking.
Broken Bracelets
Strong Knots: Ensure that the knots are tight and secure. Double knot if necessary.
Quality Cord: Use high-quality elastic string that is designed for jewelry-making to reduce the risk of breakage.
 Conclusion
Making clay bead bracelets is a creative and fulfilling activity that allows you to express your personal style and create unique jewelry pieces. By following this comprehensive guide, you will be able to craft beautiful bracelets that are both durable and stylish. With endless possibilities for customization, from color combinations to textures and accents, the only limit is your imagination. So gather your materials, let your creativity flow, and start making your own stunning clay bead bracelets today!