Beaded bracelets are a popular accessory that adds a personal touch to any outfit. Making your own beaded bracelets allows for endless creativity and customization. Whether you are a complete beginner or looking to refine your skills, this comprehensive guide will take you through the steps of making beautiful beaded bracelets. From selecting materials to finishing techniques, you’ll find all you need to know right here.
 Materials and Tools Needed
Essential Materials
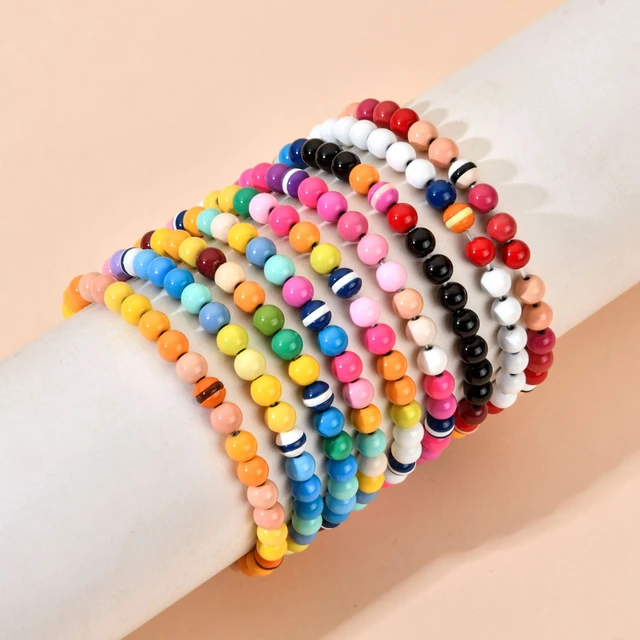
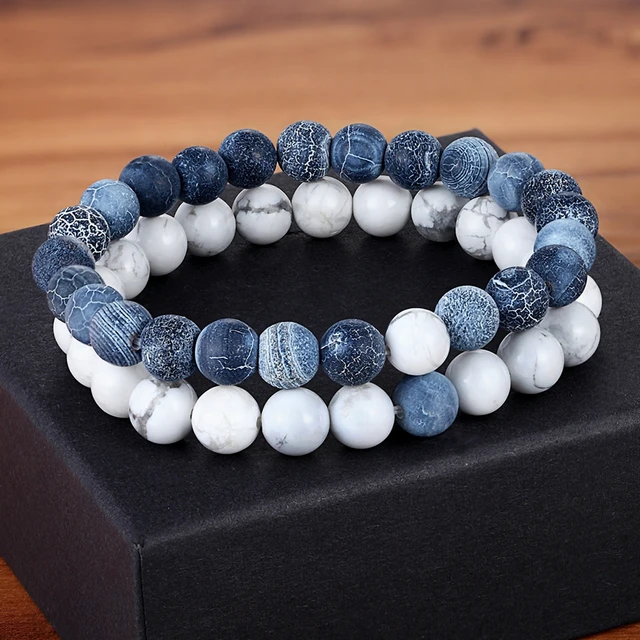
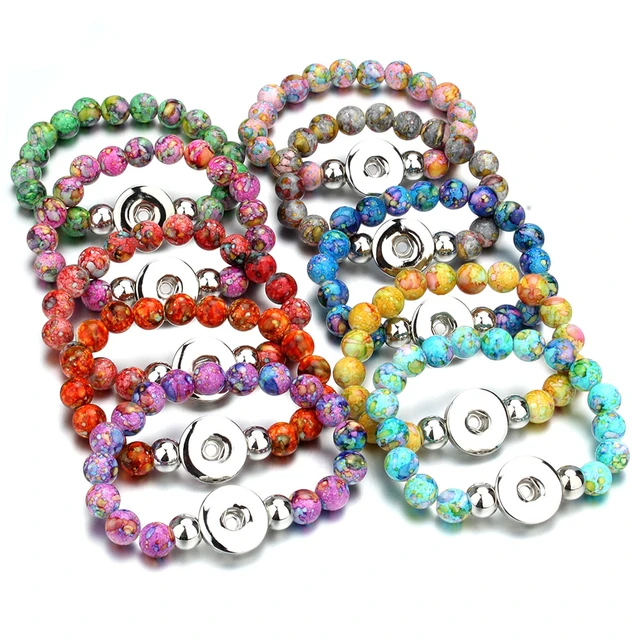
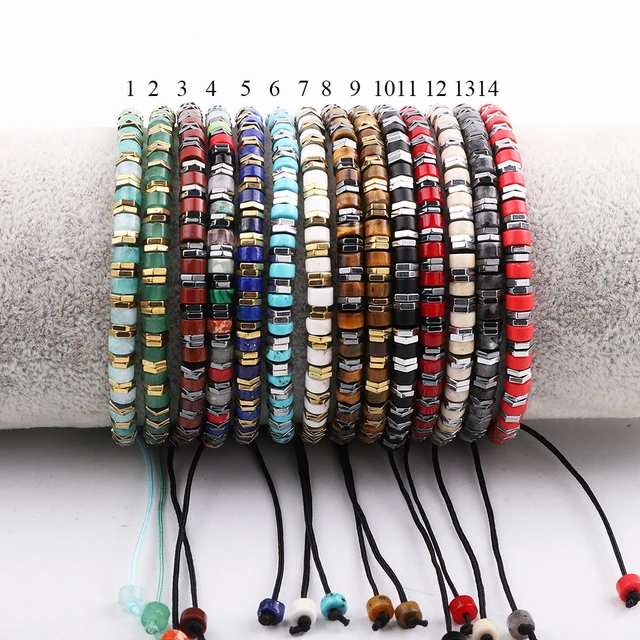
Beads: The options are endless. You can choose from glass beads, seed beads, gemstone beads, wooden beads, and more. The type of beads you select will set the tone for your bracelet.
Stringing Material: Common options include elastic cord, beading wire, nylon thread, and leather cord. The choice of stringing material depends on the type of beads and the bracelet’s design.
Clasp: A clasp is essential for bracelets that don’t stretch. Options include lobster clasps, toggle clasps, magnetic clasps, and more.
Crimp Beads: These are small metal beads used to secure the ends of your beading wire.
Jump Rings: Small metal rings used to attach the clasp to the bracelet.
Essential Tools
Bead Mat: This prevents your beads from rolling away while you work.
Bead Board: A bead board helps you plan and design your bracelet, allowing you to lay out the beads before stringing them.
Beading Needles: These needles are specifically designed to fit through small bead holes.
Crimping Pliers: These are used to secure crimp beads in place.
Scissors or Wire Cutters: Scissors are used for cutting threads, while wire cutters are necessary for cutting beading wire or other metal components.
Flat-Nose Pliers: These are used for opening and closing jump rings.
Choosing Your Design
Selecting Beads
Color and Size: Choose beads that complement each other in color and size. Consider the overall look you want to achieve—whether it’s simple and elegant or bold and colorful.
Materials: Think about the material of the beads. Glass and gemstone beads offer a polished look, while wooden beads provide a natural, rustic feel.
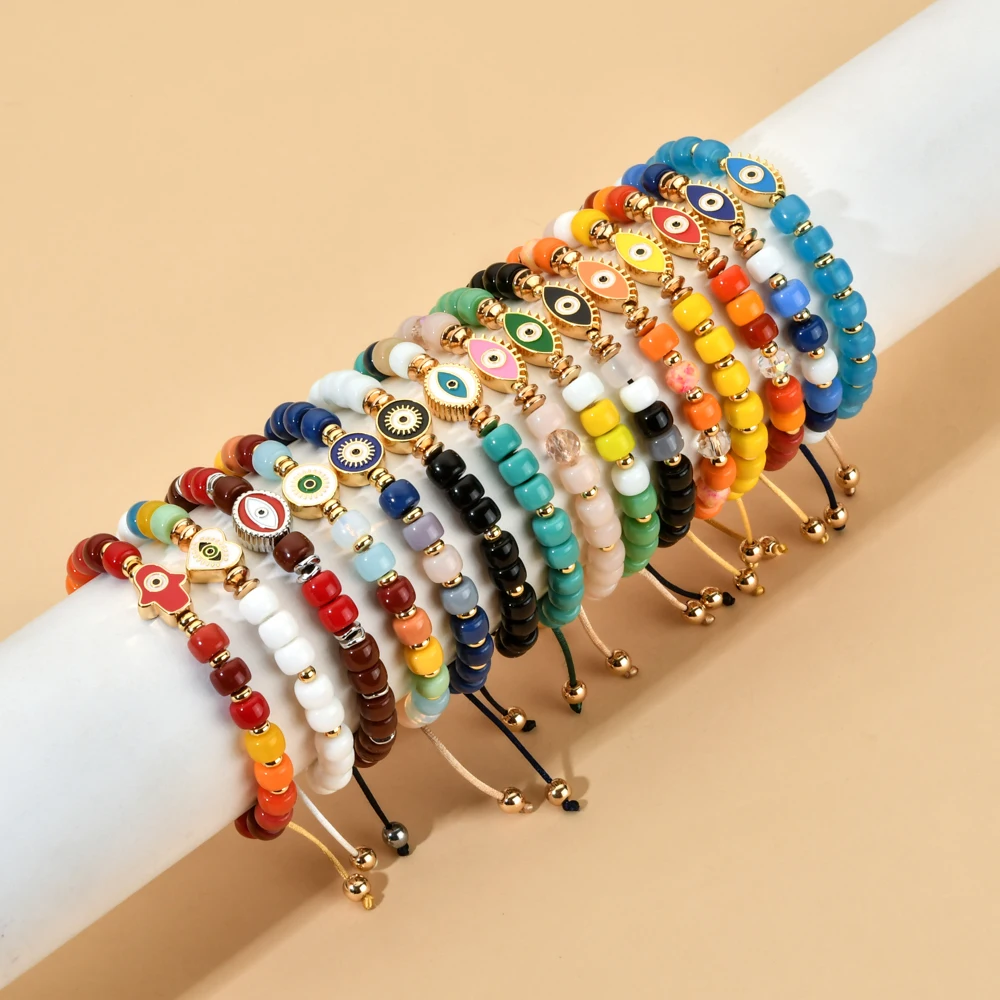
Special Beads: Incorporate special accent beads like charms, spacers, or alphabet beads for a personalized touch.
Sketching Your Design
Plan Layout: Before you start stringing, sketch a layout of your design. This helps to visualize the finished product and ensures you have a balanced design.
Pattern Ideas: Consider different patterns such as alternating colors, gradient effects, or random assortments.
 Step-by-Step Guide to Making a Beaded Bracelet
Step 1: Measure and Cut the Stringing Material
Wrist Measurement: Measure your wrist using a tape measure or a piece of string. Add 1-2 inches to this measurement for comfort and to account for the knot or clasp.
Cut the Material: Cut a length of your chosen stringing material based on your measurement. If you’re using beading wire, cut a bit extra to make room for crimps and the clasp.
Step 2: Plan and Layout the Design
Use a Bead Board: Place the beads on a bead board to arrange them in the desired pattern. This allows you to see the bracelet’s design before stringing the beads.
Check Symmetry: Ensure the design is symmetrical if that’s part of your plan. Adjust the beads as necessary to achieve the desired look.
Step 3: Stringing the Beads
Stringing Process: Start threading the beads onto the stringing material. Use beading needles if the bead holes are small.
Recheck Pattern: Frequently check the pattern to ensure consistency and make adjustments if needed.
Step 4: Securing the Ends
Add Clasp: For bracelets with a clasp, slide a crimp bead onto one end of the wire, then slide on one part of the clasp. Loop the wire back through the crimp bead and use crimping pliers to secure it.
Trim Excess: Trim any excess wire or thread with scissors or wire cutters.
Elastic Bracelets: For elastic cord, tie a secure knot to close the bracelet. Apply a dab of glue to the knot for extra security.
Step 5: Finishing Touches
Secure Connections: Ensure all connections are tight and secure. Use flat-nose pliers to open and close jump rings as needed.
Polish and Inspect: Polish the bracelet with a soft cloth. Inspect for any loose beads or weak points and make adjustments if necessary.
Step 6: Customization and Personalization
Add Charms: Attach charms using jump rings to add a personalized touch to your bracelet.
Engraved Beads: Consider using engraved or alphabet beads to spell out initials, names, or meaningful words.
Color Combinations: Experiment with different color combinations to create unique and eye-catching designs.
 Advanced Techniques and Tips
Multiple Strands
Create Layers: Use multiple strands to create a layered bracelet. This can be achieved by using a multi-strand clasp or by tying several strands together.
Mixed Materials: Combine different materials like leather and beads on separate strands to add variety and texture.
Braided and Woven Designs
Braiding: Braid multiple cords together and string beads onto the individual strands before braiding them.
Weaving: Use a bead loom or weaving technique to create intricate patterns and designs.
Knotting Techniques
Knotting Between Beads: This technique involves tying a knot between each bead. It adds an interesting design element and keeps beads from sliding around.
Macramé: Use macramé techniques to create intricate designs with knots and beads.
Maintenance and Care
Storing Bracelets
Avoid Tangling: Store your bracelets in a jewelry box or a drawer with separators to avoid tangling.
Use Soft Pouches: Place delicate bracelets in soft pouches to protect them from scratches and damage.
Cleaning
Regular Cleaning: Clean your bracelets with a soft cloth to remove dirt and oils. Avoid using harsh chemicals.
Material-Specific Care: Be aware of the specific care instructions for different types of beads. For example, gemstone beads may require different cleaning methods compared to glass or wooden beads.
Troubleshooting Common Issues
Beads Not Fitting
Check Holes: Ensure bead holes are large enough for your stringing material. If necessary, use a bead reamer to enlarge the holes slightly.
Needle Assistance: Use a beading needle to help thread the beads more easily.
Weak or Loose Connections
Reinforce Crimps: Make sure crimp beads are secured tightly using crimping pliers.
Double String: Consider double-stringing your bracelet for added strength, especially for heavier beads.
Stretching and Breaking
Use Quality Elastic: Ensure you are using high-quality elastic cord for stretchy bracelets to prevent breaking.
Avoid Overstretching: Do not overstretch the bracelet when putting it on or taking it off.
 Safety and Precautions
Working Area
Well-Lit Space: Ensure your workspace is well-lit to prevent eye strain and to see small beads more clearly.
Organized Space: Keep your tools and materials organized to avoid losing small items.
Handling Tools
Proper Tool Use: Use tools as intended and handle them carefully to prevent accidents.
Protective Measures: Consider wearing protective eyewear when cutting wire or using sharp tools.
Child Safety
Supervision: If children are involved in making beaded bracelets, always supervise them closely.
Age-Appropriate Tasks: Assign age-appropriate tasks to ensure their safety, avoiding small beads that could pose a choking hazard.
 Conclusion
Making beaded bracelets is a fulfilling and enjoyable craft that allows for endless creativity and personalization. By following this comprehensive guide, you’ll have the skills to create beautiful and unique bracelets that can be worn, gifted, or even sold. From selecting the perfect beads to mastering different techniques, you’re now equipped with the knowledge to make stunning beaded bracelets. Remember to check your work for secure connections, experiment with different designs, and most importantly, have fun with your jewelry-making journey. Happy crafting!