Creating your own stud earrings is a fun and rewarding craft. Not only will you have unique pieces of jewelry, but you will also save money compared to buying expensive earrings in stores. This guide will walk you through the entire process, from gathering materials to finishing touches. By the end, you’ll be able to create beautiful stud earrings that you can wear yourself or gift to friends and family.
 Stud earrings:
Stud earrings come in various types and designs, including:
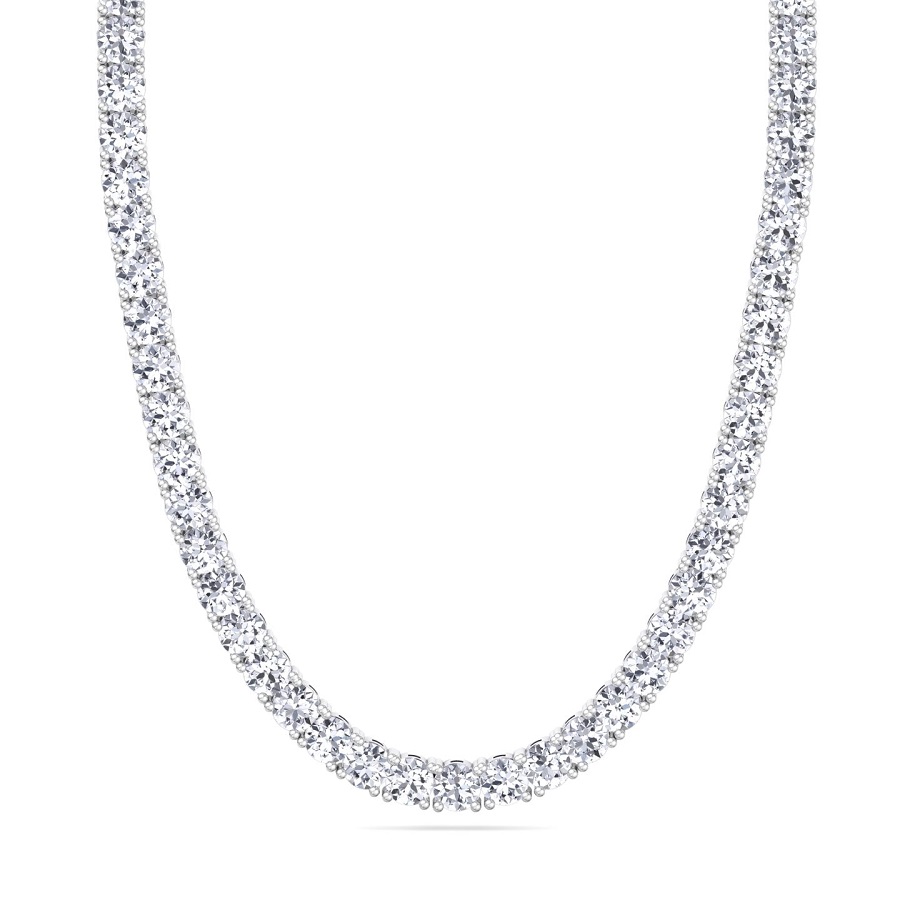
Classic Diamond Studs: Simple and elegant, featuring a single diamond or other precious stone set in a metal base.
Gemstone Studs: These feature various colored gemstones like sapphires, emeralds, or rubies.
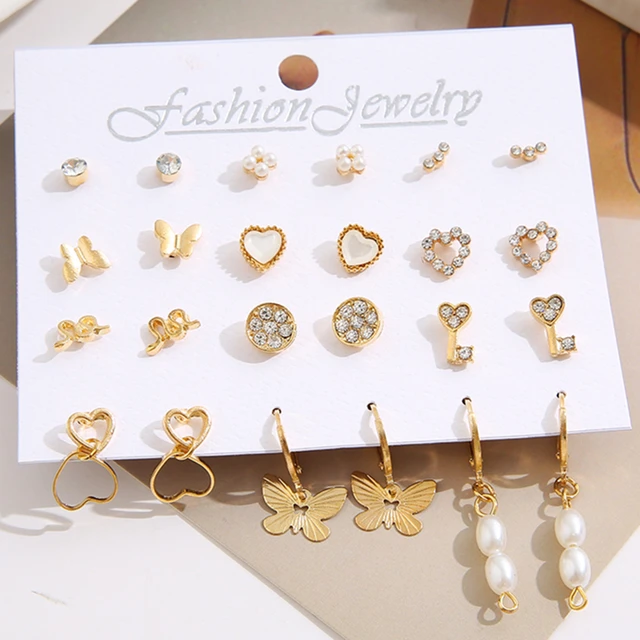
Pearl Studs: Typically consist of one or two pearls set in a metal backing, offering a classic look.
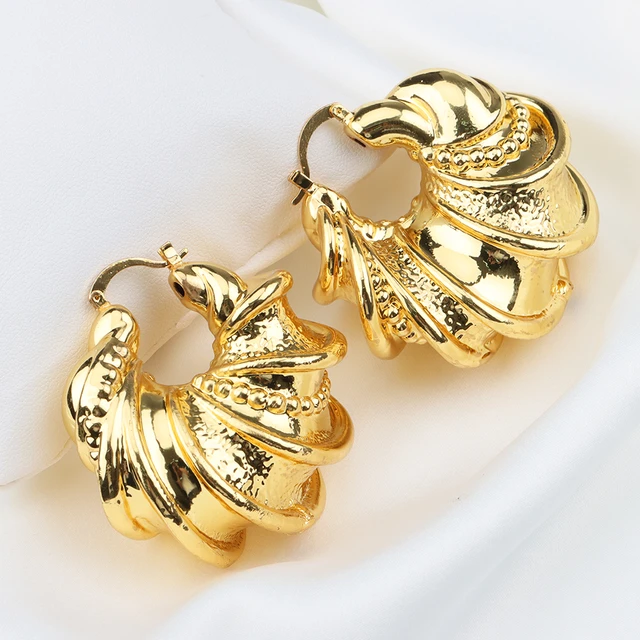
Hoop Studs: Blend the design of studs and hoops, typically featuring a small circular design that hugs the earlobe.
Floral/Butterfly Studs: These are shaped like flowers or butterflies, adding a playful touch.
Geometric Studs: Feature various geometric shapes and patterns, appealing to modern styles.
Heart-Shaped Studs: Perfect for romantic occasions, shaped like hearts often adorned with stones.
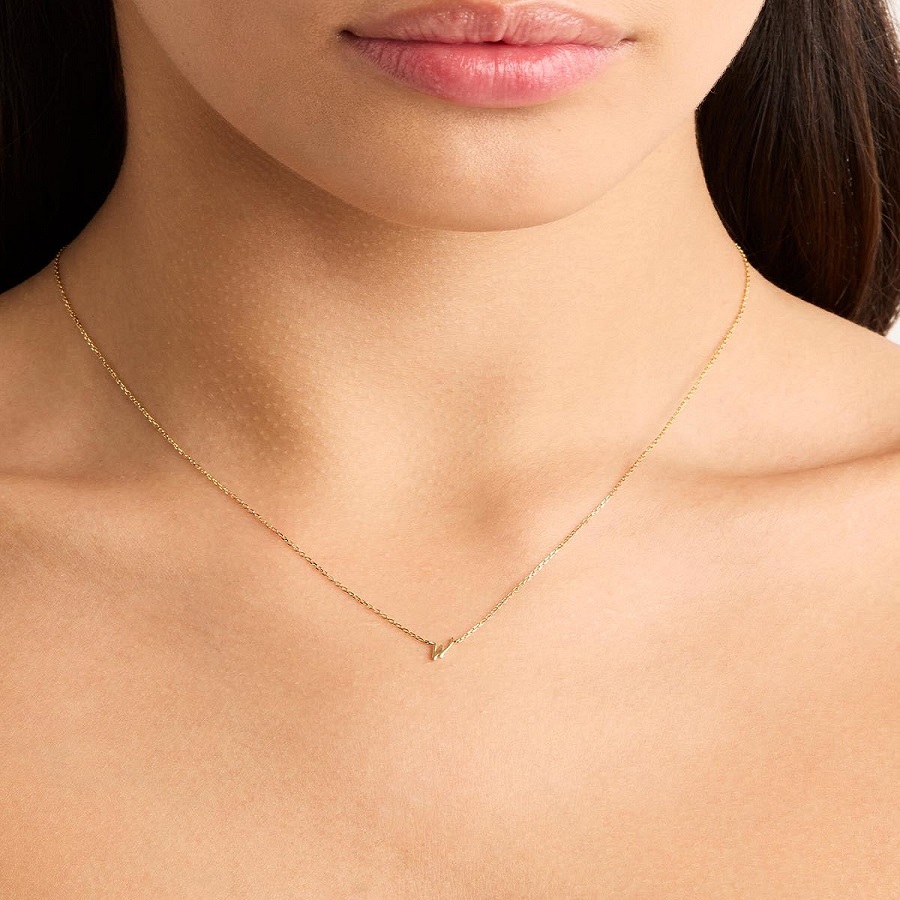
Minimalist Studs: Simple, understated designs that focus on basic shapes or small bars.
Vintage/Antique Style Studs: Feature intricate designs and may include filigree work or intricate settings.
Customized/Personalized Studs: Can be monogrammed or feature personal symbols or initials.
Each type caters to different tastes and occasions, making stud earrings a versatile accessory.
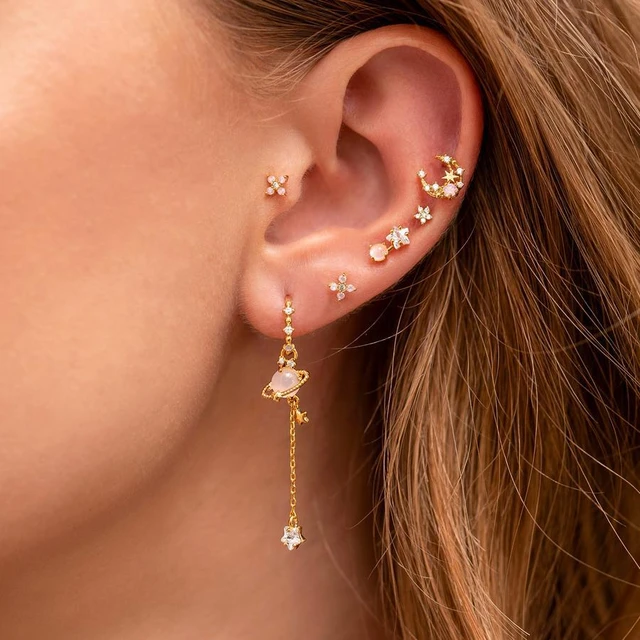 Table of Contents
- Materials You Will Need
- 1.1 Basic Tools
- 1.2 Choosing Your Stones and Findings
- Step-by-Step Instructions
- 2.1 Preparing Your Workspace
- 2.2 Creating the Earring Base
- 2.3 Attaching the Stud Back
- Design Ideas for Your Stud Earrings
- 3.1 Using Beads and Stones
- 3.2 Incorporating Wire Wraps
- Caring for Your Handmade Earrings
- Conclusion
1. Materials You Will Need
The first step in making stud earrings is to gather all necessary materials and tools. Let’s break it down into basic tools and items you can use for your stones and findings.
1.1 Basic Tools
- Earring Posts: These are the metal pieces that go through your earlobe.
- Earring Backs: These secure the earrings in place.
- Glue: A strong adhesive like E6000 is ideal for attaching stones to the posts.
- Pliers: Round-nose pliers are useful for bending wire if you decide to incorporate wire wraps.
- Wire Cutters: For trimming any extra wire.
- Tweezers: Handy for placing small stones precisely.
1.2 Choosing Your Stones and Findings
You can use various materials for your earring designs. Here are some options:
- Gemstones: Natural stones give your earrings a unique look.
- Beads: Glass, wooden, or plastic beads can create fun designs.
- Resin: You can make colorful, lightweight studs with resin molds.
- Metal Shapes: Small metal shapes can also be glued onto the posts for a minimalist look.
When selecting materials, consider your personal style and the occasion for which you are making the earrings.
 2. Step-by-Step Instructions
Now that we have all the materials, let’s move on to the actual process of making stud earrings. Follow these steps closely for the best results.
2.1 Preparing Your Workspace
Before you start crafting, ensure that your workspace is clean and organized. Here’s how to prepare:
- Find a Flat Surface: A sturdy table works best.
- Lay Out Your Materials: Arrange all tools and materials within easy reach.
- Protect Your Workspace: Use a mat or newspaper to catch any glue spills.
2.2 Creating the Earring Base
- Select Your Earring Post: Choose a post based on the size of your stones.
- Prepare the Stones: If you’re using natural stones or beads, make sure they are clean and dry.
- Apply Glue: Put a small amount of glue on the flat top of the post.
- Press the Stone: Carefully place your stone on the glued area. Hold it in place for a few seconds to ensure a good bond.
- Let it Dry: Follow the glue manufacturer’s drying time instructions. Typically, it takes at least 24 hours to cure.
2.3 Attaching the Stud Back
- Select the Earring Back: Choose a back that fits securely on your posts.
- Test the Fit: Place the earring back on the post to make sure it fits snugly.
- Final Check: Ensure that the glue has dried completely before wearing your earrings.
 3. Design Ideas for Your Stud Earrings
Once you get the hang of the basics, you can experiment with different designs for your stud earrings. Here are some creative ideas to inspire you.
3.1 Using Beads and Stones
Try mixing and matching different colored beads to create a fun look. You can also layer small stones on larger ones for added texture.
3.2 Incorporating Wire Wraps
Using artistic wire, you can create unique shapes to top your earring posts. Simply bend the wire into a design that complements your stones, and then attach it to the post before gluing on your stone.
4. Caring for Your Handmade Earrings
Once your earrings are complete, proper care will help them last longer. Here are some useful tips:
- Store Safely: Keep them in a jewelry box or pouch to prevent scratches.
- Avoid Moisture: Remove your earrings before swimming or showering to avoid damaging the glue or stones.
- Clean Gently: Use a soft cloth to wipe them down.
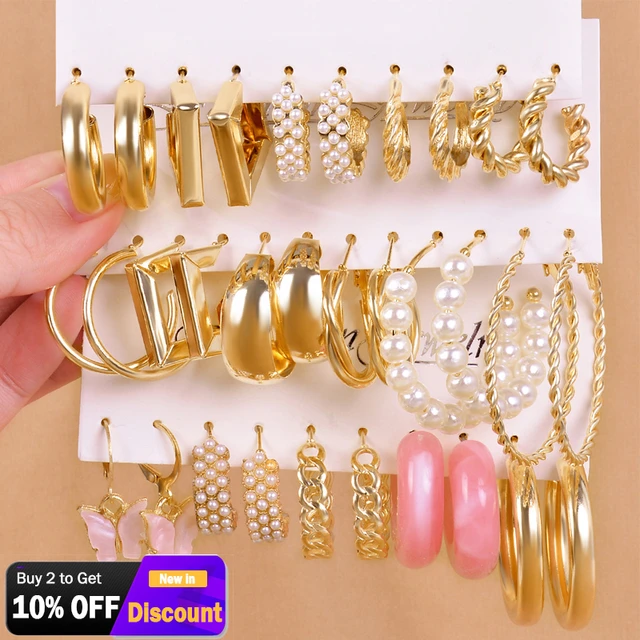
Key trends regarding stud earrings:
Stud earrings have maintained their popularity due to their versatility and timeless appeal. Here are some key trends regarding stud earrings:
Minimalist Designs: Simple and understated studs are trending, appealing to those who prefer a clean, modern aesthetic. Geometric shapes and delicate lines are particularly popular.
Mixed Materials: Studs that combine different materials, such as gold, silver, and gemstones, are gaining traction. This adds unique textures and colors, making them more interesting.
Personalization: Customizable stud earrings, including initials or birthstones, are on the rise. This trend allows individuals to express their personal style and create meaningful pieces.
Asymmetrical Styles: Wearing mismatched stud earrings is a growing trend, adding a playful and eclectic touch to traditional looks.
Sustainable Jewelry: Eco-friendly materials and ethical sourcing are becoming increasingly important, leading to a rise in sustainable stud earrings crafted from recycled materials.
Statement Pieces: Larger, bold studs are also gaining popularity, often featuring unique designs or vibrant colors that act as focal points in an outfit.
Overall, stud earrings continue to evolve, balancing classic elegance with contemporary design elements and personal expression.
 Some care tips for maintaining your earrings:
Keep Them Clean: Regularly clean your earrings with a soft cloth to remove dirt and oils. For deeper cleaning, use a mild soap with water.
Storage: Store your earrings in a dry place, preferably in a jewelry box or a soft pouch to avoid scratches and tangling.
Avoid Chemicals: Keep your earrings away from harsh chemicals, such as perfumes, lotions, and cleaning products, which can damage the materials.
Be Gentle: Handle your earrings gently when putting them on or taking them off to prevent bending or breaking.
Check for Loose Stones: Regularly inspect your earrings for loose stones or clasps. Address any issues promptly to avoid losing pieces.
Avoid Water: Remove your earrings before swimming or showering, especially if they are made of materials that can be damaged by water.
Limit Exposure to Sweat: Take off your earrings during workouts or strenuous activities to minimize exposure to sweat, which can cause tarnishing.
Professional Maintenance: Consider having valuable or intricate earrings professionally cleaned and checked periodically.
By following these tips, you can help ensure the longevity and beauty of your earrings!
5. Conclusion
Making stud earrings is a simple and enjoyable craft that anyone can do. With a few basic materials and tools, you can create beautiful and personalized earrings to match your style. Not only is it a fun activity, but it also allows you to express your creativity. So gather your supplies, follow the steps, and start crafting your unique stud earrings today! Remember, the more you practice, the better your designs will become. Enjoy the process and wear your creations with pride!