Introduction
How to make earrings at home
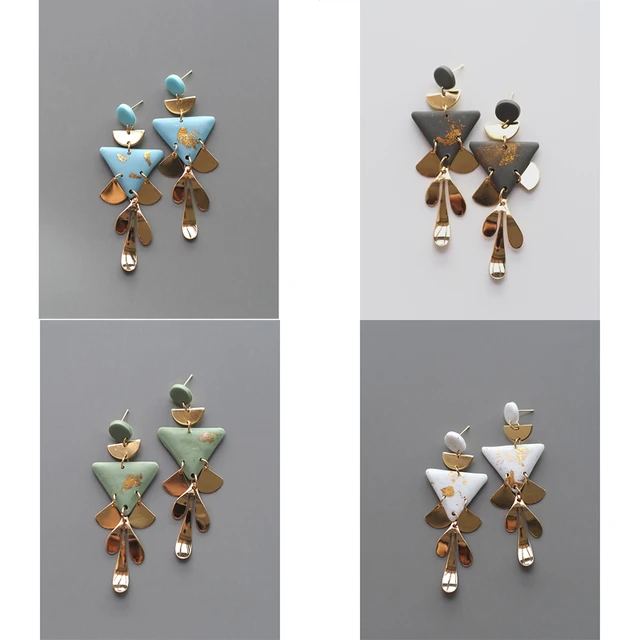
Crafting your own earrings is a fulfilling and rewarding experience. It allows you to express your personal style, experiment with different materials and techniques, and create unique pieces that reflect your individuality. Whether you’re a seasoned jewelry maker or a curious beginner, this comprehensive guide will walk you through the entire process, from choosing materials to finishing touches.
 1. Gather Your Supplies
How to make earrings at home
Before diving into the creative process, it’s essential to have the right tools and materials at hand. Here’s a list of common supplies you’ll need:
- Earrings findings: These are the metal components that attach to your earring posts. They come in various shapes, sizes, and finishes, including hooks, studs, drop styles, and more.
- Wire: Choose a wire gauge suitable for your design.
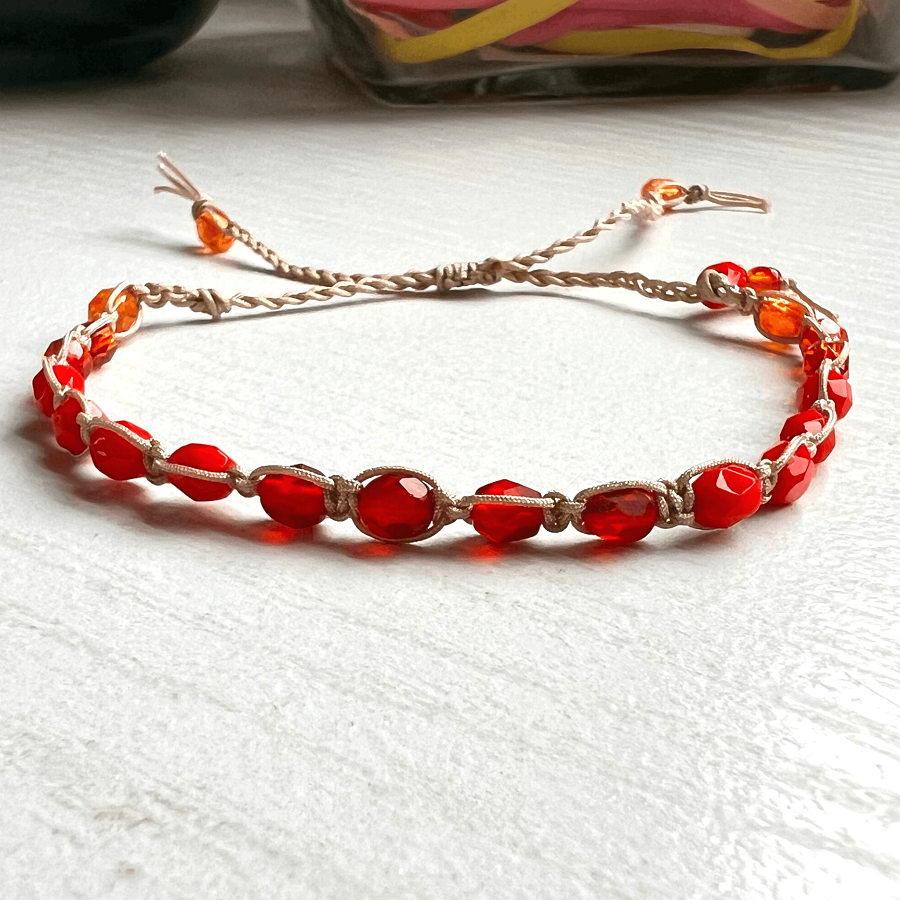
- Beads: Experiment with different shapes, sizes, colors, and materials, such as glass, metal, wood, or gemstones.
- Jump rings: These small metal rings connect different components, like beads and findings.
- Wire cutters: For cutting wire and jump rings.
- Round-nose pliers: For shaping wire and creating loops.
- Flat-nose pliers: For holding and manipulating wire and jump rings.
- Wire cutters: For cutting wire and jump rings.
- Jewelry glue: For securely attaching components.
- Optional:
- Pliers with chain-nose: For holding and manipulating small pieces.
- Crimp beads: To secure wire ends.
- Wire bending tools: For creating specific shapes in wire.
- Jewelry tools: For additional tasks like polishing and cleaning.
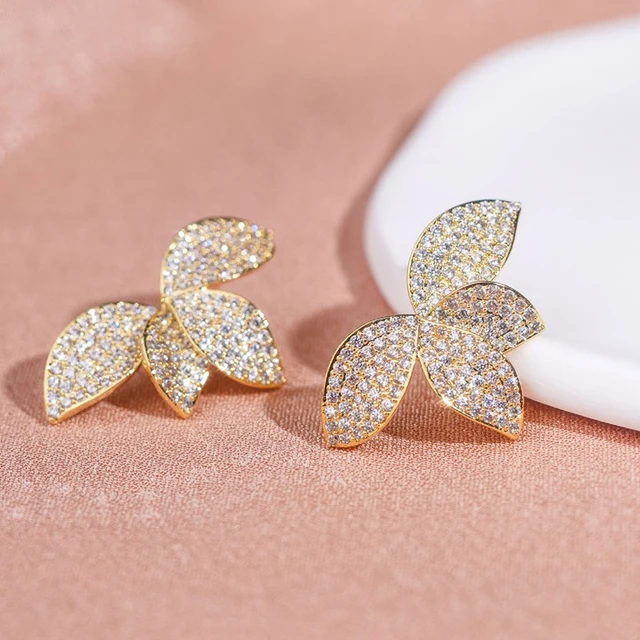
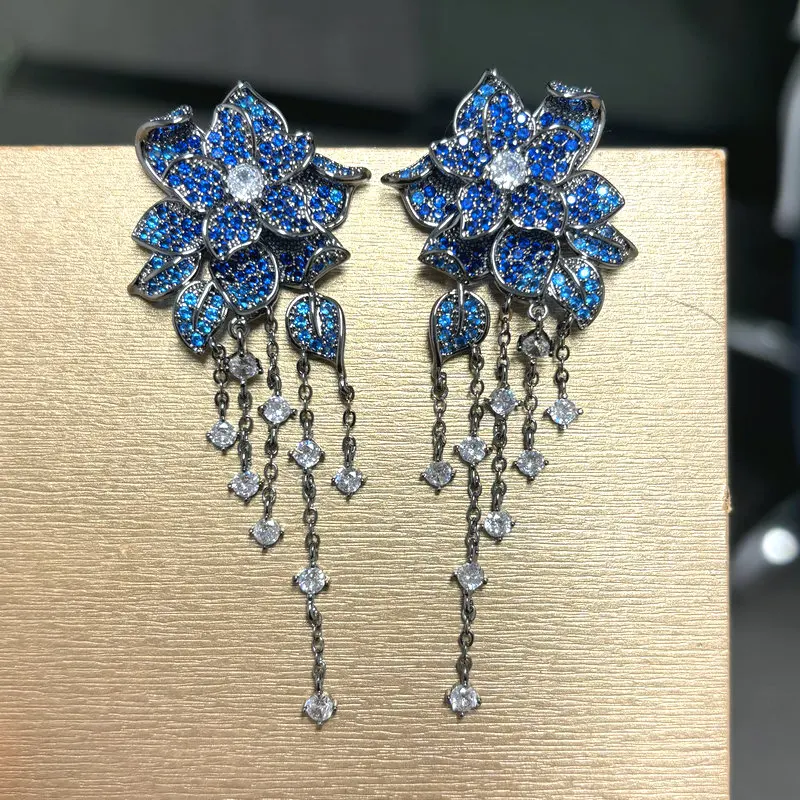
2. Choose Your Earrings Style
The first step in designing your earrings is to decide on a style. Consider these factors:
- Your personal style: What kind of jewelry do you usually wear? Are you drawn to minimalist designs or bold statement pieces?
- Your fashion sense: What are your favorite colors, shapes, and materials?
- The occasion: Are you making earrings for everyday wear, a special event, or a gift?
Once you have a general idea, you can explore specific styles like:
- Dangle earrings: These feature a pendant that hangs from a hook or stud.
- Drop earrings: Similar to dangle earrings, but with a shorter drop.
- Stud earrings: Small and simple, they are usually attached to a post.
- Hoop earrings: Circular in shape, they come in various sizes and styles.
- Chandelier earrings: These are multi-layered and intricate, with several dangling components.
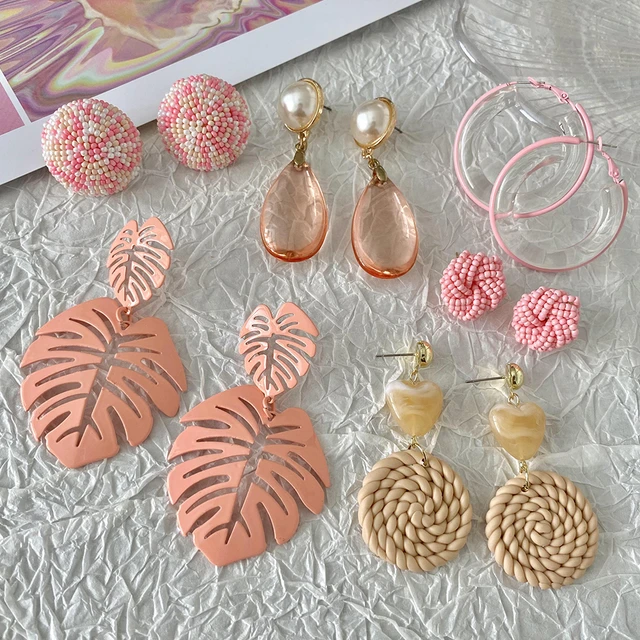
 3. Select Your Materials
The materials you choose will significantly impact the look and feel of your earrings. Consider these aspects:
- Metal: The most popular metals for jewelry include silver, gold, copper, and brass. Each metal has its unique characteristics in terms of durability, color, and cost.
- Beads: Experiment with various bead materials like glass, metal, wood, gemstones, and resin. Explore different shapes, sizes, colors, and textures to create unique combinations.
- Wire: Choose a wire gauge that suits your design and material. Consider the weight, flexibility, and color of the wire.
- Additional elements: You can incorporate other elements like charms, feathers, crystals, or fabric to enhance the visual appeal of your earrings.
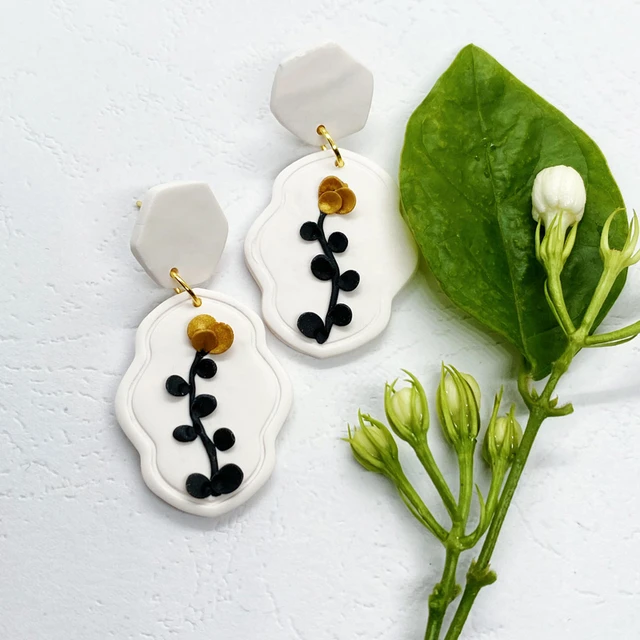
4. Design Your Earrings
How to make earrings at home
Now it’s time to bring your ideas to life! You can create a detailed sketch or use online tools to visualize your design. Consider these tips:
- Symmetry: Ensure both earrings are balanced and symmetrical for a visually pleasing look.
- Color harmony: Choose a color palette that complements each other and enhances the overall design.
- Focal point: Highlight a specific element, like a large bead or a unique shape, to create visual interest.
- Negative space: The space around your design elements is just as important as the elements themselves. Use negative space to create a sense of balance and enhance the overall design.
5. Constructing Your Earrings
This step involves bringing your design to life with the chosen materials and tools. Here’s a general guide for making different types of earrings:
a. Wire Wrapped Earrings:
- Cut the wire: Use wire cutters to cut a length of wire according to your design.
- Shape the wire: Use round-nose pliers to create loops and bends in the wire.
- Attach beads: Thread beads onto the wire, secure them with wire loops or crimps, or use jewelry glue.
- Connect the findings: Attach the findings to the wire using jump rings.
 b. Beaded Earrings:
- Choose your beads: Select a combination of beads that complements your design and color palette.
- String the beads: Use wire, string, or thread to string the beads in the desired order.
- Create a loop: Make a loop at the end of the string for attaching the findings.
- Connect the findings: Attach the findings to the string using jump rings.
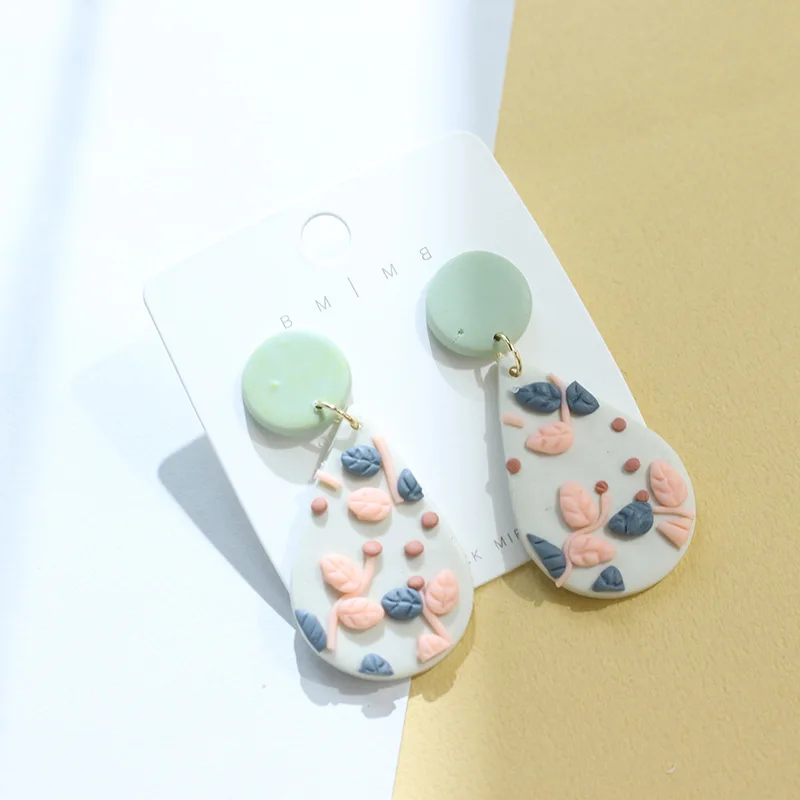
c. Polymer Clay Earrings:
- Roll out the clay: Use a rolling pin or a pasta machine to roll out the clay to your desired thickness.
- Cut shapes: Use cookie cutters, stamps, or hand-cutting techniques to create your desired shapes.
- Bake the clay: Bake the clay according to the manufacturer’s instructions to harden it.
- Attach findings: Use jewelry glue to secure the findings to the clay shapes.
 6. Finishing Touches
How to make earrings at home
After completing the construction, refine your earrings with these finishing touches:
- Polish the metal: Use polishing cloths or a polishing compound to remove any scratches or tarnish from the metal components.
- Clean the beads: Clean the beads with a soft cloth or a cleaning solution designed for jewelry.
- Seal the clay: Apply a sealant to polymer clay earrings to protect them from scratches and water damage.
- Attach findings: Securely attach the findings to your earrings with jump rings or glue.
- Inspect and adjust: Double-check your earrings for any loose components, unevenness, or flaws. Adjust them as needed.
7. Tips for Beginners
If you’re new to jewelry making, here are some helpful tips to get you started:
- Start simple: Begin with basic designs and gradually increase complexity as you gain experience.
- Practice makes perfect: Don’t be discouraged by mistakes. Practice your techniques and learn from your experiences.
- Watch tutorials: There are countless online tutorials and videos that demonstrate various jewelry-making techniques.
- Join a community: Connect with other jewelry makers for inspiration, advice, and support.
- Have fun: Most importantly, enjoy the process of creating your own unique earrings.
8. Safety Precautions
While jewelry making is a fun and creative hobby, it’s important to prioritize safety. Here are some precautions to take:
- Wear safety glasses: Protect your eyes from flying debris when cutting or bending wire.
- Use appropriate tools: Handle sharp tools with care and use them for their intended purpose.
- Handle chemicals responsibly: Always follow safety instructions when working with jewelry glue or other chemicals.
- Keep a clean workspace: Maintain a clutter-free workspace to minimize the risk of accidents.
9. Expand Your Skills
Once you’ve mastered basic earring techniques, you can explore more advanced methods and techniques like:
- Wire weaving: Create intricate patterns and designs by weaving multiple strands of wire.
- Metal stamping: Add personalized touches to your earrings with metal stamps.
- Enameling: Add vibrant colors and textures to your earrings with enamel.
- Gemstone setting: Learn how to set gemstones in various styles and settings.
- Resin casting: Create unique designs with resin, incorporating different materials and colors.
10. Sharing Your Creations
How to make earrings at home
Creating earrings is a rewarding experience, but sharing your creations with others adds another dimension to the process. You can:
- Gift your earrings: Surprise friends and family with personalized handmade earrings.
- Sell your earrings: Set up an online shop or participate in local craft fairs to sell your creations.
- Showcase your work: Share your designs on social media or participate in online jewelry communities.
 Conclusion
How to make earrings at home
Making your own earrings is a fun and creative hobby that allows you to express your personal style and create unique pieces that you’ll cherish. With the right materials, tools, and guidance, you can create stunning earrings for yourself or to share with others.
Remember to experiment, have fun, and let your creativity flow! Whether you’re a beginner or a seasoned crafter, the world of earring-making offers endless possibilities for self-expression and artistic exploration.