Materials You Will Need
Before you begin the process of crafting your own tassel earrings, it’s important to gather all the necessary materials. This will not only save time during the creation process but also ensure a smooth and enjoyable crafting experience. Here’s a list to help you get started:
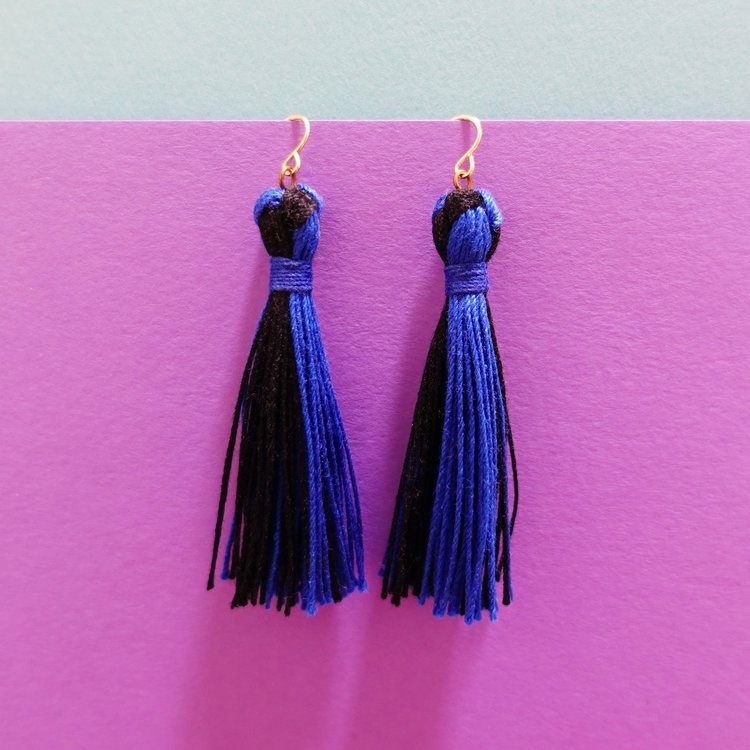
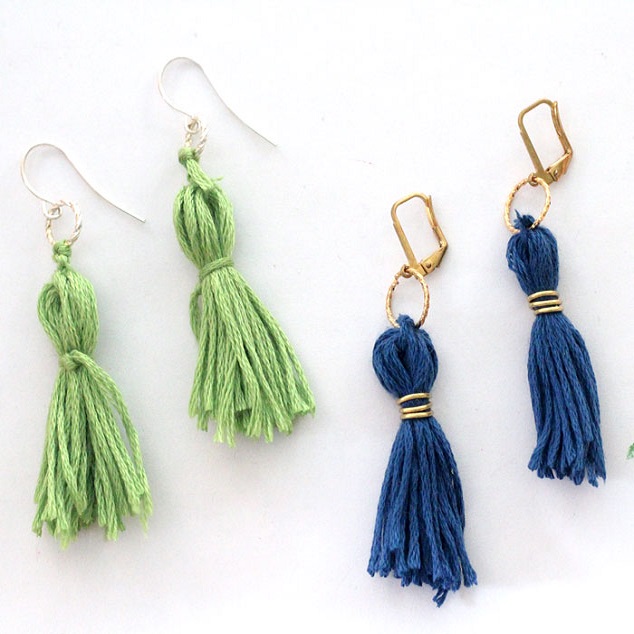
- Embroidery floss or thread: Choose colors that match your style or the specific look you’re aiming for.
- Tassel maker or a piece of cardboard: This will help you create tassels of uniform size and shape.
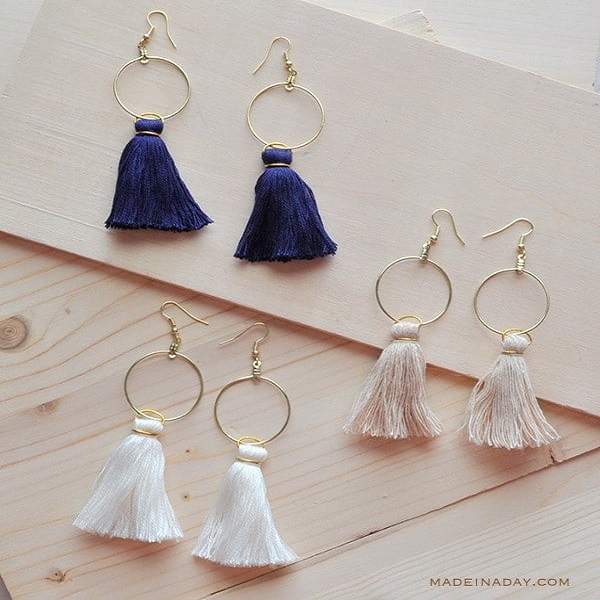
- Earring hooks: These are essential for turning your tassels into wearable art.
- Scissors: A pair with a sharp and precise cut will make your work easier.
- Needle and thread: You’ll need these for attaching your tassels to the earring hooks.
- Jewelry pliers: These will help you open and close the earring hooks to attach your tassels.
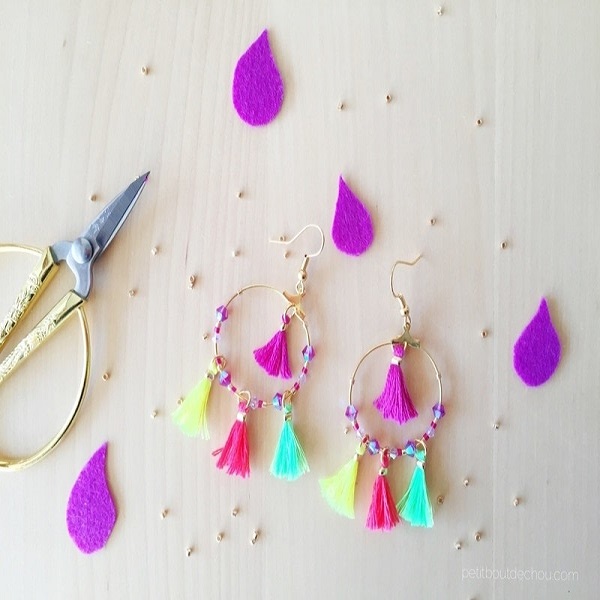
- Beads and charms (optional): If you wish to add extra embellishments to your earrings.
- Ruler or measuring tape: To measure the lengths of thread and ensure consistency.
Ensure you have all these items ready before moving on to the next step. Stay tuned as we guide you through choosing the right thread or embroidery floss for your tassel earrings. Remember, the quality and type of materials can greatly influence the look and feel of your final product. Prioritize color options and durability when selecting your materials.
Choosing the Right Thread or Embroidery Floss
When learning how to make tassel earrings, selecting the right thread or embroidery floss is crucial. This choice will impact your earrings’ look, feel, and durability. Here are some guidelines to help you choose the best material for your tassel earrings:
- Consider the Texture: Smooth threads can give a glossy finish while thicker, less even threads may yield a more rustic, bohemian look.
- Check the Color Vibrancy: High-quality floss has vibrant, long-lasting colors that won’t fade quickly over time.
- Test the Strength: You don’t want your tassels to fall apart, so ensure the thread’s strength is adequate.
- Opt for Colorfastness: Materials that are colorfast prevent dye from bleeding, especially crucial if you mix colors.
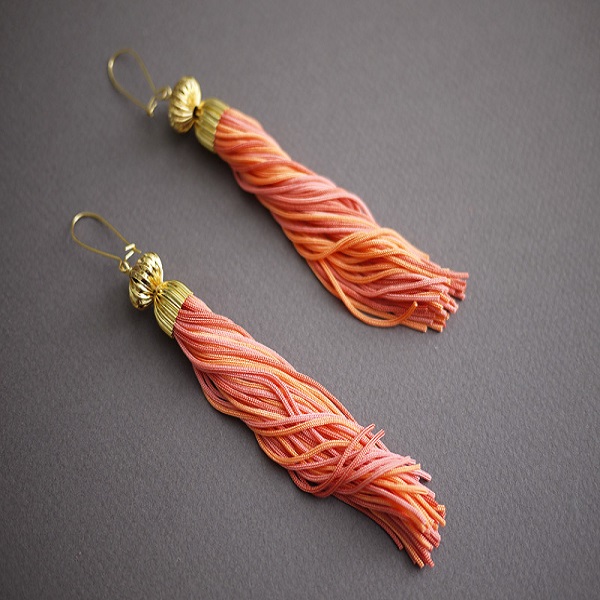
- Think about the Weight: Heavier threads create denser tassels, while lighter threads make more delicate tassels.
You can find a wide range of threads at craft stores, from silk and cotton to synthetic options. Silk and high-grade cotton threads offer a rich appearance, but if you’re on a budget, rayon or polyester floss can serve as an affordable alternative with a similar sheen. Decide based on the style you want to achieve and who will wear the earrings. If they are for everyday use, durability might be your priority. For a special event, you might prefer a thread with more sheen and elegance.
Next, we will look into preparing your tassel making tools, so your crafting process runs smoothly. Make sure to keep these factors in mind when choosing your thread or embroidery floss, as they are the foundation for stunning tassel earrings.
 Preparing Your Tassel Making Tools
Before diving into how to make tassel earrings, ensure you have your tools ready. Correct tools are vital for smooth crafting and professional results. Here are steps to prepare your tassel making tools:
- Select a Tassel Maker: A tassel maker aids in creating even tassels. You can use a sturdy piece of cardboard if you don’t have one.
- Gather Scissors and Needle: Sharp scissors are necessary for cutting threads neatly. A sewing needle will attach tassels to hooks.
- Arrange Jewelry Pliers: Pliers will open and close the earring hooks safely.
- Keep Beads and Charms Handy: If you’re adding embellishments, have them within reach.
- Check the Ruler: A precise ruler or tape measure is essential for even tassels.
With these tools prepared, you’re set to start crafting your tassel earrings. Remember, the right tools make the process smoother and your earrings more polished. In the next section, we’ll begin the step-by-step guide to actually making the tassel earrings.
Step-by-Step Guide to Crafting Tassel Earrings
Now that you’ve gathered your materials and prepared your tools, it’s time to dive into the exciting part: crafting your tassel earrings. Follow these simple steps to ensure your earrings come out beautifully:
- Measure and Cut the Thread: Use your ruler to measure lengths of thread. Cut these pieces equally for uniform tassels.
- Create the Tassel Base: Wrap your thread around the tassel maker or cardboard evenly. The more wraps, the fuller the tassel.
- Tie the Top: Secure one end of the wrapped threads with a piece of thread. This forms the top of the tassel.
- Remove from the Maker: Gently slide the wrapped thread off the tassel maker or cardboard, keeping the shape intact.
- Bind the Tassel Head: Fold the bundle in half where you tied the top. Wrap a thread around to form the tassel’s head.
- Cut the Bottom Loop: Carefully cut the looped end of the threads opposite the head. Ensure cuts are even for a tidy finish.
- Comb the Tassel: Use a fine-tooth comb or your fingers to straighten and smooth the tassel ends.
Repeat these steps for the second earring to make a matching pair. The process is simple, yet attention to detail is key. Keep your cuts clean, wraps tight, and bindings secure to ensure your earrings are not only stylish but also sturdy. In the next segments, we’ll discuss how to customize your tassels with beads and charms and how to attach them to earring hooks for the perfect finishing touch.
 Customizing Your Tassels with Beads and Charms
Once you have your basic tassels ready, it’s time to add personality. Customizing with beads and charms can transform your earrings. This step is where your creativity shines. Here are some tips to personalize your tassel earrings:
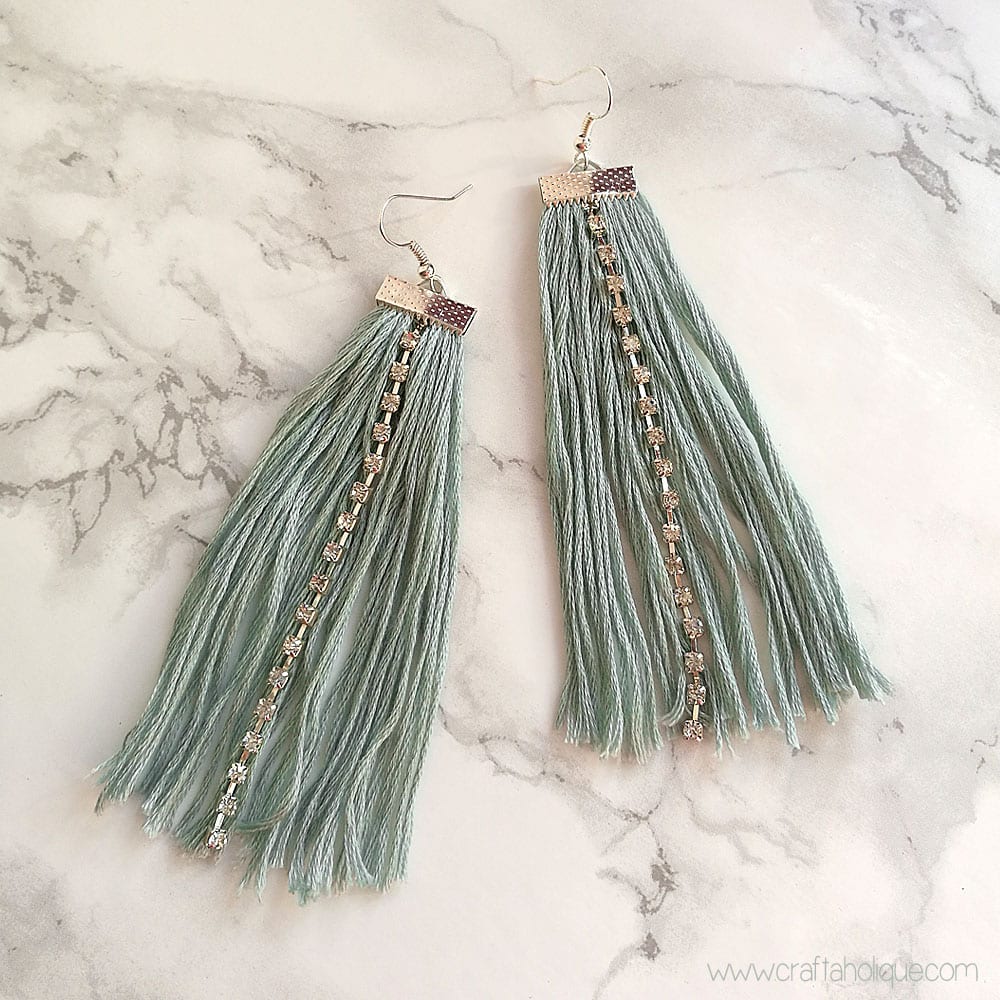
- Choose Complementary Beads: Pick beads that complement the color of your thread. It will enhance the overall look.
- Select Unique Charms: Charms add character. Go for shapes that reflect your style or interests.
- Decide on Placement: Before attaching, plan where beads and charms will sit. It helps to avoid mistakes.
- Thread Beads Before Tying: Slide beads onto the thread used to tie the tassel head. This prevents them from moving.
- Attach Charms Securely: Use the needle and thread or a jump ring to attach charms at the tassel head.
By adding these elements, you create earrings that are truly one of a kind. Whether you opt for simple, elegant beads or bold, distinctive charms, your customized tassels are sure to stand out. Keep experimenting with different combinations to find what you love most. In the following step, we’ll guide you on attaching your personalized tassels to the earring hooks.
Attaching the Tassels to Earring Hooks
The next step in crafting your tassel earrings is attaching the beautiful tassels you’ve made to the earring hooks. This will turn your tassels into an elegant, wearable piece of jewelry. Follow this straightforward process to ensure a secure attachment:
- Open the Hook: Use your jewelry pliers to gently open the loop at the base of the earring hook.
- Attach the Tassel: Slide the top loop of your tassel onto the earring hook.
- Close the Hook: Carefully close the hook with the pliers to secure the tassel in place.
- Ensure Security: Give a gentle tug to the tassel to make sure it’s firmly attached.
- Repeat for the Second Earring: Follow the same steps to attach the tassel to the other hook.
By now, you should have two lovely tassel earrings, ready to add flair to any outfit. Make sure that the earring hooks are not bent out of shape and that the tassels hang correctly. A good, secure fastening means fewer chances of your earrings coming loose when you’re wearing them out and about.
In the next segment, we’ll go over the finishing touches, to trim and polish your tassel earrings, ensuring they’re just perfect before you show them off. Keep in mind the importance of trying out the earrings to make sure they’re comfortable, and the tassels are positioned just right.
 Finishing Touches: Trimming and Polishing
After securely attaching your tassels to the earring hooks, you’re nearly done. However, to ensure your tassel earrings look polished and professional, a few finishing touches are necessary. Here’s how to fine-tune your handmade jewelry:
- Trim the Ends: Check the tassel ends. Trim any uneven strands to the same length for a clean look.
- Polish with Care: Gently comb through the tassels to remove any tangles and smooth the fibers.
- Consider a Final Touch: Apply a light hairspray or fabric stiffener to maintain the tassel’s shape if desired.
- Inspect the Earrings: Look closely for loose threads or beads and secure them as needed.
- Make a Match: Compare both earrings side by side. Make sure they are identical in size and style.
Once you’ve completed these final adjustments, your DIY tassel earrings are ready to wear or give as a gift. They should now have that perfect, clean-edged, and commanding presence. As you show off your new earrings, remember that these small but essential last steps can make a significant impact on their overall quality and appeal.
With your tassel earrings completed, it’s important to know how to keep them looking their best. In the next section, we’ll share some simple tips for maintaining your handmade earrings, so they remain as stunning as the day you made them.
Tips for Maintaining Your Handmade Earrings
After you’ve put in all the hard work to make your tassel earrings, you’ll want to keep them looking great. Here’s what you can do to care for your handmade creations:
- Store them carefully: Keep your tassel earrings in a jewelry box or hang them up. This will stop them from getting tangled.
- Avoid water and chemicals: Don’t wear your earrings in the shower or while swimming. Chemicals in perfumes and lotions can also damage them.
- Handle with care: Be gentle when putting on or taking off your earrings. Rough handling can cause wear and tear.
- Clean gently: If they get dirty, wipe your earrings with a soft, dry cloth. Do not rub them too hard.
- Keep them dry: Moisture can harm the threads of your tassel earrings. Make sure they are dry before you put them away.
- Rotate your earrings: Wearing the same pair daily can lead to quicker wear. Switch up your earrings often.
By following these simple tips, your tassel earrings will stay fresh and fabulous for a long time. Enjoy wearing your handmade jewelry with pride, knowing you’ve taken steps to keep it in perfect shape.