Introduction
Beaded bracelets are not only a fun accessory but also a wonderful way to express your creativity. With a variety of colors, materials, and styles, creating your own beaded bracelet can be a rewarding experience. This guide will take you through the step-by-step process of crafting your own unique piece of jewelry. Let’s gather our materials and dive into the world of beading!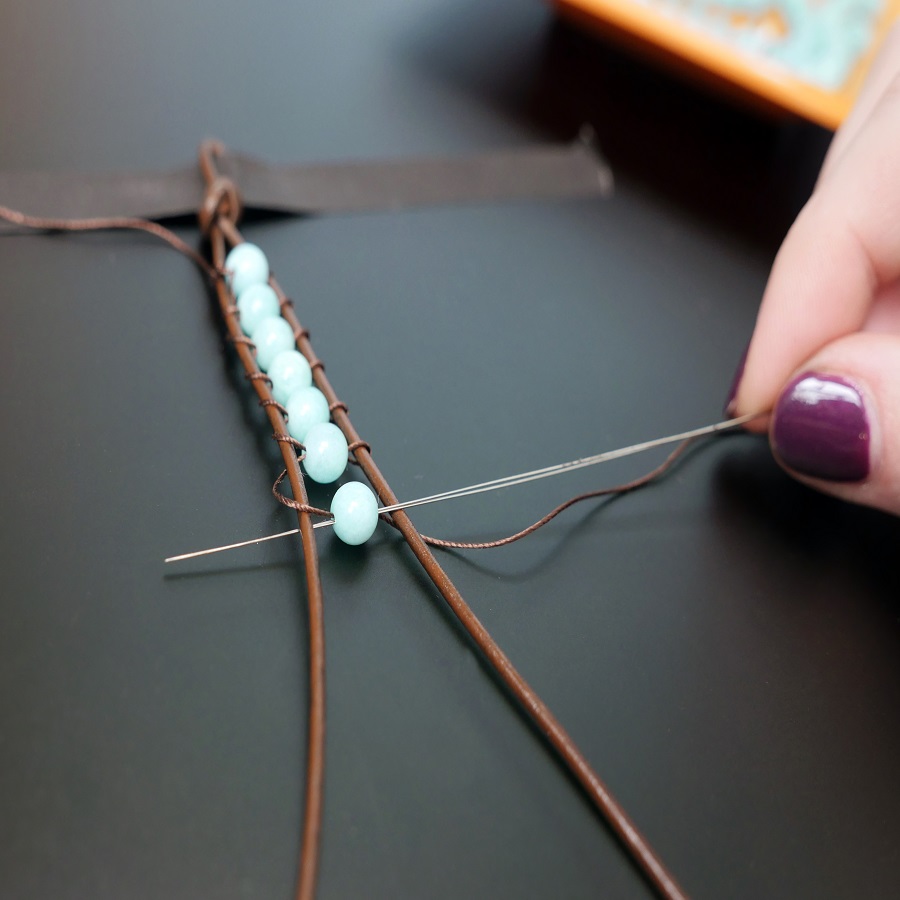
Materials You’ll Need
Before starting your project, make sure you have the following materials:
- Beads: Choose a variety of beads in different sizes, shapes, and colors. You can use glass, wooden, acrylic, or metal beads.
- Stringing Material: Depending on the type of beads, use elastic cord, nylon thread, or beading wire.
- Crimp Beads and Crimping Tool (if using wire): Crimp beads will secure your bracelet’s closure.
- Clasp: A lobster clasp or magnetic clasp is usually used, depending on the design.
- Scissors: To cut the stringing material.
- Measuring Tape or Ruler: To measure the size of your wrist and to ensure your bracelet is the right length.
- Beading Tray or Mat (optional): This will keep your beads organized and prevent them from rolling away.
Measure Your Wrist
Before you begin, it’s important to know the circumference of your wrist. Use a measuring tape or ruler to measure around your wrist. Generally, you’ll want to add about half an inch to one inch for comfort, especially if you’re planning on using elastic cord. Record your total measurement.
Choose Your Design
Visualizing the design will guide your beading process:
- Patterned: You can create a specific pattern alternating colors or shapes.
- Random: Simply arrange the beads as you like for a more freeform approach.
- Thematic: Choose beads that reflect a certain theme (e.g., ocean colors, nature-themed).
Lay out your beads on a beading tray or mat to see how they look together. This visual assessment ensures that you’re happy with your design before you start stringing.
Cut the Stringing Material
If you’re using elastic cord, cut a length that is about 2-3 inches longer than your wrist measurement. If you’re using beading wire, add a few extra inches for the crimping process. Always err on the side of caution and cut a little more—you can always trim it later if needed.
Start Stringing Beads
Begin stringing your selected beads onto the cord or wire:
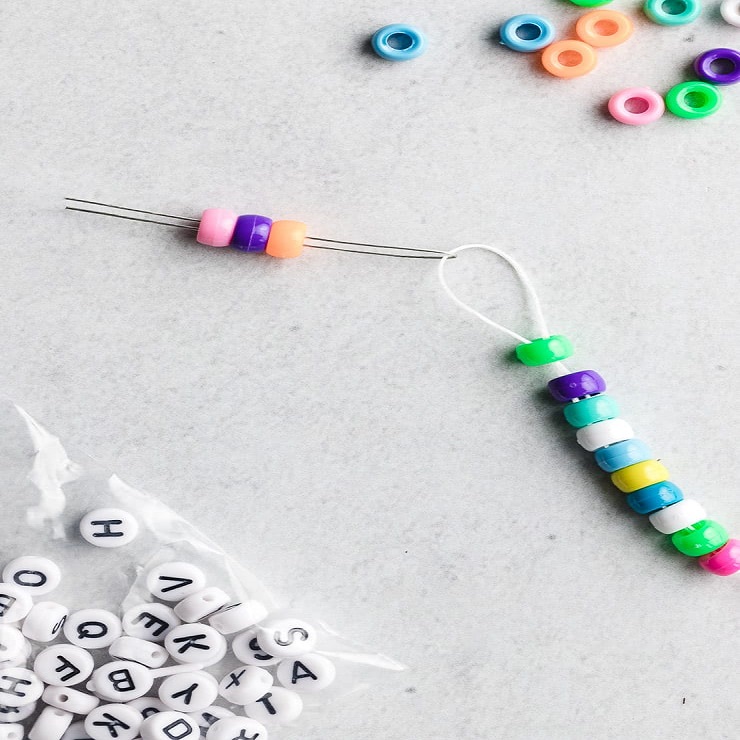
- If you’re using elastic, thread the beads through, ensuring you leave enough length on either end for tying knots.
- For beading wire, you’ll need to start with a crimp bead. Thread the wire through the crimp bead and then through one end of the clasp. Bring the wire back through the crimp bead and pull it tight, leaving a small loop for the clasp.
- Slide the crimp bead to the end and use your crimping tool to secure it.
Add Your Beads
Continue adding beads in your determined pattern. Slide them down toward the first bead or clasp as you go, but don’t pull too tight, as you want the beads to have a bit of flexibility without being overly loose.
Measure Again
Periodically check your bracelet against your wrist to ensure it’s the right length. When you’re nearing the end, be sure to leave sufficient space to add the clasp.
Secure the Bracelet
Using Elastic Cord
- Once all beads are added, tie a double knot to secure the bracelet.
- It’s helpful to pull the knot through a bead for extra security.
- Trim the excess cord carefully, but leave a little bit of length to prevent the knot from slipping back through the beads.
Using Beading Wire
- After adding all your beads, thread the wire through another crimp bead and a second part of the clasp.
- Loop back through the crimp bead and some of the last few beads to secure.
- Pull tight to ensure the beads are snug, and then crimp the bead to secure.
- Trim away any excess wire, taking care not to cut the beads or loose ends.
Finishing Touches
Once you finish securing all ends, give your bracelet a good inspection. Check to see that all beads are secure and that the clasp functions properly. It’s also a good idea to gently stretch your bracelet to confirm that everything holds together well without any strain.
Clean and Polish
If any fingerprints or smudges are visible on the beads, clean them using a soft, lint-free cloth. This will enhance their appearance and make your bracelet look professional.
Show Off Your Creation!
Your beaded bracelet is complete! Wear it proudly or give it as a handmade gift. You can also make matching earrings or necklaces to expand your beaded jewelry collection.
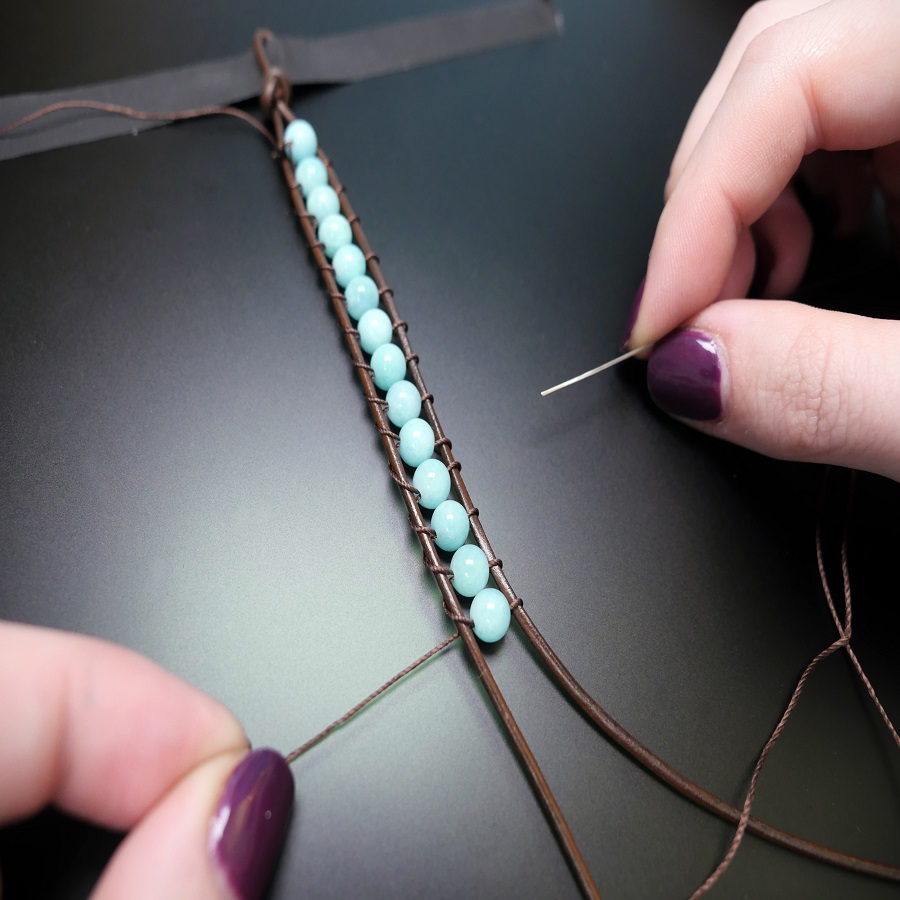
Supplies You Will Need
Before diving into your beaded bracelet project, gather the necessary materials. Here’s a comprehensive list of items you’ll need:
Basic Tools and Materials
- Beads: Choose a variety of beads in different sizes, shapes, and colors. You can use glass, plastic, wooden, or metal beads depending on your design preferences.
- Stretch cord or beading wire: Stretch cord is great for elastic bracelets, while beading wire can provide a sturdier option for heavier beads. Choose the thickness based on the size of your beads and desired durability.
- Clasps: If you’re using beading wire, consider adding a clasp (like lobster clasps, toggle clasps, or magnetic clasps) for a secure closure.
- Crimp beads: If using beading wire, crimp beads are essential for securing the ends of your bracelet to attach the clasp.
- Adjustable ruler or measuring tape: To measure the length of the bracelet accurately.
- Scissors or wire cutters: For cutting the stretch cord or wire.
- Bead mat or tray: Keeps your beads in place while you design your bracelet and prevents them from rolling away.
- Pliers: Round-nose pliers are useful for manipulating wire and crimping beads securely.
Optional Decorations
- Charms: Personalize your bracelet with charms that hold meaning to you.
- Findings: These include jump rings, headpins, and eye pins that can help with various designs.
- Paints or markers: For customizing wooden beads or creating patterns on plastic beads.
Designing Your Bracelet
Brainstorm Your Design
Before you begin stringing beads, take a moment to plan your design. Think about the color palette you want to use and the arrangement of your beads. Here are a few design ideas:
- Color blocking: Use solid colors in a repeating pattern.
- Ombre effect: Gradually shift from one color to another with various shades.
- Mixed materials: Combine different types of beads, such as glass with wood or metal, for interesting textures.
Measure Your Wrist
Using a measuring tape or ruler, wrap it around your wrist to determine how long you want your bracelet to be. A standard wrist size for women is around 7 inches, while men’s can be around 8 inches, but always measure for accurate sizing. Add an extra inch or two to account for the knots or clasp if you’re using stretch cord.
Lay Out Your Design
On a bead mat or tray, lay out your beads in the order you plan to string them. This will give you a visual guide and help you with any last-minute adjustments. Experiment with different arrangements until you find one that you love.
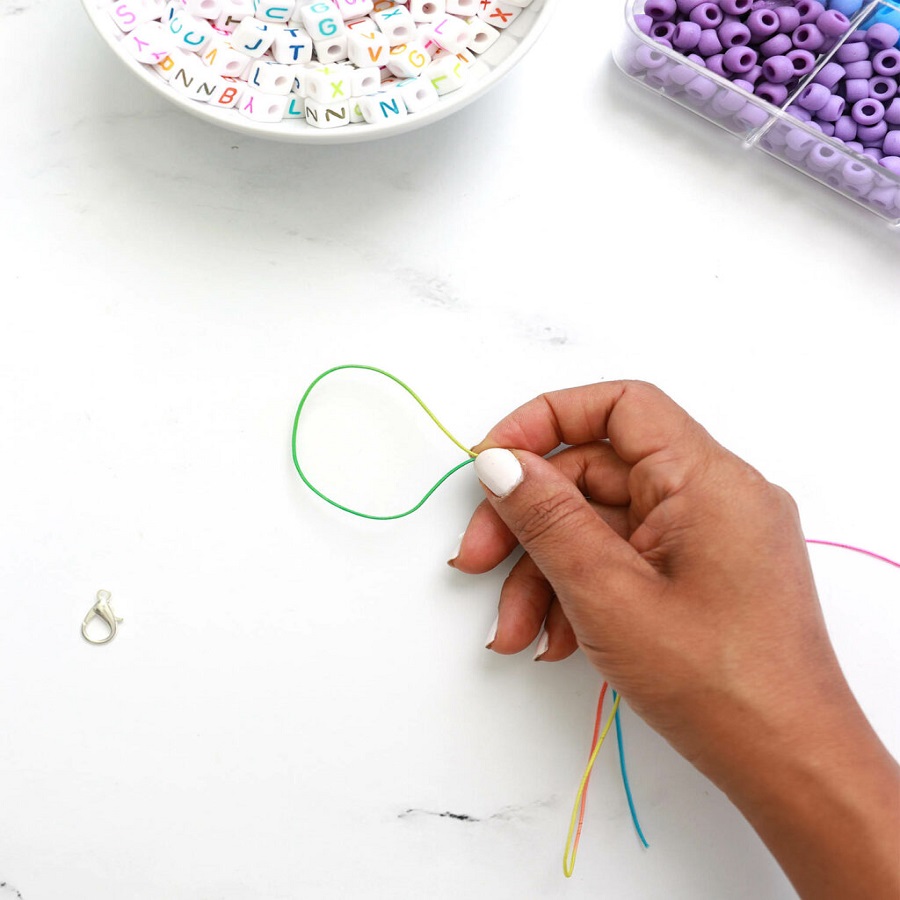
Conclusion
Crafting your own beaded bracelet is an enjoyable process that sparks creativity and offers a sense of accomplishment upon completion. Remember, there are no strict rules in designing your bracelet—feel free to express your personal style throughout the creation process. Whether for yourself or as a gift, each beaded bracelet tells a unique story. Enjoy the journey of beading!
Tips for Future Projects
- Experiment with different materials, like leather, fabric, or different types of beads.
- Consider incorporating charms or pendants for added interest.
- Visit local bead shops or online stores to discover new tools, beads, and inspirations.
- Join online crafting communities for added ideas and support!
Now that you’ve mastered the basics, there’s no limit to your creativity. Happy crafting!
