Essential Materials Needed for Friendship Bracelets
How to finish a friendship bracelet – Creating a friendship bracelet involves selecting the right materials.
Types of Threads and Their Purposes
Various types of threads suit different bracelet designs. Embroidery floss is popular for its strength and color variety. Nylon threads are ideal for beads due to their durability and slight stretch. Silk threads add a touch of elegance with their natural sheen.
Best Beads and Charms for Embellishment
Choosing the right beads and charms can elevate your bracelet’s look. Glass beads offer a glossy finish and come in many colors. Wooden beads provide a rustic feel, perfect for nature-inspired designs. Charms can symbolize personal meanings or interests, adding uniqueness to each piece.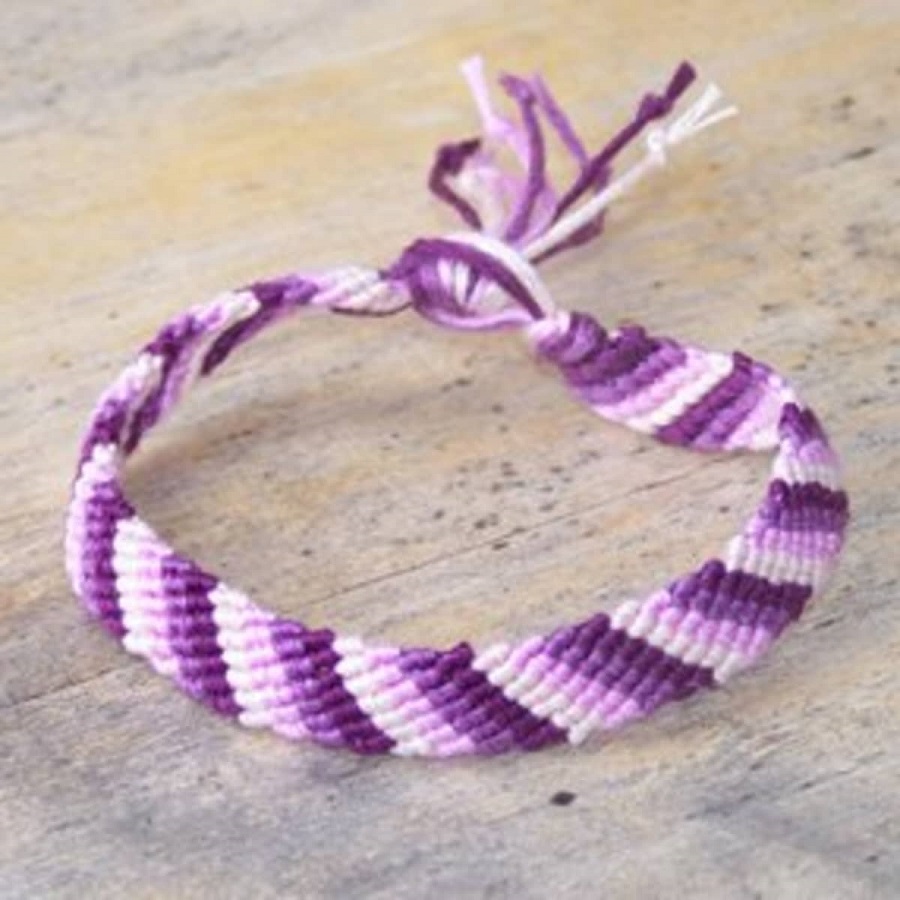
Preparing to Make Your Bracelet
Before starting with the knots and patterns of your friendship bracelet, proper preparation is essential. This part of the process ensures that the bracelet making goes smoothly and results in a high-quality finished product.
Measuring and Cutting the Thread
First, accurately measure the thread. Length varies depending on the bracelet design and wrist size, but a good rule of thumb is to cut threads about 1.5 meters long. This allows ample length for most bracelet designs and tying off. Use sharp scissors for a clean cut to prevent fraying.
Setting Up Your Workspace
Choose a clean, flat, and comfortable workspace. A desk or a table with good lighting conditions is ideal. Attach your threads to a stable object like a clipboard or a piece of tape on the table edge. This keeps the threads taut and makes the knotting process easier. Ensure all necessary materials, such as beads and charms, are within easy reach to maintain workflow and efficiency. Proper setup not only facilitates easier crafting but also enhances the enjoyment of the bracelet-making process.
The Basic Knots of Friendship Bracelets
Learning the basic knots is key to mastering how to finish a friendship bracelet. There are two primary knots you need to know: the forward knot and the backward knot. These knots form the foundation of many friendship bracelet patterns.
How to Make a Forward Knot
Begin your forward knot by laying the first thread over the second thread to create a ‘4’ shape. Hold the second thread tight. Pass the first thread under the second and pull it through the ‘4’. Tighten the knot up to your starting point. Repeat the process to secure the knot. This knot will move the first thread one position to the right.
How to Make a Backward Knot
Start a backward knot by making a reverse ‘4’ shape with the first thread crossing under the second thread. Secure the second thread. Now loop the first thread over and through the reverse ‘4’. Pull it snug to the beginning of your bracelet. Repeat to ensure the knot is tight. The backward knot moves the first thread one position to the left.
Master these knots to create neat and sturdy sections in your bracelet. With practice, these fundamental steps in how to finish a friendship bracelet will become second nature. Remember, consistency in tension is crucial for uniform knots and a smooth, professional finish.
 Step-by-Step Creation Process
Learning how to finish a friendship bracelet involves more than tying knots. The creation process needs a logical sequence. This guide outlines each step for assembling your bracelet, from starting it to adding designs.
Starting Your Bracelet
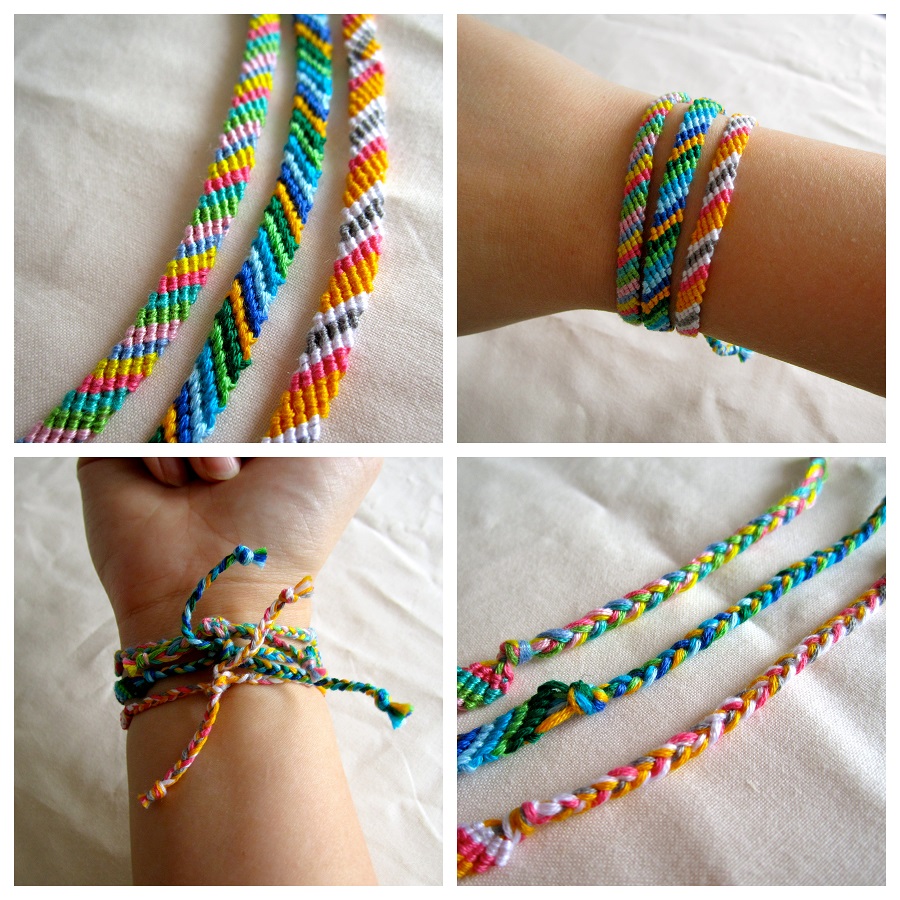
To start your bracelet, first tie a loop at the top of your threads. Make it large enough to pass the finish through later. Secure this loop to your workspace. Make sure it’s tight and won’t slip. Then, arrange your threads in the order needed for your pattern.
With the threads in place, make a row of forward knots. This forms the start of your bracelet’s pattern. Check that each knot is pulled snugly to keep the starting line even. Your first few rows define the bracelet, so precision is important here.
Adding Patterns and Textures
Patterns and textures give your bracelet its character. You can add them by varying the knots and introducing beads or charms. To weave a pattern, alternate between forward and backward knots. Follow your design closely to maintain consistency.
Add texture with beads by threading them onto your string before forming a knot. Choose beads that fit your bracelet’s look and style. Slide the bead up to your last knot, then secure it with another knot. This will hold the bead in place.
For more complex patterns, you might need to use different knotting techniques. Practice makes perfect. Take your time to ensure each section is well executed before moving on. By following these steps carefully, you’ll see your friendship bracelet take shape in no time.
Finishing Techniques for Your Bracelet
Once your friendship bracelet’s main body is complete, finishing techniques are vital. These methods ensure the bracelet is durable and wears well.
Securely Tying Off the Bracelet
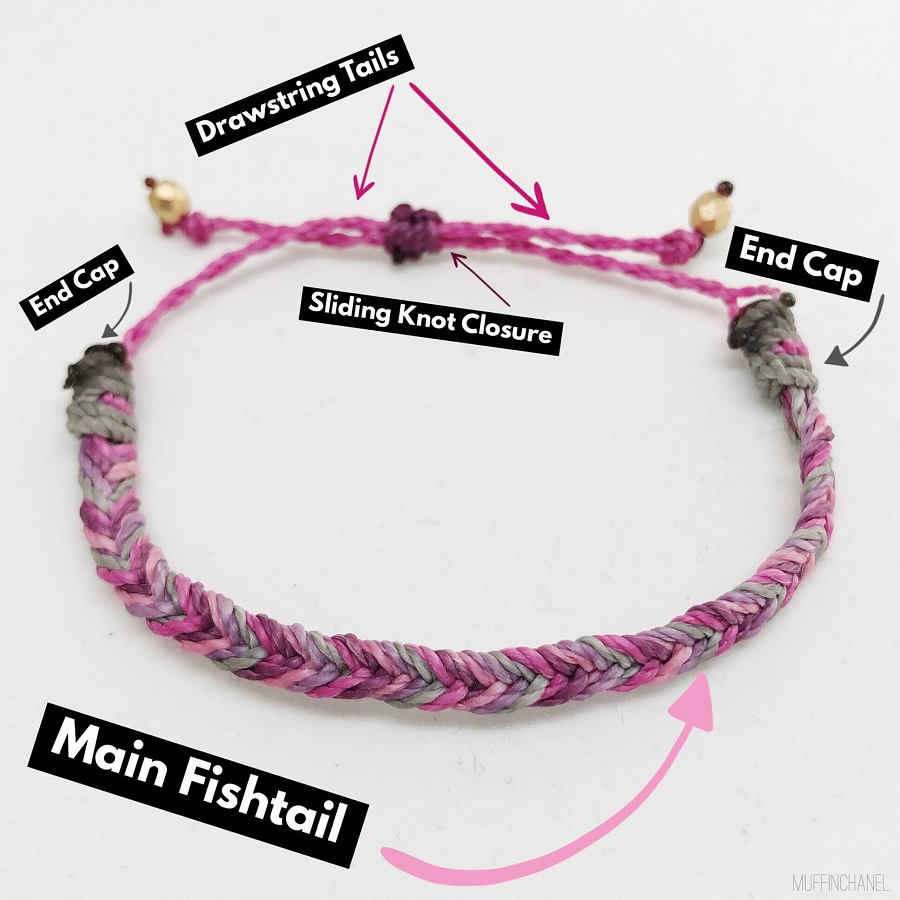
To securely tie off your friendship bracelet, start by making a standard knot at the end of your last pattern. Pull each thread through the loop and tighten. Ensure the knot is close to the body of the bracelet to prevent any gaps. You can reinforce this by tying a second knot over the first for added security. Some prefer to apply a small dab of clear nail polish or fabric glue to the knot to ensure it doesn’t loosen over time.
Adding Clasps and Closures
For a professional finish, consider adding clasps and closures. There are several types of clasps available:
- Lobster Clasps: Great for adjustable bracelets. Attach using a small jump ring.
- T-Bar Clasps: Ideal for rigid designs. Adds a stylish touch.
- Button Closure: A simple and easy option. Sew a button on one end, create a loop on the other.
Choose a clasp that complements the design and style of your friendship bracelet. Attaching clasps may require some additional tools like pliers or a needle and thread, depending on the type of clasp you choose. Take care to secure clasps tightly to ensure they hold the bracelet well and prevent it from slipping off.
Care and Maintenance of Friendship Bracelets
Proper care and maintenance preserve the beauty and longevity of your friendship bracelets. Regular attention is important for these handmade pieces.
Cleaning and Storage Tips
For cleaning your friendship bracelets, gentle methods are best. Use a soft, damp cloth to wipe off any dirt gently. Avoid using harsh chemicals, as they can damage the threads and beads. Allow the bracelet to air dry completely before storing it.
For storage, keep your bracelet flat in a dry and cool place. Use a jewelry box or a dedicated drawer lined with soft fabric to prevent tangles and scratches. You can also individually bag your bracelets in soft pouches to keep them protected and organized. Remember not to store them in direct sunlight, as this can fade the colors over time.
Regular care enhances your bracelet’s durability and ensures it stays vibrant and beautiful, just like the friendship it symbolizes.
 Creative Variations and Ideas
Being creative with your friendship bracelets adds a personal touch. Let’s explore how you can make each bracelet truly unique.
Incorporating Different Materials
Trying new materials can transform the style of your friendship bracelets. Here are some ideas:
- Leather or Suede: Gives a boho-chic vibe. Cut thin strips to use as threads.
- Ribbon or Lace: Adds a delicate, feminine flair. Use in place of traditional threads.
- Metallic Threads: Offers a shimmering effect. Mix with standard threads for a subtle sparkle.
- Elastic Cord: Makes your bracelet stretchy. Great for kids or for easy wear.
- Fishing Line: Works well for beaded designs. Provides strength and near invisibility.
Experiment with these materials to see how they change the look and feel of your bracelets.
Unique Pattern Design Inspiration – how to finish a friendship bracelet
Patterns play a key role in a bracelet’s design. Here’s how to come up with your own:
- Nature Motifs: Take inspiration from flowers, leaves, or animal prints.
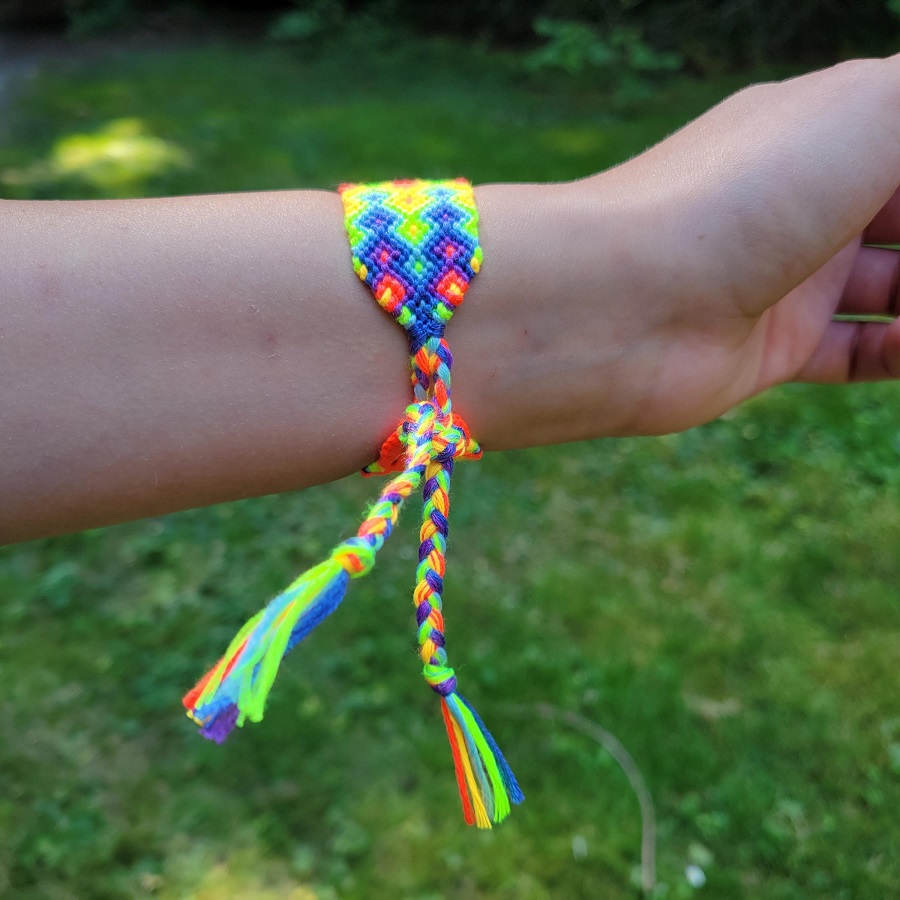
- Geometric Shapes: Try squares, triangles, or chevrons for a modern look.
- Personal Symbols: Incorporate initials, zodiac signs, or other symbols meaningful to you.
- Cultural Patterns: Explore designs from different cultures for an eclectic mix.
- Color Blocking: Use contrasting colors in blocks for a bold statement.
When creating patterns, consider the friendship bracelet’s color scheme and overall style. Use knotting techniques to bring your designs to life. With practice, you’ll create bracelets that are not just accessories but expressions of your creativity.
