Introduction to Tying Off Friendship Bracelets
Creating friendship bracelets is a beloved activity for craft enthusiasts of all ages. Whether you’re making one for a friend or crafting a collection for yourself, the finishing touches are as important as the bracelet’s design. Knowing how to tie off a friendship bracelet properly ensures that your wearable art is both durable and versatile. In this guide, we’ll explore various methods to secure your bracelet so that it can be taken on and off with ease. From basic braids to more advanced techniques involving ribbon crimps and clasps, there’s a method suitable for every bracelet design. Whether you’re a novice or a pro at bracelet making, these straightforward instructions will assist you in completing your project with confidence. Let’s start with the simplest method and then delve into more elaborate techniques, ensuring you know how to tie off a friendship bracelet in a way that suits your style and need for reusability.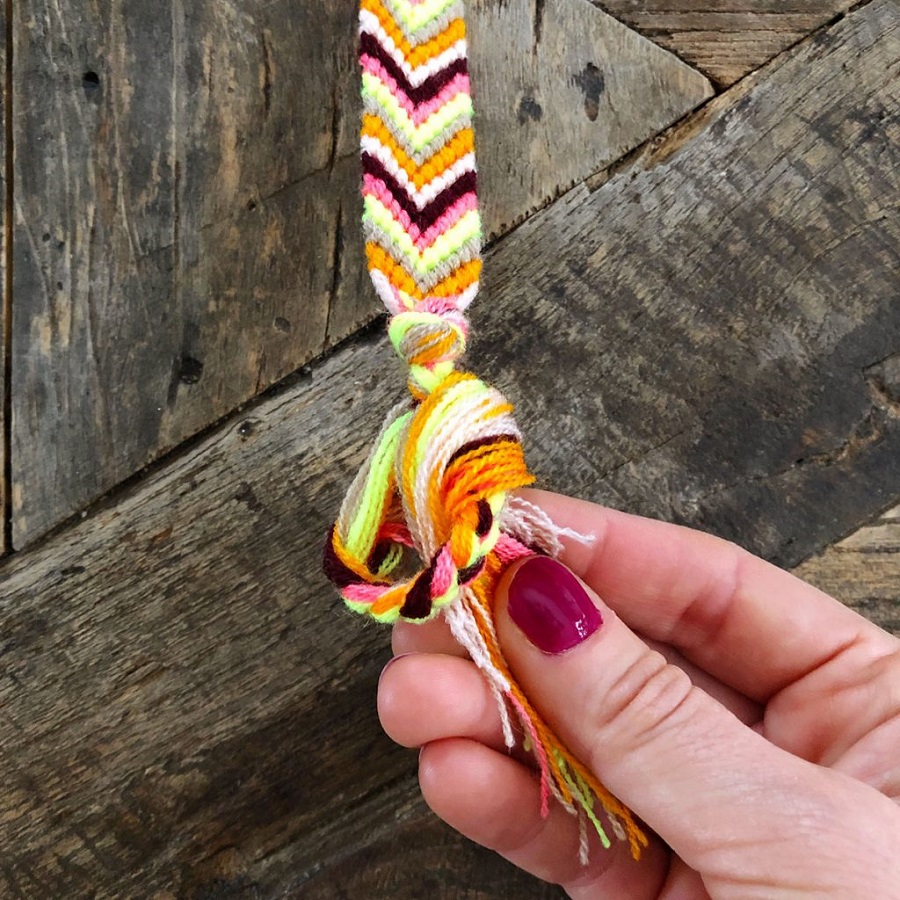
Method 1: Basic Braids
Starting with Basic Braids
Starting off with basic braids is a simple way to begin a friendship bracelet. First, choose your colors and decide if each color will appear once or twice. If twice, cut one long piece of each color, fold it in half, and create a loop. This loop will form the starting point of your bracelet. From the loop, divide the threads into three parts and start braiding. This forms a sturdy base and gives your bracelet a neat appearance, making it easier to tie and untie.
Finishing with Knots and Braids
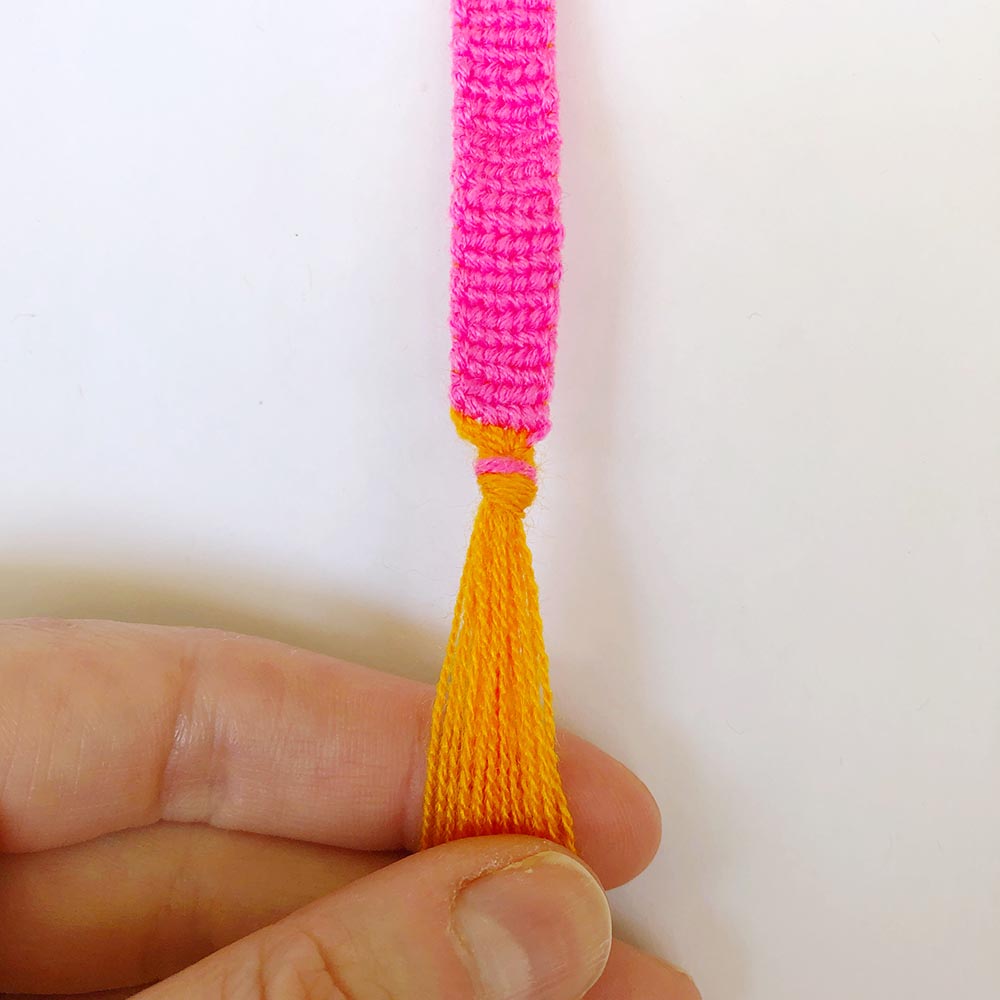
Once your bracelet design is complete, it’s time to secure the ends. A practical way is to finish off with a knot followed by a braid. This allows for a secure closure while remaining fairly easy to undo when needed. Tie a knot at the end of your bracelet, then separate the threads into three groups again. Braid each group to a length of a couple of inches and finish with another knot. This method is simple, effective, and doesn’t require any special tools or materials, making it ideal for beginners or those looking for a quick tie-off option.
Method 2: Advanced Loop
Creating a Strong Knotted Loop
For a stronger start or finish, the advanced loop is ideal. Cut one string longer than the rest. Use it to tie a solid larks head knot around your bracelet’s central strings. After, make a combination of backward and forward knots. These knots give your bracelet’s starting loop a firm and lasting hold.
Attaching Buttons for Reusability
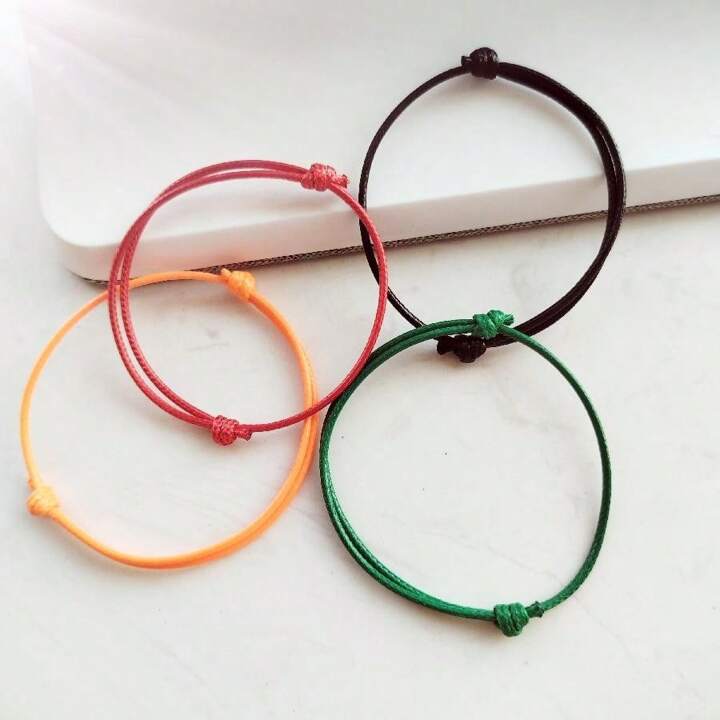
To make your bracelet reusable, attach a button at the end opposite of the loop. This way, you can fasten the bracelet on your wrist securely. Just loop the end through the button, and you can easily take it off or put it back on.
Step-by-Step Instructions for the Advanced Loop
- Start by cutting one string a foot longer for your loop.
- Fold it a foot from the center and form a larks head knot with the other strands.
- Knot the long string backwards around the rest, then forwards, creating a secure stitch.
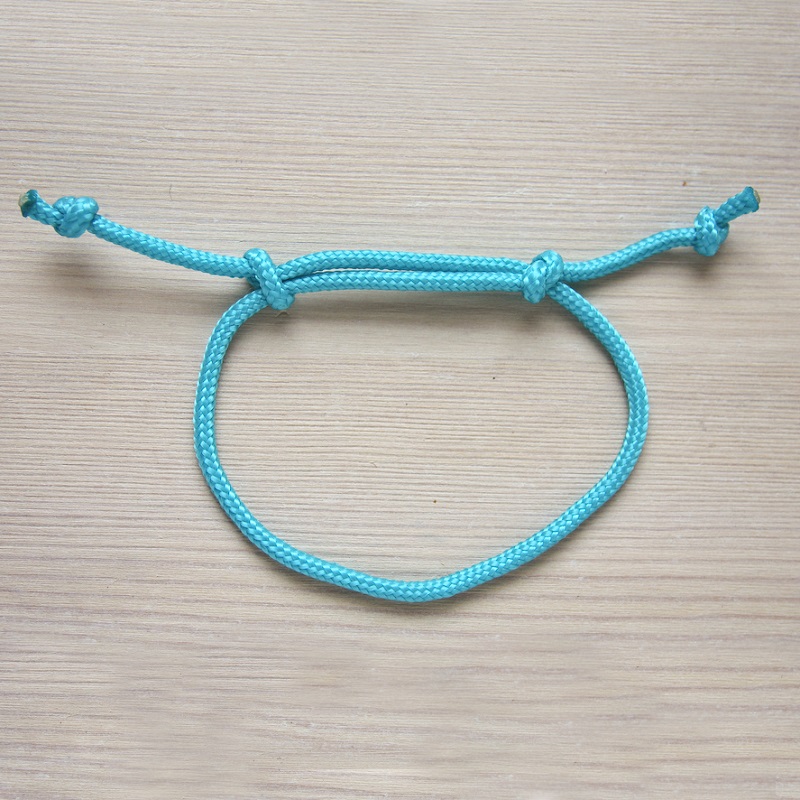
- Once the loop is big enough, join it into a loop shape and tie one final knot around all strands. This creates a teardrop-shaped, strong loop. For the other end, you have two options: braid it or make small knots at the ends for a different style.
By mastering the advanced loop method, how to tie off a friendship bracelet becomes a creative and durable task, ensuring your bracelets can withstand repeated wear while still being easy to remove and put on.
 Method 3: Most Reusable Closure Technique
When you want a closure that lasts, ribbon crimps combined with pliers are the best. This method turns your friendship bracelet into a piece of jewelry. Start by tying a strong knot at both ends of your bracelet. Apply some glue to these knots to reinforce them further. Then, take your pliers and attach a ribbon crimp to each end. This firmly locks the ends and adds a professional touch.
Using Ribbon Crimps and Pliers for Durability
Ribbon crimps are little metal findings that you clamp onto the ends of your bracelet. They give a neat finish and add strength. You need pliers to close the crimps tightly around the bracelet ends. Ensure the crimps are the right size for your bracelet. Once in place, they prevent the threads from fraying.
Adding Jumprings and Clasps
Next, add jumprings and clasps for ease of use. Jumprings are small metal rings that connect to the ribbon crimps. Clasps allow you or your friend to take the bracelet on and off easily. With them, your bracelet will be secure and convenient to wear.
Making Adjustable Bracelets with Cable Chain
For an adjustable fit, consider adding a cable chain to one end with a jumpring. This lets the wearer adjust the bracelet size as needed. To do this, attach one end of the chain to a ribbon crimp. For the other end, attach a clasp. Now, your bracelet can fit wrists of different sizes.
By using this durable closure technique, you ensure your friendship bracelets are made to last. They become not just a token of affection but a handy accessory too.
Tips for Making Beaded Friendship Bracelets
Beaded friendship bracelets add a fun twist to the classic bracelet. Here are some tips when including beads:
Choose the Right Thread
Select a thread that’s sturdy. It should hold the beads well without breaking. Thin fishing line or nylon cord works well.
Pick Your Beads Carefully
Use beads that fit comfortably on the thread. Make sure the hole is large enough to pass through twice.
Secure Beads with Knots
Tie a knot before and after each bead. This keeps them in place and evenly spaced.
Use a Bead Loom for Complex Patterns
For intricate bead patterns, consider a bead loom. It helps keep everything organized and aligned.
Finish with Secure Methods
When you’re done, tie off your bracelet using the methods we’ve discussed. The advanced loop or ribbon crimps are strong options for beaded bracelets.
By following these tips, you can create beaded friendship bracelets that are both stylish and durable. They make for a great gift or a special accessory for any outfit.
 Conclusion: Choosing the Best Method
Selecting the ideal method to tie off a friendship bracelet depends on several factors. Consider the bracelet’s use, the wearer’s preference, and the materials at hand. For beginners or those seeking simplicity, basic braids and knots offer ease and effectiveness. This method doesn’t require special tools, making it accessible for all.
For those needing a more durable and reusable option, the advanced loop or button attachments are excellent. These methods ensure the bracelet can withstand frequent use. The loop method, involving intricate knotting, provides a secure start or finish. Attaching a button allows for easy on and off wearability, enhancing the bracelet’s functionality.
For a professional and enduring finish, using ribbon crimps with pliers stands out. This method transforms the bracelet into a sturdy piece of jewelry. It is suitable for those who cherish a refined look and long-lasting wear. Adding jumprings and clasps further enhances convenience, making the bracelet adjustable and easy to manage.
Each method has its merits. Your choice should align with the purpose of the bracelet and the personal style of the wearer. Whether for casual wear or as a cherished gift, the right finishing method enhances the bracelet’s beauty and utility.
