 Introduction:
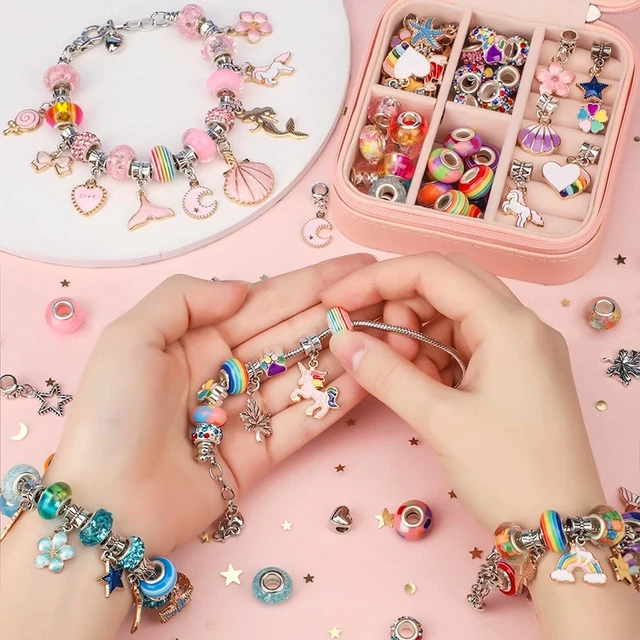
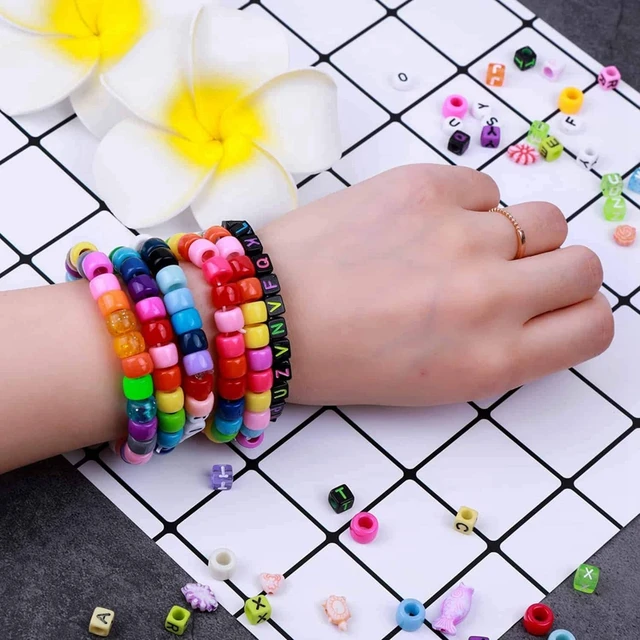
DIY bead bracelets are a fun and creative way to express your personal style and create unique accessories. With a wide variety of beads and materials available, you can design bracelets that reflect your individuality and match any outfit. Whether you are a beginner or an experienced crafter, making your own bead bracelets allows you to customize the colors, patterns, and designs to suit your preferences. In this comprehensive guide, we will explore everything you need to know about DIY bead bracelets. From choosing the right beads and materials to step-by-step instructions and design inspiration, we will cover all aspects of creating beautiful and personalized bead bracelets.
 Choosing Beads and Materials
Bead Types:
Seed Beads: Small, rounded beads available in various sizes and colors.
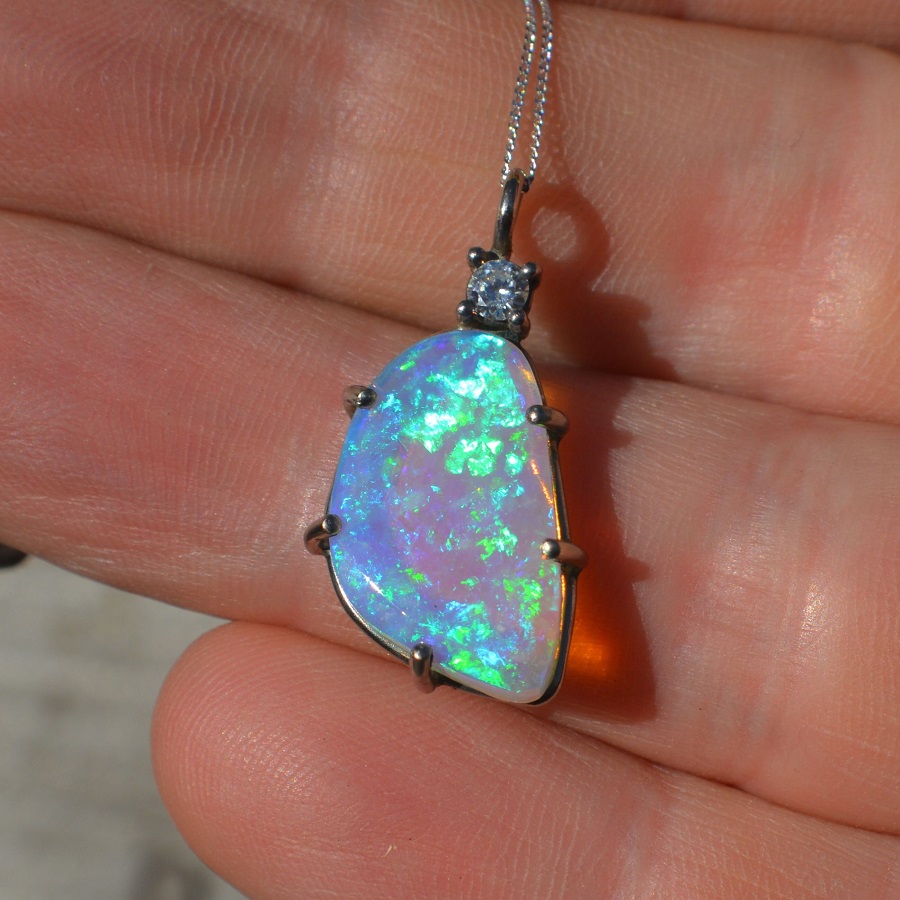
Gemstone Beads: Natural stones with unique patterns and colors.
Glass Beads: Colorful and versatile beads available in different shapes and finishes.
Wood Beads: Lightweight and earthy beads that add a natural touch to your bracelet.
Acrylic Beads: Affordable and lightweight beads available in a wide range of colors and shapes.
Gold Beadss:Are small spherical bead ornaments made of pure gold
Stringing Materials:
Stretch Cord: Elastic cord that allows for a comfortable and flexible fit.
Beading Wire: Strong and flexible wire that requires crimp beads or clasps for closure.
Leather Cord: Natural and durable cord that creates a rustic and bohemian look.
Findings and Tools:
Jump Rings: Metal rings used to attach clasps or charms to the bracelet.
Clasps: Metal closures that secure the bracelet around the wrist.
Pliers: Basic jewelry-making pliers for opening and closing jump rings and attaching findings.
 Design and Assembly
Design Inspiration:
Browse magazines, websites, or social media platforms for inspiration and ideas.
Experiment with different color combinations, patterns, and bead arrangements.
Basic Bracelet Assembly:
Measure your wrist to determine the desired length of your bracelet.
String the beads onto the chosen stringing material, leaving enough length for tying or attaching the clasp.
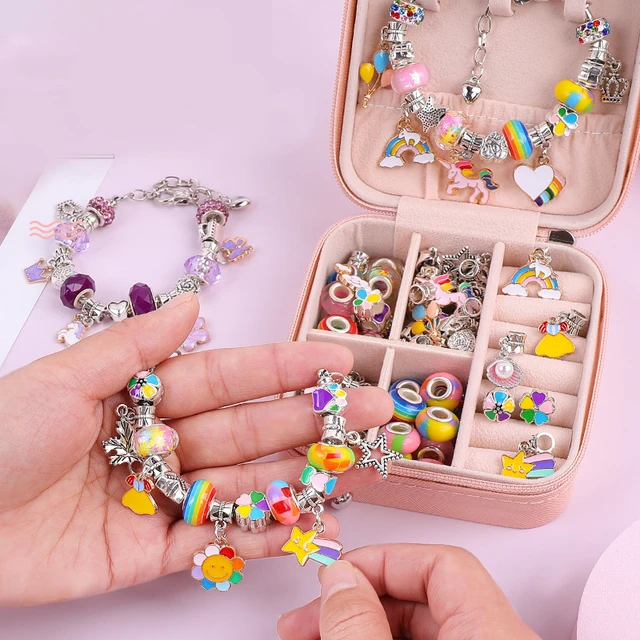
Adding Charms and Pendants:
Attach charms or pendants using jump rings or by stringing them onto the bracelet.
Choose charms that reflect your interests, hobbies, or personal symbols.
 Essential Techniques
Basic Stringing:
String beads onto the cord, wire, or leather in your desired pattern or arrangement.
Use crimp beads or knots to secure the ends of the stringing material.
Knotting Techniques:
Use simple knots, such as the square knot or surgeon’s knot, to secure the beads and create a finished look.
Experiment with different knotting techniques to add texture and visual interest to your bracelet.
Adding Clasps and Findings:
Attach clasps using jump rings and pliers, ensuring a secure closure.
Use crimp beads or knots to attach cord or wire to the clasps.
Tips and Tricks
Organization:
Keep your beads, findings, and tools organized in a designated workspace or storage system.
Use small containers or trays to separate different types of beads and findings.
Experimentation:
Don’t be afraid to experiment with different bead combinations, patterns, and techniques.
Mix and match different bead sizes, shapes, and finishes to create unique designs.
Practice and Patience:
Start with simpler bracelet designs and gradually challenge yourself with more intricate patterns and techniques.
Be patient with yourself and enjoy the process of creating your own bead bracelets.
When it comes to styling DIY bead bracelets to complement your outfit, here are some tips:
Color coordination:
Consider the colors of your clothing and choose bead bracelets that complement or match those hues. For example, if you’re wearing a blue outfit, opt for bead bracelets in shades of blue or complementary colors like silver or white.
Contrast and balance:
Create visual interest by mixing different bead sizes, shapes, and textures. Pair larger statement beads with smaller, more delicate ones to create a balanced look. For example, if you’re wearing a flowy, bohemian-style dress, you can layer a mix of wooden and ceramic beads for a textured and eclectic vibe.
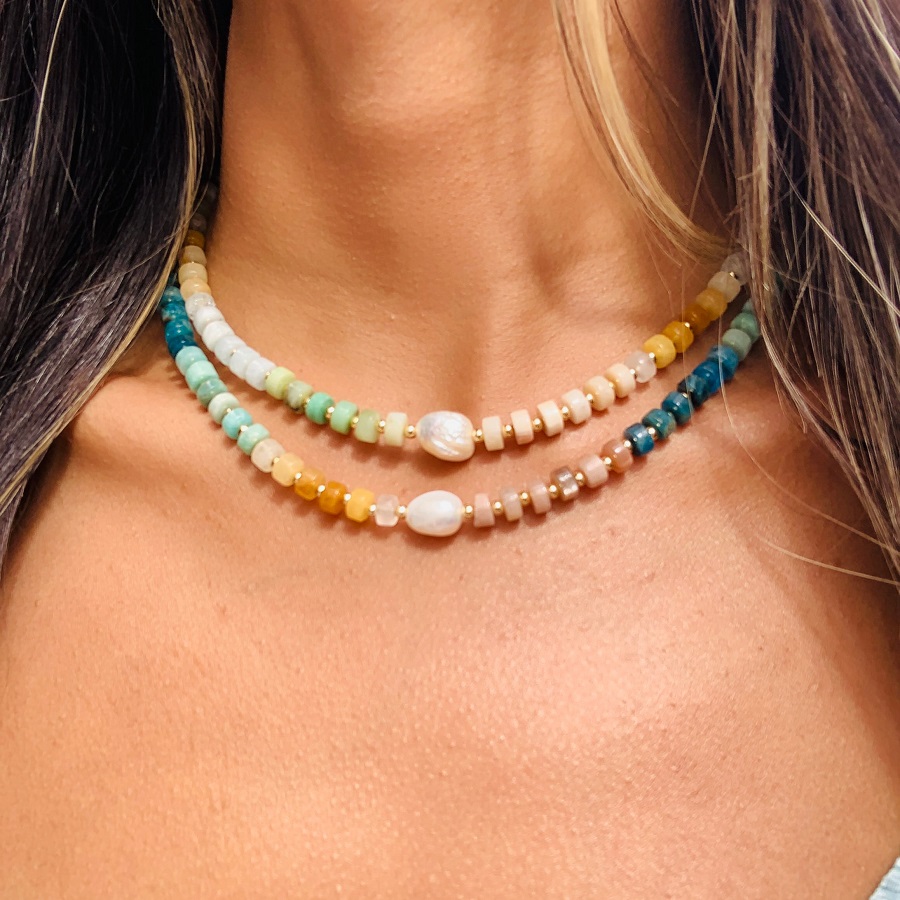
Layering and stacking:
Stack or layer multiple bead bracelets of varying lengths to create a stylish and personalized look. Combine different bead types, such as wooden, glass, or gemstone beads, to add depth and variety. Experiment with different combinations until you achieve the desired effect.
Consider the occasion:
Adapt your DIY bead bracelet combinations based on the occasion. For casual everyday wear, opt for a few simple and lightweight bead bracelets. For a more formal event, consider stacking multiple bracelets with more intricate beadwork or adding a statement bead bracelet as a focal point.
Personal style:
Let your personal style shine through in how you design and wear your DIY bead bracelets. If you prefer a minimalistic look, stick to a few simple bead bracelets. If you enjoy a boho or eclectic style, mix and match different bead colors, shapes, and materials for a unique and vibrant stack.
Pay attention to metal accents:
If your DIY bead bracelets have metal accents, such as charms or spacers, consider matching or coordinating the metal with other jewelry or accessories you’re wearing. For example, if you’re wearing silver earrings, opt for bead bracelets with silver-toned accents.
Metal accents:
Consider the metal accents in your bead bracelets and coordinate them with other jewelry pieces like earrings or necklaces. Match silver-toned accents with silver accessories and gold-toned accents with gold accessories.
Remember, fashion is subjective, and these are just general tips to get you started. The most important thing is to have fun, be creative, and wear your DIY bead bracelets with confidence, as they can be a reflection of your personal style and a unique accessory to enhance your outfit.
 Conclusion:
DIY bead bracelets offer a creative and fulfilling craft that allows you to make personalized accessories that reflect your style and personality. With a variety of bead options, stringing materials, and techniques to choose from, the possibilities are endless. By following the tips and techniques outlined in this comprehensive guide, you can create beautiful and unique bead bracelets that complement your outfits and make a fashion statement. Remember to experiment, practice, and enjoy the process of creating your own customized bead bracelets.