Introduction
Creating your own stud earrings can be a fulfilling and enjoyable experience. Not only does it allow for personal expression and creativity, but it can also save you money while gifting unique pieces to friends and family. In this comprehensive guide, we will explore different materials, techniques, tools, and step-by-step instructions to make stunning stud earrings.
Getting Started with Stud Earrings
Kick off your DIY jewelry journey with handcrafted stud earrings.
Materials You Will Need
To begin, gather your materials. Here’s what you’ll need:
- Jewelry wire: Opt for an 18 gauge, ensuring it’s both easy to manipulate and sturdy enough to maintain shape.
- Round beads: Choose beads with a diameter of 1.5 cm or smaller to maintain comfort and aesthetics.
Remember, personalize with colorful beads to match your summer wardrobe.
Essential Tools for Earring Crafting
Now, let’s look at the tools required:
- Jewelry pliers: You’ll need cutting, looping, and flat nose pliers.
- Cutting pliers: These are vital for trimming your wire to the perfect length.
With these tools and materials, you’re set to create stylish earrings for your summer collection. Let your creativity bloom as the temperature rises!
 Selecting the Right Materials
To create beautiful DIY stud earrings, selecting the right materials is crucial.
Choosing Wires for Your Earrings
When choosing wires for your stud earrings, the material’s flexibility and strength are key. Choose an 18 gauge wire; it is sturdy yet malleable. This balance allows for easier shaping without sacrificing the structure of the earrings. Be wary of allergies and select hypoallergenic wires if necessary.
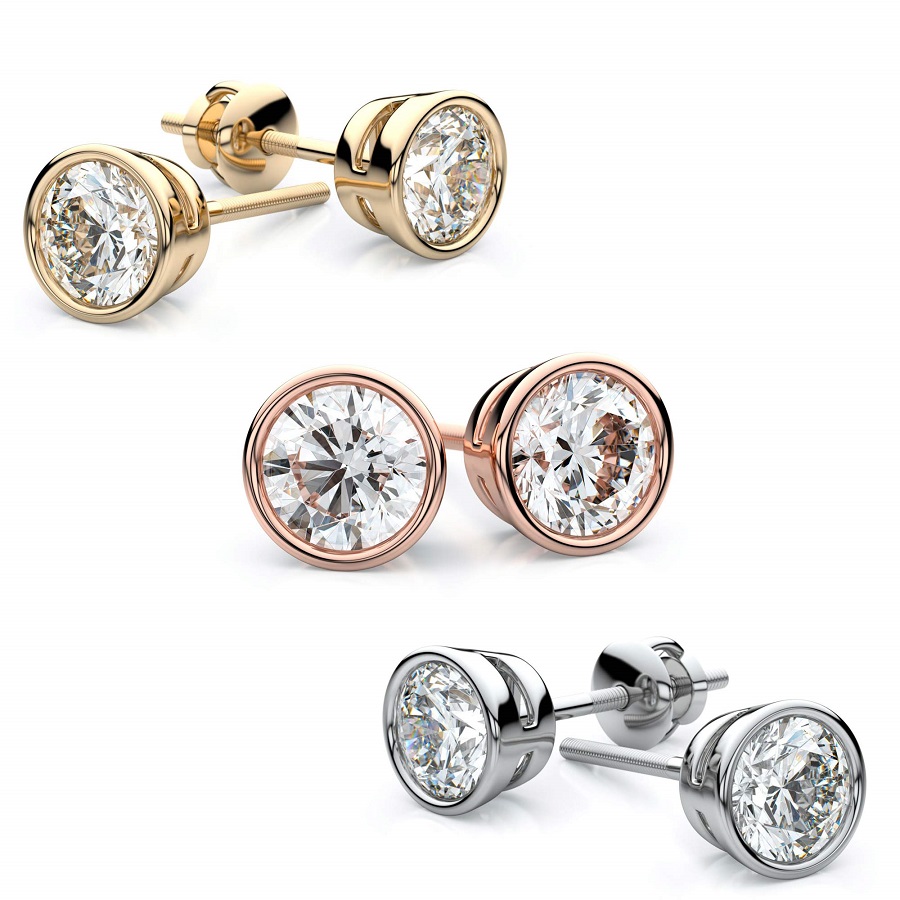
Selecting Beads for Stud Earrings
For the beads, size and color play a significant role. Remember, smaller beads (no larger than 1.5 cm in diameter) are ideal for comfort and proportion. Colorful beads add a playful touch, perfect for summer styles. Consider the theme or occasion for your earrings when selecting bead colors and patterns. Variety in beads means a wider range of possibilities for your crafted earrings.
Crafting Your First Stud Earring
Crafting stud earrings is an enjoyable and creative process. Let’s begin with the foundation of your first earring.
Preparing the Wire Base
Start by cutting a piece of 18 gauge jewelry wire. Use flat nose pliers to bend 1 cm of the wire at a 90-degree angle. This creates a base for your bead.
Attaching Your Chosen Beads
Select a bead that fits the wire base. Carefully insert the bead onto the bent wire. Ensure the bead fits snugly.
Wrapping and Securing the Bead in Place
Hold the bead in the wire base with one hand. With the other hand, wrap the wire around the bead. Do this 2 to 3 times until the bead is secure. Flatten the wire against the bead to keep it neat.
 Perfecting the Earring Backside
Comfort and security are vital when making jewelry. The backside of stud earrings is no exception.
Shaping the Wire on the Back
Once you have coiled the wire around your bead, you need to work on the back. Hold the coiled bead and carefully bend the wire’s end to the backside. Make sure it sits flush against the bead. Use your flat nose pliers to make a 90-degree bend in the wire, providing stability for the earring post.
Trimming Excess Wire for Comfort
Excess wire can poke and be uncomfortable for the wearer. Measure roughly 1 cm of wire to extend past the bend for the earring post. Use cutting pliers to trim off any extra wire beyond this point. File down the cut end to remove any sharp edges. This will ensure that your stud earrings are comfortable to wear all day long.
Crafting a Matching Pair
Creating a matching pair of stud earrings is key to a polished set.
Ensuring Symmetry and Style
To ensure both earrings look identical, use the same length of wire and size of bead. Use a ruler or measuring tape for precision. Compare the earrings side by side as you work. Adjustments are easier to make before finalizing your design. Consistency in wire wrapping is also crucial for symmetry. Practice the same number of wraps for each earring. Finally, inspect the loop and post placement. They need to align for the pair to look and feel right.
Finishing Touches for a Polished Look
The last step is to smooth and refine your earrings for a professional appearance. File any sharp edges with a jewelry file, paying close attention to the ends of the wire. Polish your beads and metal with a soft cloth to add shine. If using metal, you can use a clear nail polish to prevent tarnish. The result should be a pair of handcrafted stud earrings, both comfortable to wear and stylish to behold. Now it’s time to enjoy or gift your unique creation, knowing how to make stud earrings with consistency and quality.
Customization and Design Variations
Your stud earrings should reflect your personal style. With the basics down, it’s time to get creative.
Adapting the Basic Technique for Unique Styles
Once comfortable with the basic technique, experiment with different wire shapes. Try curves or zig-zags instead of just wrapping. Mix metals for a two-tone effect, or twist wires together before wrapping for texture. Play with the placement of the bead on the wire. Position it off-center or use multiple small beads to create a cluster effect.
Creative Ideas to Personalize Your Stud Earrings
Your earrings can tell a story. Choose beads that have meaning, like birthstones or heirloom beads. Attach charms to the wire base for a dangle effect. Use colorful wires to add a pop of color instead of traditional metals. For a beach vibe, consider using small shells or sea glass as your ‘beads.’ Paint or decorate the metal with enamel for a hand-painted look. Remember, small changes make your earrings uniquely yours.
Beginner Tips and Tricks
Embarking on your DIY stud earring journey? Arm yourself with these beginner tips and tricks to elevate your crafting experience.
Wire Wrapping for Beginners
To start off in wire wrapping, choose wires that bend easily but hold shape for durability. Always wrap your wire around the bead before cutting; this ensures a perfect fit every time. Use a ruler or caliper for precise measurements during your crafting process. Lastly, practice makes perfect. Repeat techniques to build confidence and skill.
Common Mistakes to Avoid
New to making stud earrings? Steer clear of these common errors for better results. Avoid using beads larger than 1.5 cm in diameter, as they may cause discomfort. Double-check for any sharp edges after cutting the wire and smooth them out. Beware of not securing the bead properly; it should not wobble or fall off. Don’t rush the process; take time to refine and check each step for symmetry and quality.
Step-by-Step Video Tutorials and Resources
For those who prefer visual learning, video tutorials are invaluable. They demonstrate each step in real-time.
Visual Learning Aids for DIY Earring Crafting
Visual aids can help you grasp ‘how to make stud earrings’ more quickly. Look for video tutorials that cover the following:
- Material selection: Videos that show how to pick the right wires and beads.
- Wire preparation: Tutorials demonstrating how to cut and bend wires accurately.
- Bead attachment: Look for close-ups on how beads fit onto the wire base.
- Wire wrapping: Watch how experts wrap and secure beads with wire.
- Crafting the backside: Learn how to make a comfortable, secure earring back.
- Finishing touches: Find tips on polishing and finishing your earrings for a sleek look.
YouTube is a great place to find these resources. Search for ‘DIY stud earrings tutorials’ to get started. Such videos complement this guide, offering a visual reference as you craft. Try to replicate the steps as you watch for hands-on learning.
 Innovative Ideas for 2024
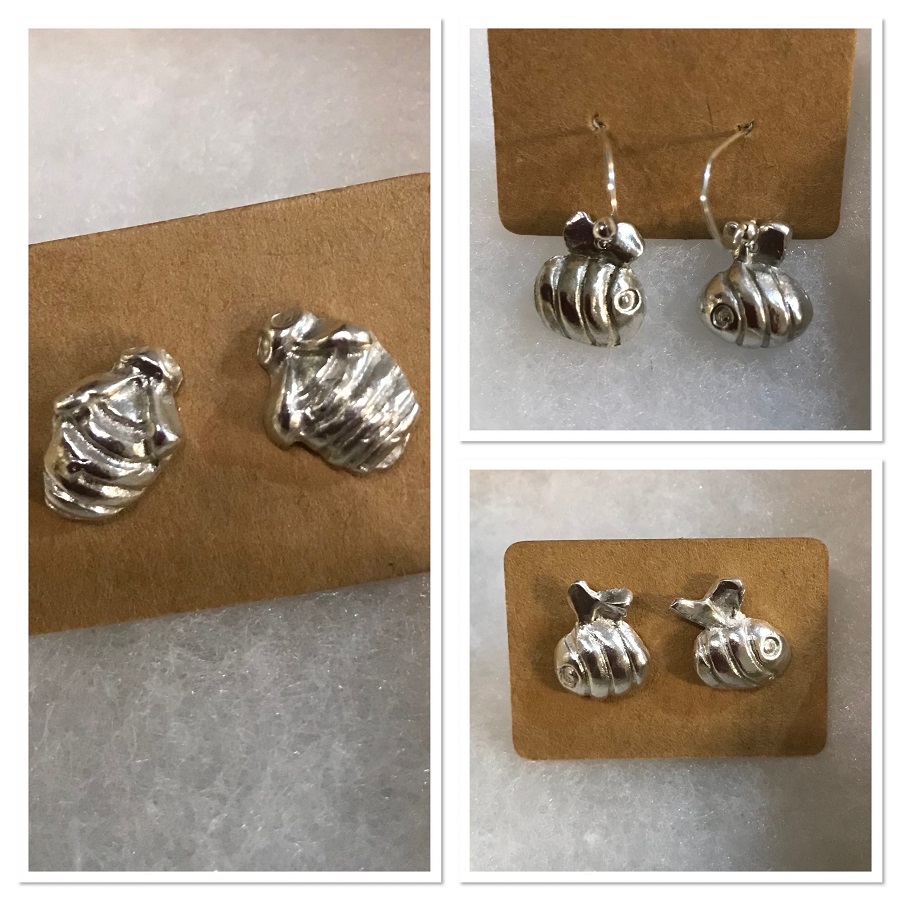
Upcycled Materials
Utilizing old jewelry, buttons, or even discarded fabrics can lead to unique, eco-friendly designs. Consider using broken necklaces or vintage buttons as your earring bases.
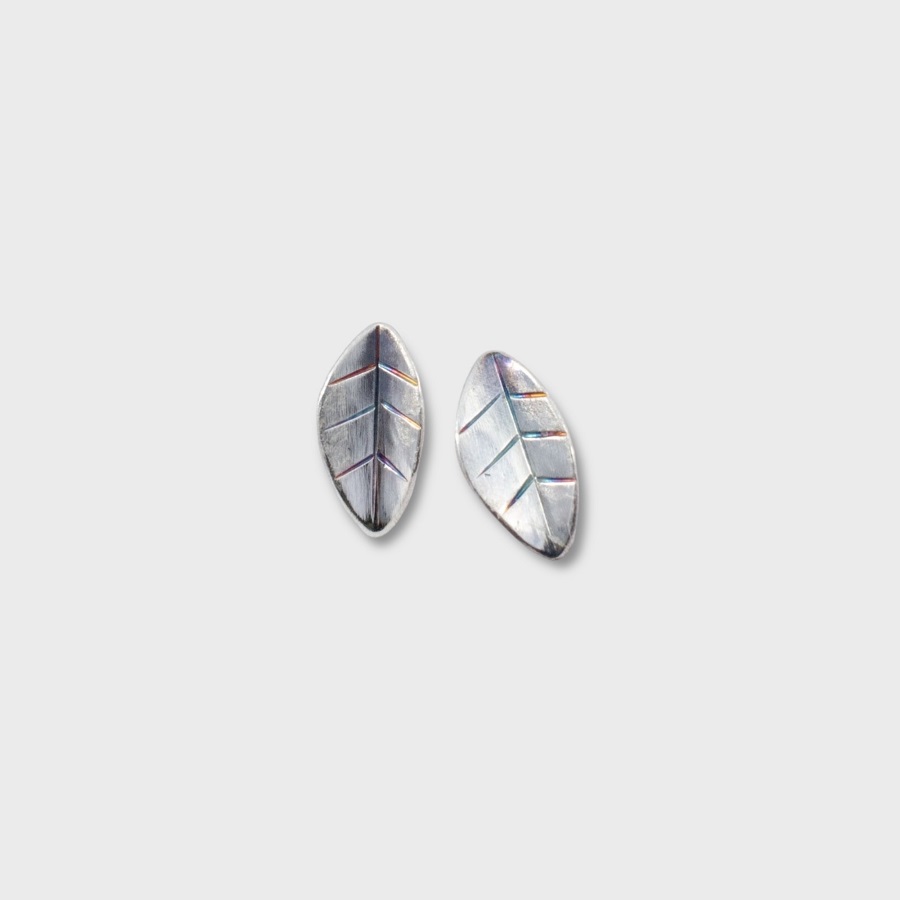
Nature-Inspired Designs
Explore incorporating natural materials like dried flowers, seashells, or even pieces of small stones for an organic feel.
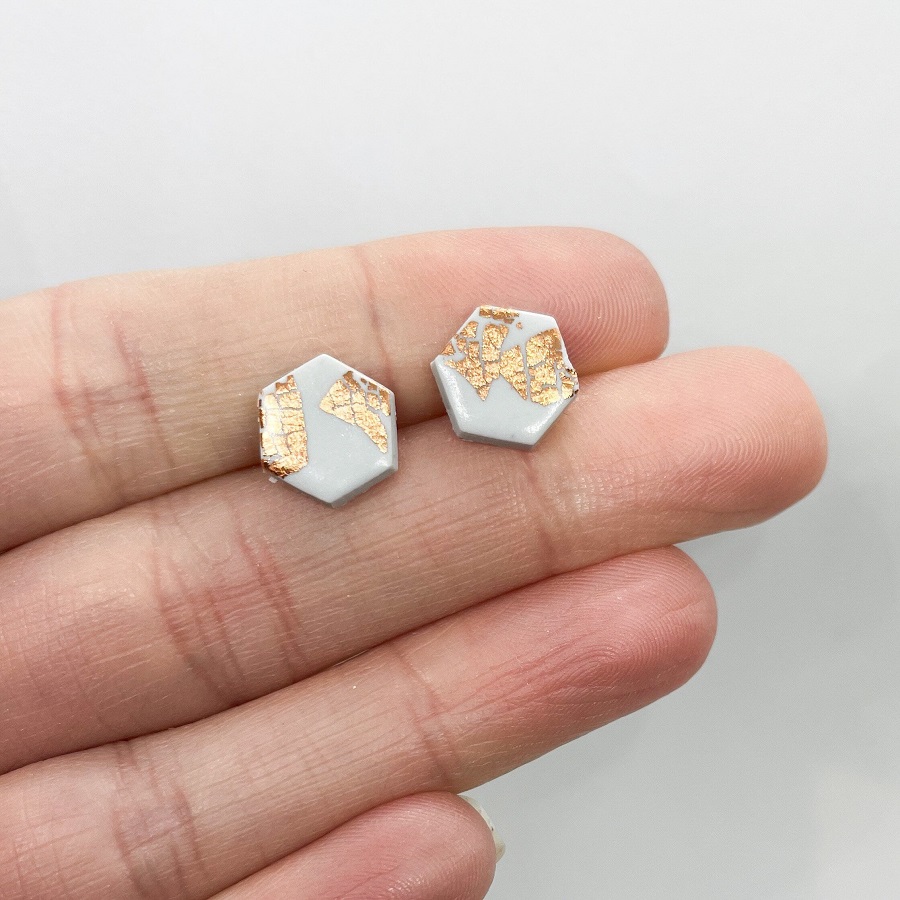
Mixed Media
Combine different materials—wood, metal, fabric, and resin—to showcase various textures and colors.
Dangles with Studs
Care and Maintenance
To ensure your DIY earrings last, remember to handle them gently. Store them in a dry, cool place, avoiding excess moisture that could tarnish metal or ruin adhesive.
Cleaning
For metal-based studs, use a soft cloth to clean them. Avoid harsh chemicals that may damage the finish. For fabric or wood, consider a damp cloth but dry them immediately afterward to prevent water damage.
Conclusion
Creating your own stud earrings is not only gratifying but also a wonderful way to express yourself and explore your creativity. As you venture into the world of DIY jewelry making in 2024, remember to have fun, experiment with materials, and share your unique creations with others! Happy crafting!