Getting Started with Cricut Earrings
Embarking on the journey of crafting Cricut earrings begins with a few essential steps. It’s about choosing the right machine and selecting materials that match your vision for the final product. Let’s dive into the essentials for a successful earring-making experience.
Choosing Your Cricut Machine
The first step in making earrings with a Cricut is picking a suitable machine. You have the Cricut Maker, Cricut Explore Air, and Cricut Joy to consider. Each one can handle a variety of materials and comes with its own set of features. Think about the level of complexity in your earring designs and the thickness of the materials when making your choice.
Selecting Materials for Your Earrings
The fun part of crafting is in the materials. For earrings, you can choose from leather, faux leather, and speciality vinyls. Consider the weight and texture for comfortable wear. Leather gives a rich, classic look, whereas faux leather is lighter and easier to handle. Iron-on vinyl adds a touch of uniqueness with its variety of colors and finishes. Your material choice will determine the look, feel, and wearability of your earrings, so choose with care.
Designing Cricut Earrings
Creating your earring designs with a Cricut starts in the digital crafting space. The Cricut Design Space is a user-friendly platform with tools and features for customized projects. It’s here that your earrings will take shape before cutting.
Using Cricut Design Space for Earring Designs
The Cricut Design Space offers an array of design possibilities. Start a new project and explore the shapes library for earring patterns. Whether you want classic drops or unique geometrics, it’s all possible. Use the ‘Shapes’ tool and customize dimensions to suit your style. Remember to include hole cut-outs for hooks.
To make things easier, tweak existing earring templates or create new ones using basic shapes. Combine them to fashion your design. Playing with sizes and duplicating elements helps in making earrings in pairs. Always save your work and make sure to mirror designs when necessary for symmetrical pairs.
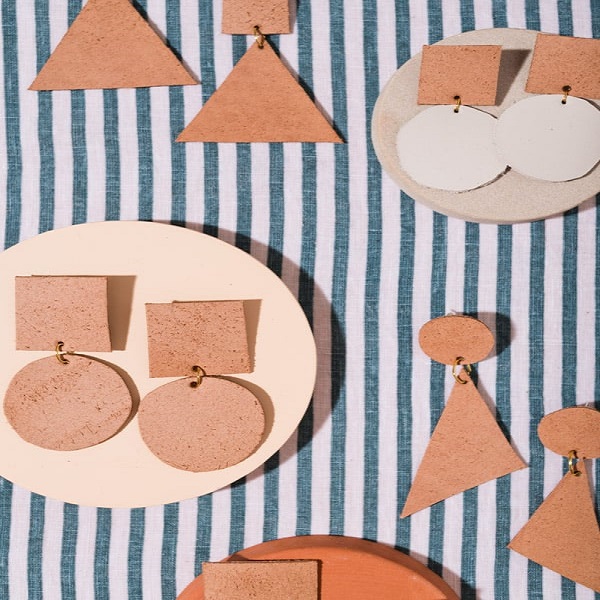
Exploring Popular Earring Shapes and Styles
Popular earring shapes include teardrops, rectangles, and arches. A simple square or circle can turn into a statement piece with the right texture or color. Seasonal shapes like flowers and snowflakes are also in demand. Experiment with these styles in the Design Space for a personalized touch.
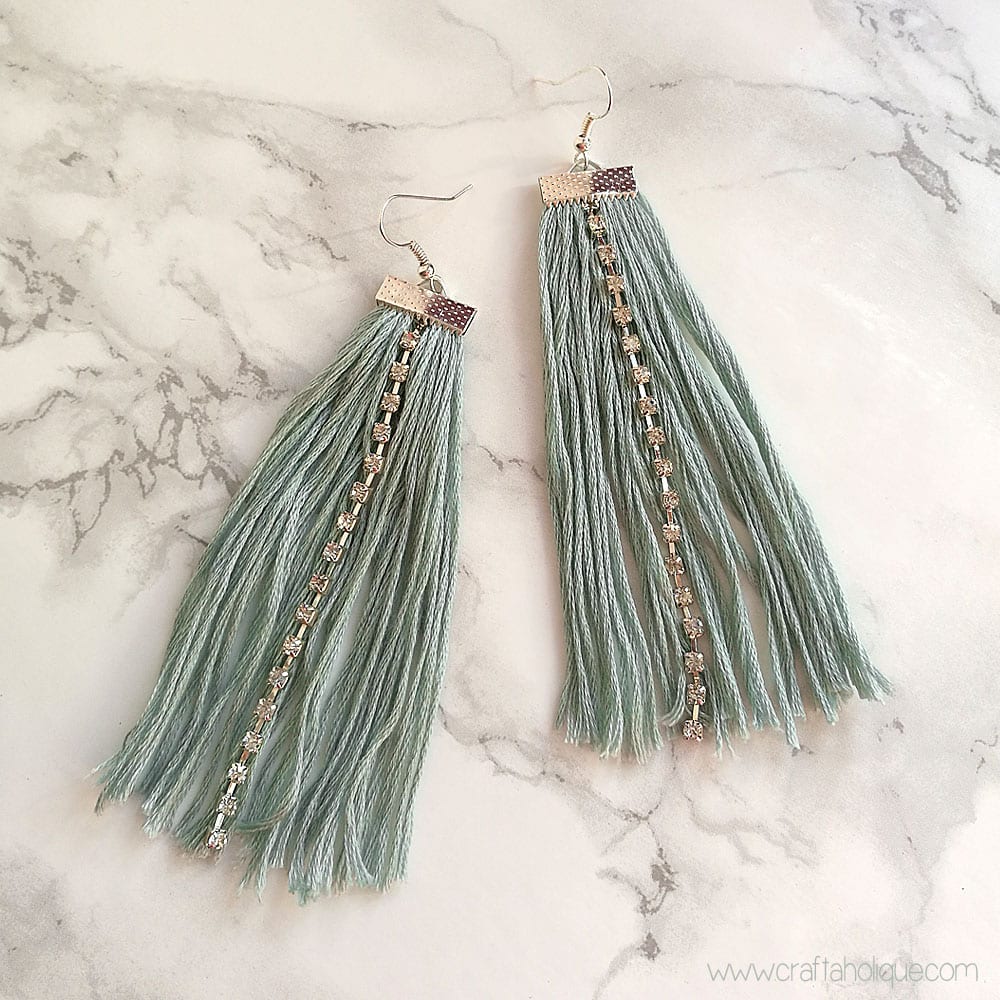
For a boho look, combine a small circle atop a larger teardrop. Or pair an arch with dangling chains for an edgy vibe. Think of layering shapes, such as a solid background with a detailed overlay. This adds depth to your designs. Always preview your work to check the overall look and size before cutting.
In the next sections, we’ll cover the materials preparation and the actual cutting and crafting process. Stay tuned to learn how to bring these designs to life and troubleshoot any issues along the way.
Preparing Your Materials
Before bringing your earring designs to life with a Cricut, you must prepare your materials.
Handling Leather and Faux Leather
Working with leather and faux leather requires attention. Both materials offer unique benefits and challenges. To start, gather your leather or faux leather, and ensure it’s smooth and flat. Use a Cricut knife blade for leather, and a fine point blade for faux leather. These blades ensure precise cuts for intricate earring designs. Check for any marks or imperfections before placing the material onto a strong grip mat. Secure it with painter’s tape to prevent movement. Remember, leather thickness can affect cutting, so adjust your Cricut settings accordingly. After cutting, use sharp scissors to trim any rough edges.
Working with Iron-On Vinyl
Iron-on vinyl adds a creative flair to earrings. Choose from many colors and effects like glitter or metallic finishes. When using iron-on vinyl, start by choosing a design that’s not too detailed. Complex patterns are harder to weed at small sizes. Cut the vinyl with your Cricut machine, then weed away the excess, leaving only your desired design. For application, use a Cricut EasyPress Mini or a household iron. Apply the design with the right amount of heat and pressure, based on the vinyl manufacturer’s instructions. Let it cool, then carefully remove the backing. This leaves a clean, professional-looking vinyl layer on your earrings.
 Cutting and Crafting Process
To begin crafting your Cricut earrings, you need to properly set up your machine. This includes choosing the right blade and mat for your material. For leather and faux leather, use a strong grip mat. Tape the material down to avoid shifting during the cutting process. Always check your machine’s settings to match the material you’re using. Align the project in the Cricut Design Space and make sure to mirror the design if required.
Setting Up Your Cricut for Cutting
Start by securing your material on the mat. For leather, position it smooth side down. Select the correct material setting in the Cricut Design Space. If you’re using a custom material, test cut a small piece first. Watch as the Cricut cuts your design, ready to stop the machine if needed.
Assembling Earrings with Jewelry Findings
After cutting, remove the designs from the mat. Use a weeding tool to clear any small unwanted pieces. Punch holes at the top of each earring for the hooks. Using jewelry pliers, open the jump rings and connect them to the earrings. Finally, attach the earring hooks.
Adding Decorative Details
To add flair, consider using iron-on vinyl or paint. Apply these to the earrings before assembling. If using iron-on, cut the design, weed away the excess, and press it onto the earring. Ensure to follow the heat setting guidelines for best results. Get creative with the placement and combination of your decorative details.
Assembly and Customization Tips
Customizing your Cricut earrings involves adding the right finishing touches and hardware. Here’s how to ensure your creations are both stylish and secure.
Using Jump Rings and Earring Hooks Effectively
When it’s time to assemble, jump rings and earring hooks are crucial. Use two pairs of jewelry pliers to twist open the jump rings. Hook them through the holes in your earrings and then attach the earring hooks. Close the rings tightly to secure.
For a seamless look, match the metal finishes of your jump rings and hooks. If your design calls for it, add chain or other elements. Experiment with different sizes of jump rings to adjust the dangle length.
Troubleshooting Common Issues
Sometimes, you might run into issues like jump rings that won’t close properly. If they don’t align, use the pliers to gently twist them back and forth until they meet. If your vinyl peels after applying, this might be due to not enough heat or pressure. Reapply with the correct settings.
If you’re using leather and the edges fray, trim them carefully with sharp scissors. On faux leather, if you dislike the backside, consider gluing a second piece behind it for a cleaner finish. Always test cuts and settings on small pieces of material to avoid wasting resources.
By following these tips, your earrings will not only look professionally made but will also hold up well against wear.
Finishing Touches
Once you’ve assembled your DIY Cricut earrings, it’s time for the finishing touches that add polish and professionalism to your creations.
Applying Iron-On to Leather
After successfully cutting out your leather earring shapes, applying iron-on vinyl is a great way to add custom designs. Pick a simple, bold pattern for the best effect. Place the iron-on design onto the leather earring piece. Use a mini press or iron with careful pressure. Follow vinyl instructions for time and heat settings. After pressing, let the design cool down before peeling off the backing. This process gives your earrings a unique, layered look.
Polishing and Cleaning Up Edges
Inspect your earrings for any rough or frayed edges. Use sharp scissors to clip away uneven spots. Be gentle and cut slowly for a neat finish. If the edges still look rough, lightly sand them with fine-grit sandpaper. Wipe your earrings with a soft cloth to remove any dust and give them a clean, sleek appearance.
These steps will ensure that your Cricut earrings are not only visually appealing but also ready to wear or gift. With practice, you’ll refine these finishing techniques and create earrings that truly stand out.
 Creative Variations and Ideas
Crafting with a Cricut machine offers endless possibilities. Get creative by mixing materials or drawing inspiration from different sources for unique designs.
Mixing Materials and Colors
One way to bring originality to your Cricut earrings is by combining various materials and hues. Try these ideas:
- Layer faux leather with shiny iron-on vinyl for a contrasting effect.
- Use colorful leather pieces to create vibrant, eye-catching accessories.
- Mix textures by adding smooth and glittery vinyl layers.
- Design two-tone earrings with different colored leathers or vinyls.
In every design, balance your colors and materials for a cohesive look. Always ensure that your material pairings are compatible with each other and can be easily cut and assembled using your Cricut machine.
Design Inspirations for Unique Earrings
Looking for ideas to spark your creativity? Here are some starting points:
- Nature: Think leaves, flowers, or animal-inspired shapes.
- Geometric: Experiment with circles, squares, or irregular patterns.
- Cultural: Draw from patterns or symbols from different backgrounds.
- Seasonal: Design earrings for holidays or seasons, like snowflakes for winter.
Using Cricut Design Space, browse through images and templates to jumpstart your designs. Remember, with every project, consider the final size of the earrings to ensure they’re not too heavy or large for comfortable wear. Don’t be afraid to try out new ideas and push the boundaries of traditional earring styles. Your personal touch will make your Cricut earrings stand out.