Introduction
How to tie a bead bracelet – Creating your own bead bracelet is a fun and fulfilling craft project that allows for endless creativity. Whether you’re making a gift for someone special or a piece for yourself, this guide will walk you through the entire process.
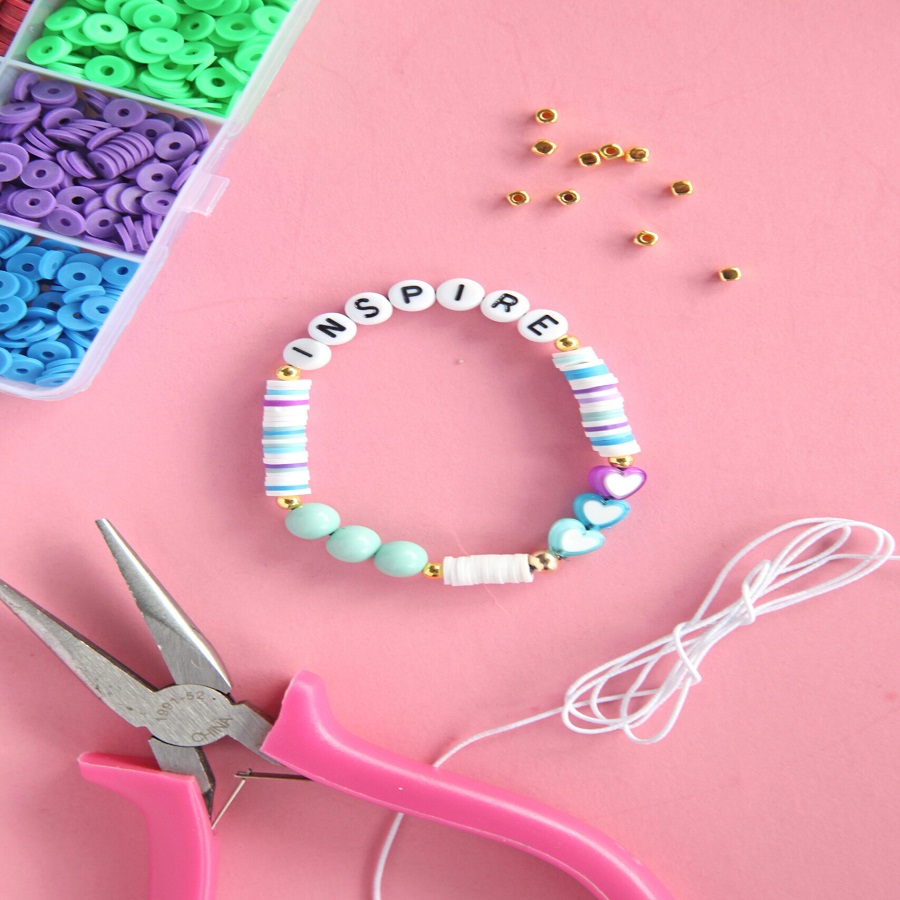
Materials Needed
- Beads: Choose a variety of beads in terms of size, shape, and color. Common materials include glass, wood, metal, and plastic.
- Stretch Cord: This type of cord is ideal for making bracelets due to its elasticity. You can find it at most craft stores.
- Scissors: A sharp pair of scissors to cut the cord.
- Bead Reducers (optional): For smaller beads, bead reducers can help stabilize them on the stretch cord.
- Glue (optional): A small amount of glue can secure the knot if you’re worried about it coming undone.
- Measuring Tape: To measure your wrist accurately.
- Bead Mat or Tray (optional): Keeps your beads organized and prevents them from rolling away.
Measure Your Wrist
Start by measuring your wrist to determine the desired length of your bracelet. Use a measuring tape or a piece of string that you can then measure against a ruler.
- Standard Sizes:
- Women: 6.5 inches
- Men: 7.5 inches
- Children: 5-6 inches
Add an extra inch or two to your measurement for the stretch cord, which will allow for easier tying of knots and resizing if needed.
Select Your Beads
Take some time to pick your beads. Think about:
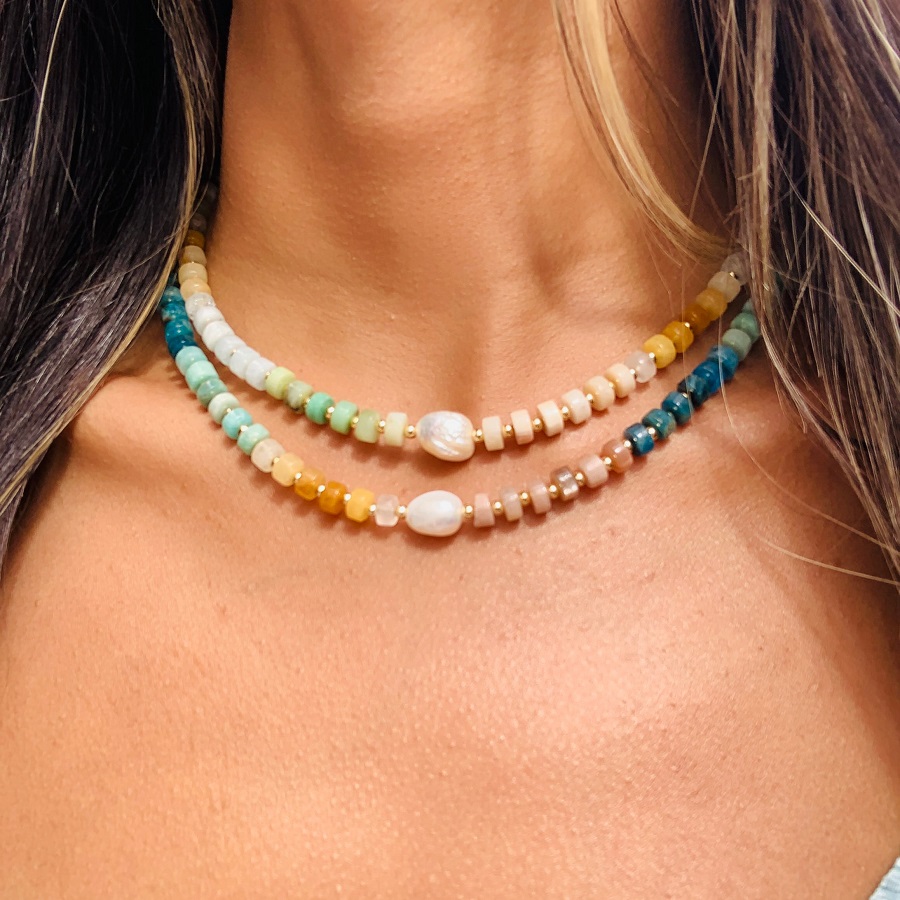
- Color Scheme: Decide on a color palette that reflects your personal style. You might want to create contrasting or complementary colors.
- Types of Beads: Combine different shapes and sizes to add visual interest. For example, mix round beads with spacers or larger statement pieces.
- Theme: Consider a theme or inspiration for your bracelet, such as nature, oceans, or a favorite holiday.
Cut the Stretch Cord
Once you’ve selected your beads, cut a length of stretch cord that is approximately four inches longer than your wrist measurement. This extra length gives you room to work with and tie knots securely.
Arrange Your Beads
Before you start stringing, lay out your beads in the desired order on your bead mat or tray. This allows you to visualize the final product and make changes as necessary.
- Tip: Take a photo of your arrangement for reference as you begin to string the beads.
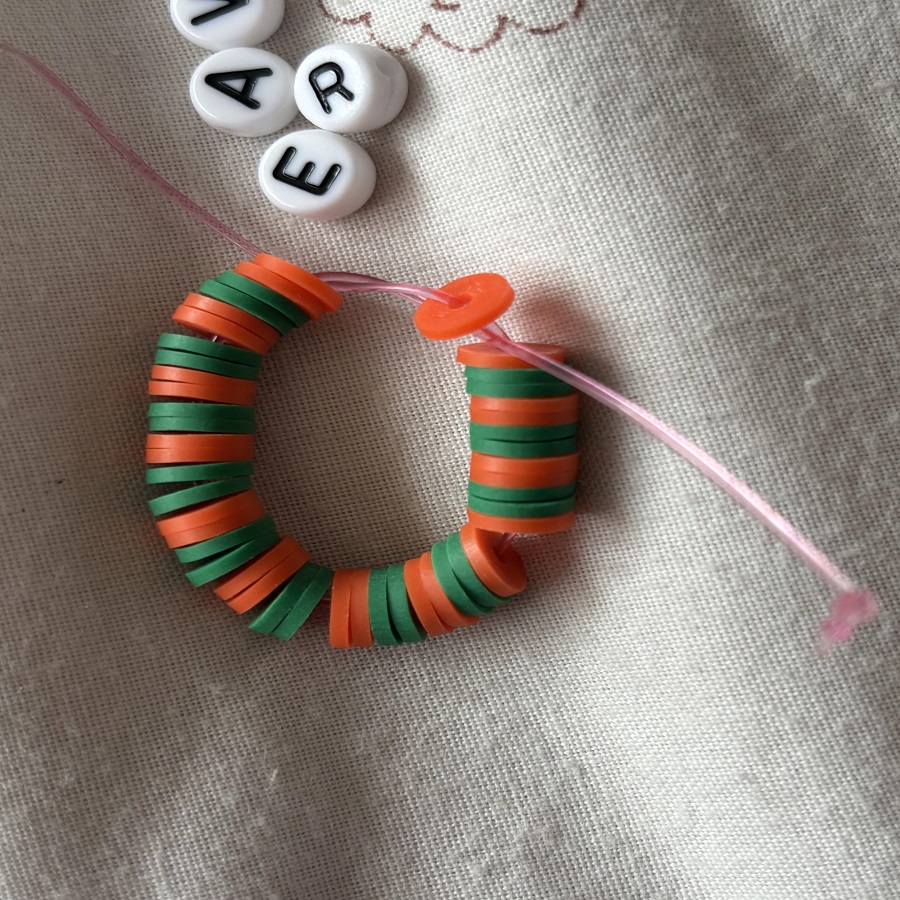
String the Beads
Carefully thread your beads onto the stretch cord one at a time. If you’re using larger beads, you may find it easier to thread the cord through the hole first, then use the end to pick up smaller beads.
- Tip: For smaller beads, consider using bead reducers to prevent slipping.
Check the Length
As you string the beads, periodically check the length of the bracelet against your wrist measurement. Ensure it isn’t too tight or too loose.
Once you’ve included all the beads, you should be able to try on the bracelet easily but with a snug fit.
Tie the Knot
Once you’ve achieved the desired length, it’s time to tie the knot. Follow these steps:
- Overlap the ends of the cord: Bring the two ends of the stretch cord together.
- Tie a knot: Use a double knot to ensure that the bracelet doesn’t come undone.
- Check the tightness: Make sure your knot is tight but not so tight that it causes the beads to shift drastically.
Secure the Knot (Optional)
For extra security, you can apply a small amount of glue to the knot. This will help to ensure that it remains secure over time. Allow any glue to dry completely before wearing the bracelet.
Trim the Excess Cord
Once your knot is secure and any glue has dried, trim the excess stretch cord. Be careful not to cut too close to the knot itself; leave a small length to ensure it doesn’t come undone.
Final Adjustments
Gently stretch your bracelet to distribute the beads evenly and ensure it fits comfortably. Adjust any beads that may have shifted during the process.
Wear and Enjoy!
Your bead bracelet is now complete! Feel free to pair it with other jewelry or wear it on its own. It can also be a wonderful gift for friends, family, or even as part of party favors.
Additional Tips for Customization
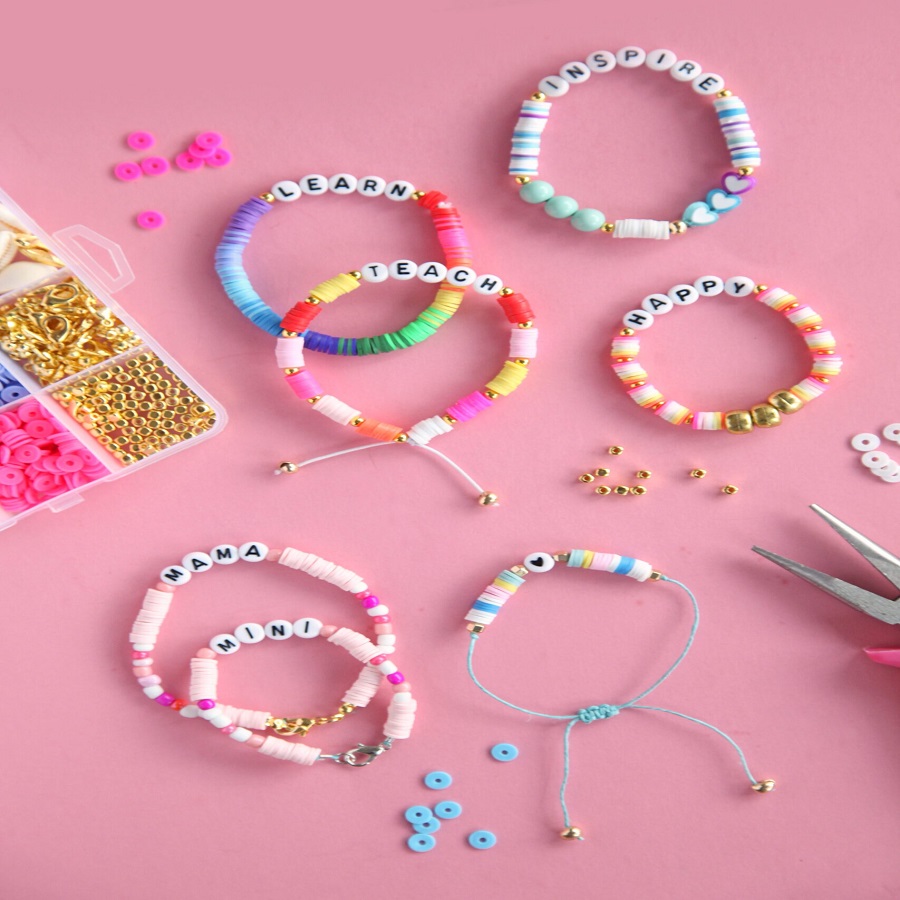
- Theme Bracelets: Consider making theme bracelets for different occasions such as holidays, birthday gifts, or friendship bracelets.
- Mix Materials: Don’t hesitate to combine different materials, such as using metal accent beads with wooden ones.
- Add Charms: Incorporating charms or pendants can add a personal touch.
- Experiment with Sizes: Try varying the sizes of your beads for a unique look.
Choosing Your Beads
- Material Matters: Beads come in various materials, including glass, wood, metal, clay, and gemstones. Consider how each material will feel against your skin and its durability.
- Size and Shape: The diameter of the beads will affect the overall look and feel of your bracelet. Larger, chunky beads can create a bold statement, while smaller beads provide a delicate touch. Mix different shapes (round, square, etc.) to add visual interest.
- Color Palette: Choose colors that complement your wardrobe or represent your personal style. Consider the color wheel for ideas on complementary or contrasting pairings.
Planning the Design
- Sketch Your Ideas: Before diving in, sketch different designs. This can help visualize how the colors and shapes will interact.
- Layout and Pattern: Arrange your beads in a flat space to see how they look together before stringing them. Use a temporary setup to experiment with patterns (e.g., alternating colors, clusters).
- Theme: Consider a theme for your bracelet (beachy, bohemian, minimalist, etc.) that aligns with the occasion or your personal style.
Measuring for a Perfect Fit
- Getting Your Wrist Size: Measure your wrist using a flexible measuring tape. Wrap it around your wrist where you plan to wear the bracelet, noting that you may want to add a little extra for comfort.
- Adding Length for Comfort: Typically, add about 1/2 inch to 1 inch to your wrist measurement, depending on how snug or loose you like your bracelets to feel.
- Creating a Template: While measuring and adding for length, use a piece of string or an old thread to gauge the fit. It’s helpful to know how the final product should feel when worn.
Choosing the Right Stringing Material
- Elastic Cord: For a stretchy bracelet that slips on easily, elastic cord is ideal. It’s forgiving and can accommodate various bead sizes, but ensure it’s durable enough to hold your beads securely.
- Beading Wire: If you’re using heavy beads, consider beading wire. It offers more strength and is often used in more intricate designs. Don’t forget crimp beads to secure your design.
- Leather or Hemp Cord: For a more bohemian look, leather or hemp cord can be charming. They may require knots or clasps to secure the bracelet.
Stringing Your Beads
- Bead Order: Once you’ve laid out your design, start stringing the beads in the same order. Work methodically to avoid mistakes.
- Use a Needle: If you’re using smaller beads, a beading needle can make threading much easier. Ensure it’s compatible with your stringing material.
- Knotting for Elastic: For elastic bracelets, tie a secure double knot once you’ve added all your beads. Trim excess cord but leave a little for safety. Use a dab of clear nail polish on the knot for extra security.
Securing Your Bracelet
- Crimp Beads: If you’re using beading wire, thread a crimp bead over the wire to secure the ends. Flatten the bead with flat-nose pliers to lock it in place.
- Clasps: If you’ve used wire or cord, consider adding a clasp. Lobster clasps and toggle clasps are popular options and add a polished finish.
- Finishing Touches: Inspect your bracelet for any loose beads or imperfections. Tidy up frayed edges or excess string with scissors.
Caring for Your Bead Bracelet
- Storage: Store your bracelet flat in a jewelry box or a pouch to avoid tangling or scratching. Avoid exposure to prolonged sunlight or water to maintain color vibrancy.
- Cleaning: To clean, use a soft cloth to wipe away any dirt or oils. Be cautious with certain materials (like gemstones) that may require special care.
- Repairs: Should your bracelet break, don’t despair! Often, it’s as simple as re-stringing the beads. Keep extra supplies on hand for easy repairs.
Conclusion
Crafting your own bead bracelet is not only an enjoyable and creative activity but it also results in a personal accessory that can be treasured for years. With a little practice, you can develop your skills and create stunning pieces to share or keep for yourself. So gather your materials, unleash your creativity, and enjoy the process!