Introduction
Creating your own adjustable bracelets is not only a fun and creative endeavor but also a way to express your personal style. These versatile pieces of jewelry can be made in various materials and designs, ensuring that they fit seamlessly into any outfit. In this guide, we’ll explore some easy techniques to produce beautiful adjustable bracelets, catering to both beginners and experienced crafters alike.
Why Choose Adjustable Bracelets?
Adjustable bracelets are practical for several reasons:
- Versatility: They can be worn by anyone regardless of wrist size, making them ideal for gifts.
- Comfort: The adjustable design allows for a comfortable fit, perfect for everyday wear.
- Personalization: You can modify the length and materials used to reflect your unique style and preferences.
Materials You’ll Need
Before we dive into the techniques, gather the following materials:
- Cord or String: Nylon cord, leather, or cotton string are popular choices.
- Beads: Choose from wood, glass, metal, or even gemstones.
- Adjustable Closure: This can be a sliding knot, a clasp, or a bead stopper.
- Scissors: For cutting your cord.
- Glue: Optional, for securing knots or embellishments if desired.
- Measuring Tape: To ensure the perfect length before cutting your cord.
- Ruler: Not always necessary but helpful for precision.
Sliding Knot Bracelet
Step-by-Step Instructions:
- Measure & Cut: Cut two lengths of cord, each about 30 inches long.
- Create the Base: Take one cord and fold it in half. This will be the base of your bracelet.
- Form the Sliding Knot:
- Lay the other cord across the folded base cord.
- Wrap the working end of this cord around the base cord and through the loop you’ve created four or five times.
- Pull the working end to tighten the knot and adjust the length by moving the knot along the base cord.
- Add Beads: Slide beads onto the base cord, spacing them evenly.
- Finish the Other End: To create the other sliding knot, repeat the previous steps on the opposite side of the beads, ensuring that the knots are equivalent in size for an adjustable fit.
- Secure the Ends: Trim any excess cord and apply a drop of glue to the knots for durability.
Leather Cord with Bead Closure
Step-by-Step Instructions:
- Measure & Cut: For this bracelet, cut a piece of leather cord of about 24 inches.
- Attach Beads: Thread beads onto the cord, leaving enough space at both ends for adjustment.
- Create Anchor Knots: About 3 inches from one end, tie a double knot to serve as an anchor for the beads to hold onto.
- Finish with a Bead: On the opposite end, thread a larger bead (enough to fit through the leather cord). This bead will act as a closure.
- Make the Adjustable Loop: Make a small loop on the side with the anchor knot. This loop will allow you to slide the larger bead through it, creating an adjustable closure.
- Test the Fit: Slide the bead to tighten or loosen according to wrist size.
Macramé Adjustable Bracelets
Step-by-Step Instructions:
- Materials Setup: You will need three strands of cord for a macramé bracelet. Cut them to about 60 inches each.
- Create a Base: Knot all three strands together at one end.
- Start Knotting: Using square knots, braid or knot the strands together until you’ve reached your desired length.
- Add Beads: If you’d like to add some flair, string beads intermittently as you knot.
- Adjustable Ends: Once you’re satisfied with the length, leave about 15 inches of cord on each end. Tie each side into a sliding knot, just like the first method, enabling adjustment.
- Finish: Trim excess cord and add a dab of glue to secure your knots if desired.
Finishing Touches
- Personalize: Consider engraving metal tags, painting beads, or incorporating charms to give your bracelet a unique flair.
- Packaging: If you’re gifting these bracelets, consider using decorative boxes or pouches for a beautiful presentation.
- Care: Educate the recipient on how to care for their bracelet to ensure its longevity.
Experimenting with Styles
The beauty of DIY adjustable bracelets lies in the endless possibilities. You can:
- Mix Materials: Combine metals, textiles, and natural elements.
- Vary Lengths: Create a stack of multiple bracelets at different lengths for a trendy layered look.
- Themed Designs: Choose colors and motifs for specific occasions, such as beachy tones for summer or darker shades for winter.

Understanding the Basics
Before diving into the techniques, let’s understand what makes a bracelet adjustable. Typically, an adjustable bracelet will feature some mechanism—be it a sliding knot, chain extension, or elastic components—that allow the wearer to modify the bracelet’s size without compromising its aesthetic appeal.
Benefits of Adjustable Bracelets
- Versatility: An adjustable bracelet can accommodate different wrist sizes, making it a perfect gift for anyone.
- Styling: It provides the flexibility to style it differently, allowing users to wear it loosely or snugly.
- Comfort: A well-fitted bracelet enhances comfort, preventing any pinching or slipping during daily activities.
Materials You Will Need
When crafting your adjustable bracelet, you’ll typically need the following materials:
- Beads or charms: Choose your favorite types—whether they’re gemstones, wood, or glass.
- Cord or string: Options include leather cord, nylon thread, or elastic cord.
- Clasp or closure (optional): Depending on the design, some bracelets might benefit from a clasp.
- Scissors: For cutting materials to size.
- Bead stopper or tape: Useful to prevent beads from sliding off during assembly.
- Crimp beads (if using metal wire): To secure your design.
Techniques for Making Adjustable Bracelets
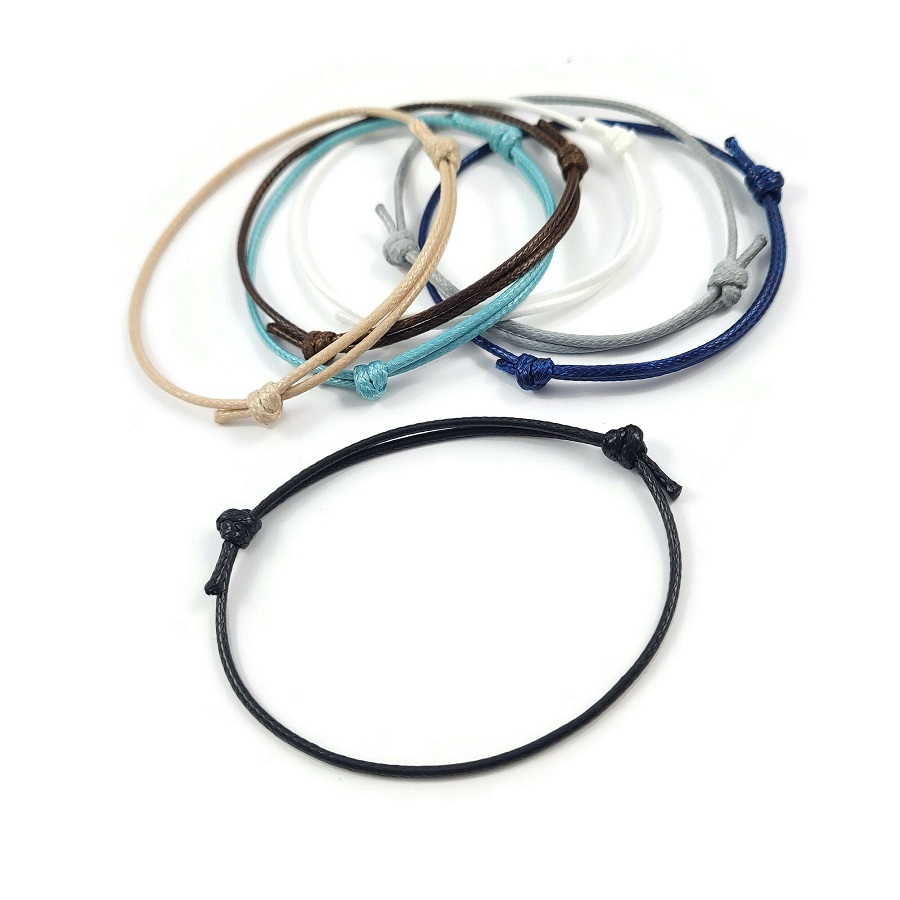
Sliding Knot Technique
The sliding knot is a popular method for making adjustable bracelets, especially with cord or string.
How to Create a Sliding Knot:
- Measure Your Cord: Cut a length of cord that is around 3-4 times the desired length of the finished bracelet.
- Create a loop: Take the two ends of the cord and create a U-shape, crossing them over each other.
- Make a knot: Wrap one end around the other about four times, going from the bottom of the U to the top. This creates your sliding knot.
- Adjust the Fit: To tighten or loosen, simply pull on the ends of the cord.
Tips:
- Practice the sliding knot several times to make sure it slides easily.
- Consider using multiple colors of cord for a more visually striking design.
Chain Extensions
If you prefer a more metallic finish, consider using chains with adjustable links. This technique works excellently for beaded bracelets.
How to Create Chain Extensions:
- Select Your Chain: Choose a lightweight chain that complements the beads used in your bracelet.
- Determine Length: Decide how long you want your chain extension to be. Typically, 2-3 inches will suffice.
- Secure with Jump Rings: Use jump rings to attach the chain to the ends of your beaded section.
- Create a Clasp: Use a lobster clasp or a toggle clasp at the end of the chain. This allows the wearer to hook it onto various links.
Benefits:
- This style adds a unique touch to the bracelet.
- It is easier to adjust than a simple knot.
Using Adjustable Clasps
Specialty clasps exist that can allow for easy adjustments. Some clasps have sliding mechanisms while others can hook onto various links along a chain.
Steps to Use Adjustable Clasps:
- Attach the Clasp: Integrate the adjustable clasp into your bracelet design at the closure point.
- Adjust the Size: Depending on the clasp type, the wearer can pull the clasp to fit their wrist.
Considerations:
- Look for clasps that are not bulky to maintain the overall aesthetic.
- Ensure that the clasp is easy to operate for the wearer.
Elastic Cord Designs
Using elastic cord is another effective method for creating adjustable bracelets, especially for stretch designs.
How to Craft with Elastic Cord:
- Select Beads: Choose beads that have larger holes to accommodate the elastic cord.
- Cut Elastic Cord: Cut a length that is roughly 1.5 times longer than the finished bracelet length.
- String Beads: Thread the beads onto the elastic cord, ensuring that you have enough slack.
- Knotting: Tie a secure knot after stringing the beads, ensuring the fit is snug but comfortable.
Pros:
- Elastic cords provide the ultimate comfort since they can easily stretch to fit the wearer’s wrist.
- This type of bracelet design is inherently adjustable.
Final Touches
After creating your adjustable bracelet, consider adding finishing touches to enhance its allure:
- Use a Charm: Adding a charm can personalize the bracelet and make it unique.
- Apply a Sealant: For leather cords, a leather conditioner can elongate the life of your piece.
- Presentation: Package it beautifully if it’s intended as a gift—presentation matters.
Maintenance Tips
To keep your adjustable bracelets looking their best:
- Limit Exposure to Water: Water can weaken cords and tarnish metal components.
- Store Properly: Keep bracelets in a dry area, preferably in jewelry boxes or cloth pouches, to prevent tangling or damage.
- Regularly Check: Ensuring that knots and clasps are secure will help maintain the integrity of your creation.
Conclusion
Making your own adjustable bracelets is an enjoyable and rewarding craft. Whether you’re crafting for yourself, a friend, or a loved one, these handmade pieces can add a personal touch to any wardrobe. With just a few materials and some creativity, you can produce beautiful, custom-fit jewelry that reflects your individuality. So gather your supplies, unleash your creativity, and start creating!