Choosing the Right String for Bracelet Making
How to make a string bracelet – Selecting the right string is crucial for bracelet durability and appearance. The string you choose can affect how your bracelet looks, feels, and lasts over time.
Comparing Different Types of Embroidery Floss
Choosing a string often starts with embroidery floss. There are several qualities to consider. High-quality floss like DMC embroidery floss provides smoothness and strength. Cheaper floss may unravel or knot more easily. Mixing qualities for varied effects is an option, but consistency will often yield the best results.
Benefits of High-Quality Thread
Using high-quality thread has its perks. It’s easier to work with and doesn’t fray as quickly as lower-quality options. It can enhance the bracelet’s look with a better sheen and more vibrant colors. Even though it might cost a bit more upfront, it saves time and frustration in the long run. Purchasing as needed avoids waste and lets you slowly build a diverse collection.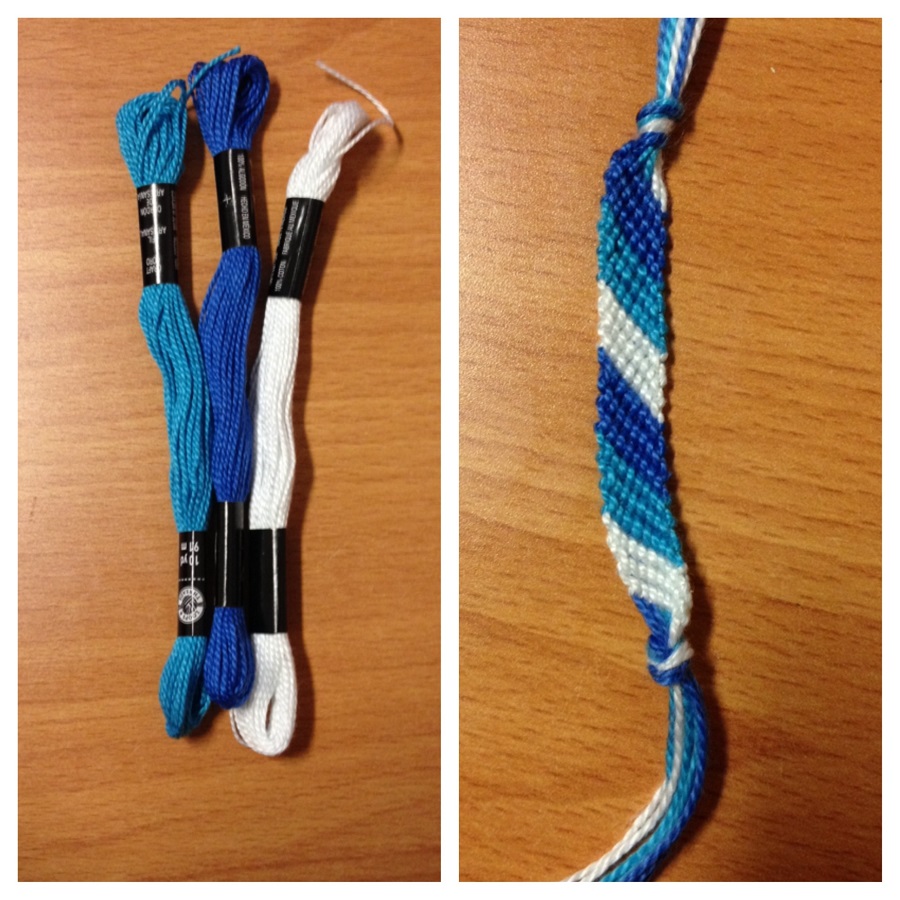
Essential Knotting Techniques for Beginners
Before diving into complex bracelet patterns, mastering basic knots is essential. These foundational knots serve as the building blocks for all types of string bracelets. Knowing these will enhance your skills and allow for more creativity in your designs.
Learning the Basic Friendship Bracelet Knots
Creating beautiful string bracelets begins with understanding the basic knots. Here are the essential knots every beginner should learn:
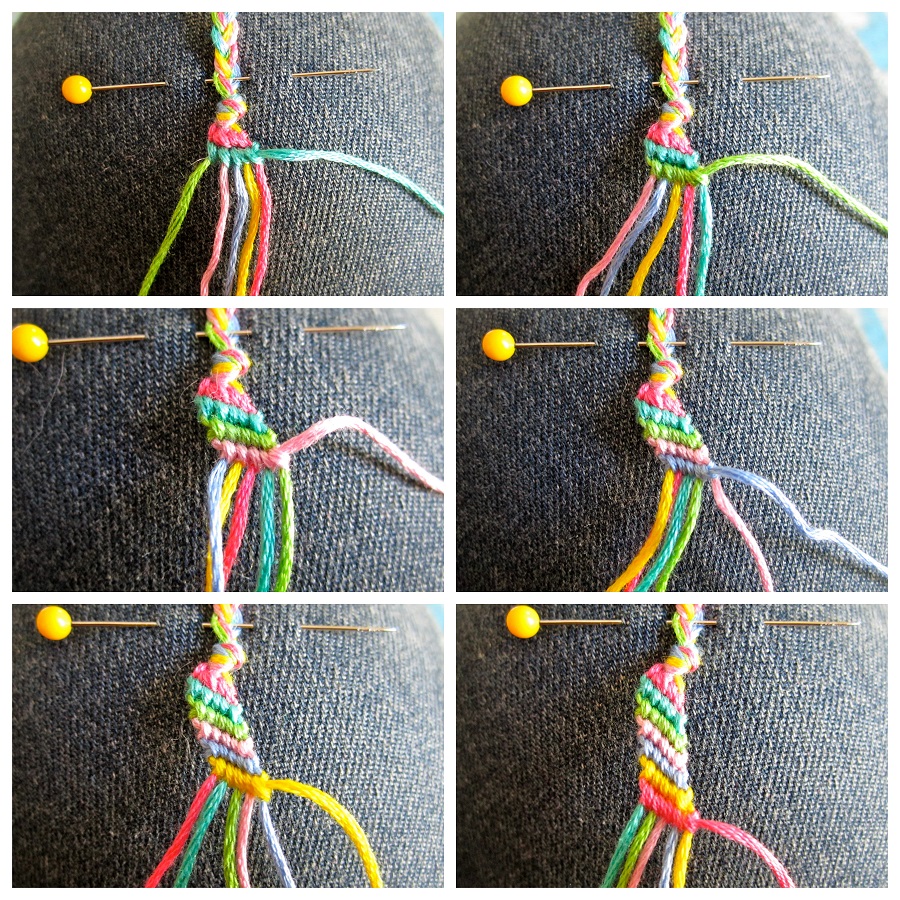
- Forward Knot (FK): Move the left string over and under the right string, then pull it up tightly.
- Backward Knot (BK): Similar to the FK but in reverse; take the right string over the left.
- Forward-Backward Knot (FBK): Start with a forward knot and finish with a backward knot. This keeps the strings in their original positions.
- Backward-Forward Knot (BFK): Begin with a backward knot and end with a forward knot for the same effect as FBK.
Practicing these knots will prepare you for more advanced designs and ensure your bracelets are both stylish and durable.
Knotting Patterns for Practice
Once you are comfortable with the basic knots, try these simple patterns to refine your technique:
- Candy Stripe: Utilizes the FK repeated across multiple strings. It’s perfect for practicing uniform tension.
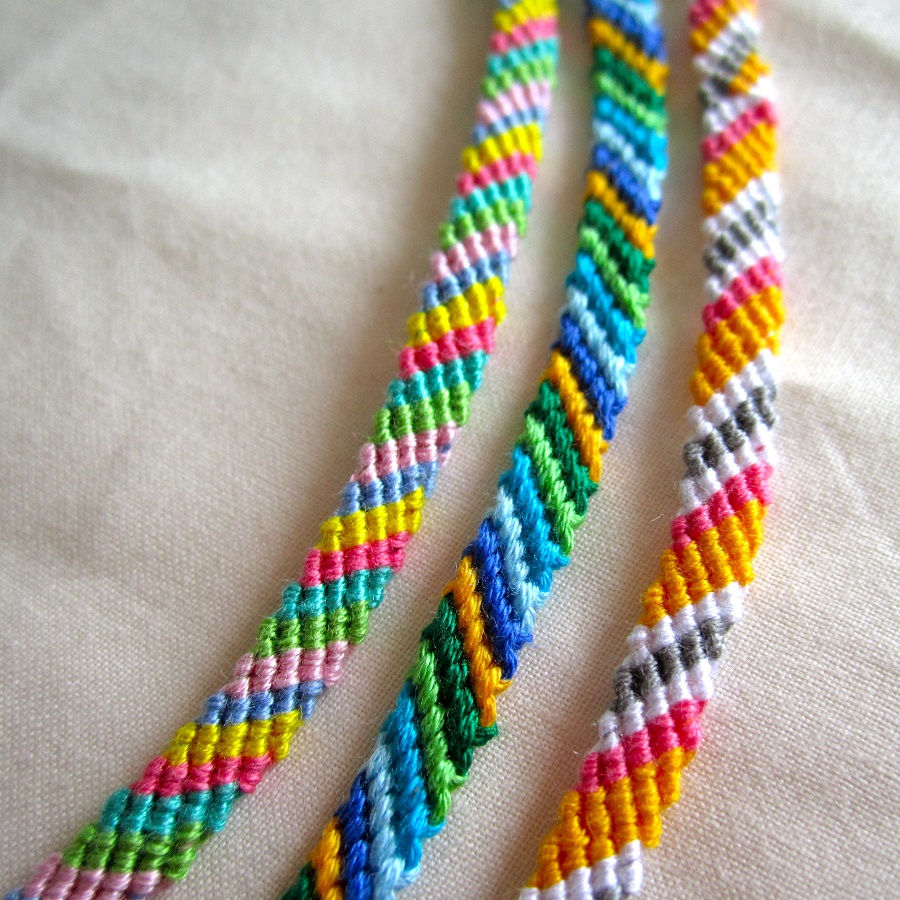
- Diagonal Stripe: Similar to the Candy Stripe but each row shifts slightly to create a diagonal effect.
- Chevron: Combines FK and BK to form arrow-like patterns. It introduces symmetry and precision.
These patterns are not only fun but also a great way to get comfortable with transitioning between different knots. As you become more confident, you can experiment with combining patterns for unique designs.
Starting and Finishing Your Bracelet
Starting and finishing your string bracelets the right way is key to durability and wearability. Whether for a personal treasure or a gift, how you start and end a bracelet can make a big difference.
Tips for Securing Bracelet Ends
Securing the ends of your bracelet ensures it won’t unravel and stays comfortable to wear. Here are some tips:
- Use a strong knot: A double knot can prevent the ends from slipping.
- Apply fabric glue: A dab of glue on the knots keeps them from loosening.
- Add clear nail polish: It not only secures the knot but also adds shine.
- Melt the ends (synthetic only): Quickly pass a lighter over the ends to prevent fraying.
These methods enhance the bracelet’s longevity and maintain its crafted beauty.
Ribbon Crimp and Clasp vs. Tied Methods
Choosing between a ribbon crimp with a clasp and traditional tying methods depends on the use and wearer of the bracelet:
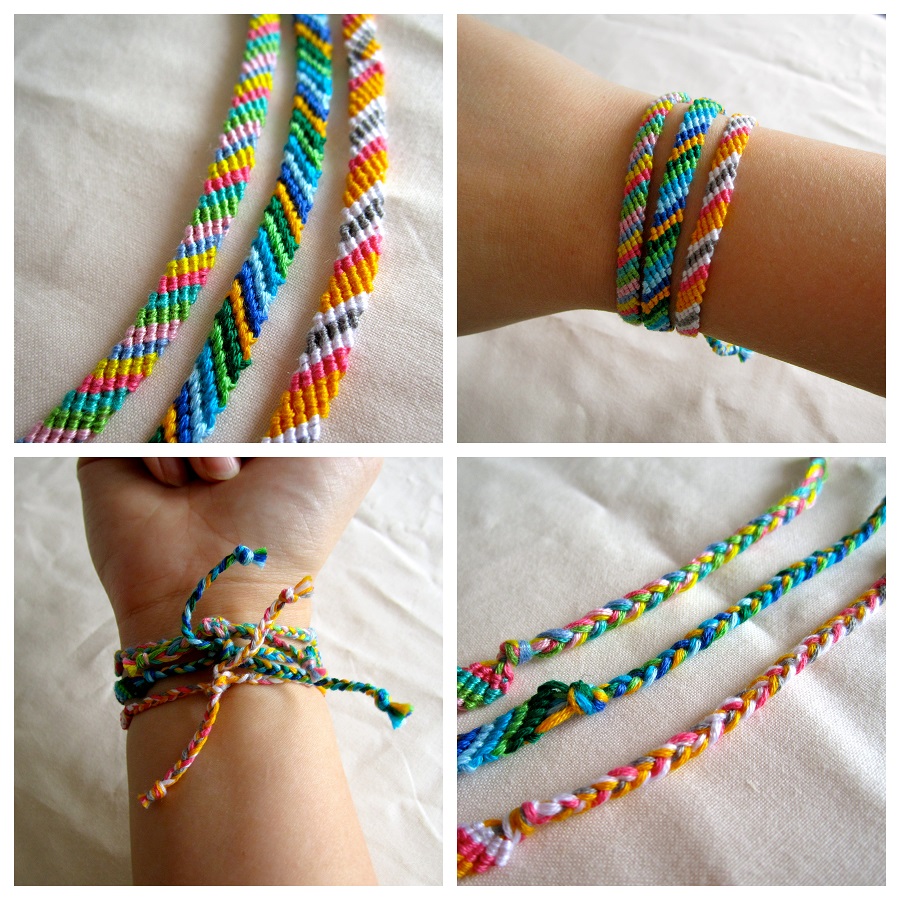
- Ribbon Crimp and Clasp: Offers a sophisticated finish. It’s best for adult bracelets or more formal designs. This method keeps the bracelet secure and is easy to take on and off.
- Tied Methods: Easier and quicker to make, they are ideal for kids or casual wear. They can be adjusted to fit and add a crafty touch. However, they might not be as durable as clasps.
Consider the bracelet’s purpose and the wearer’s needs when choosing your finishing method. This decision will affect both the bracelet’s style and functionality.
 Simple Patterns to Kickstart Your Bracelet Making
Starting off with string bracelet making can be both thrilling and a little daunting. To ease into the craft smoothly, it’s recommended to begin with some basic patterns. These designs not only help in mastering fundamental knotting techniques but also result in beautiful bracelets.
Chinese Ladder and Candy Stripe Patterns
The Chinese Ladder pattern is an excellent starting point for beginners. It involves a simple technique of creating a series of forward knots, which can also be done in reverse as backward knots. This pattern is quick to make and provides a sense of achievement, perfect for building confidence in new crafters.
Another beginner-friendly pattern is the Candy Stripe. This pattern takes the forward knot and applies it across multiple strings to create a diagonal striped effect. Working on the Candy Stripe is a productive practice for maintaining even tension and alignment in your knots, laying a solid foundation for more advanced patterns.
Chevron Pattern for Skill Building
Building up your skill level, the Chevron pattern introduces a mix of both forward and backward knots. It creates an arrow-shaped design that requires a bit of precision and symmetry. Learning the Chevron pattern not only boosts knotting dexterity but also opens up possibilities for more complex designs.
These simple patterns are a great way to kickstart your bracelet making journey. Begin with these, and you’ll soon be ready to explore the vast and colorful world of string bracelet crafting. Each pattern teaches a valuable lesson, making your transition to creating intricate designs a breeze. Keep practicing, and don’t forget to have fun as you embark on this creative endeavour!
Taking Your Bracelets to the Next Level
Once you’ve mastered the basics, it’s time to elevate your string bracelet creations. Enhancing your bracelets involves understanding color relationships and experimenting with intricate patterns. Let’s dive in:
Color Theory for Bracelet Designs
Color choice is key in creating eye-catching bracelets. Here are some simple tips to choose the best colors:
- Use a color wheel: It helps pick colors that blend well or contrast sharply.
- Consider color meanings: Each color can convey a mood or emotion. Think about what you want your bracelet to say.
- Experiment with shading: Use light and dark shades of the same color for depth.
- Balance your palette: Mix bright and subdued hues for harmony.
Think about the overall effect you want. Bold colors make a strong statement; softer tones lend a delicate touch.
Patterns That Add Intricate Details
Adding detailed patterns can make your bracelets stand out. Try these ideas:
- Experiment with symmetry: Mirror patterns for a balanced look.
- Mix knot types: Combine different knots for unique textures.
- Add visual interest: Weave in shapes or symbols into your design.
- Challenge yourself: Try creating patterns that require precision, like alphabets or images.
As you experiment with these elements, you create bracelets that are not just accessories, but personal expressions of style. Keep learning and trying new things to take your string bracelet making to new heights.
Incorporating Beads into Bracelets
Adding beads to string bracelets brings a new dimension to your creations, making them more unique and elegant. You can easily integrate beads into the basic patterns you have learned or experiment with new designs that include beads. Here are some beginner-friendly ways to incorporate beads into your string bracelets.
Simple Beaded Bracelet Patterns
Begin with a simple banded pattern, adding a single bead between knots for a pop of style. Focus on consistent spacing for a neat look. Patterns like the ‘Beaded Ladder’ can give you practice in stringing beads evenly while knotting. Another pattern to try is the ‘Beaded Stripe,’ which lines up beads in a row, sandwiched between colored floss for contrast.
To start, string a bead on your thread, perform a knot to secure it, and continue with your pattern. This skill is easy to pick up and can transform a plain bracelet into a standout piece. You can advance from here by adding more beads or creating patterns that rely on bead placement for their design.
Choosing Beads and Understanding Sizing
Select beads that complement your thread in terms of color and texture. Smoother beads are less prone to catching and feel better against the skin. Consider the hole size of your beads to ensure they fit your floss type. Common sizes like 3-4 mm beads with larger holes are great for beginners.
Remember, smaller beads give a delicate touch, while bigger beads create a bolder look. Transparency and color also play a part; some beads will let light through, adding sparkle, whereas opaque beads give a solid splash of color.
Always test your beads with your chosen string to make sure they thread well and sit nicely on your finished bracelet. This step prevents issues like blocking knots or having beads that are too loose.
By following these simple tips and trying out the mentioned patterns, you’ll be able to enhance your string bracelets beautifully with the addition of beads.
 Advanced Techniques and Resources
Once you’re comfortable with the basics, there’s a world of advanced string bracelet techniques to explore. 3D patterns and intricate shapes can take your designs from simple to stunning. Let’s look at how to elevate your craft with these advanced techniques.
Exploring 3D Patterns and Shapes
3D patterns add depth to your bracelets, creating a more intricate look. Start with patterns like the Zig Zag or Diamond that use color and knot placement to create a raised effect. Practice these techniques:
- Layer your knots: Building knots on top of each other for a textured look.
- Vary knot tension: Tighter and looser knots can form different shapes.
- Combine different threads: Use varied thicknesses or types for unique effects.
As you try these new methods, your bracelets will start to pop with a dynamic 3D appearance. Don’t be afraid to experiment and make each design your own.
Recommended Books for Expanding Skills
To further develop your techniques, consider these books full of patterns and tips:
- ‘The Ultimate Book of Friendship Bracelets’: Covers a range of sophisticated patterns.
- ‘Friendship Bracelets 102’: Offers advanced designs for seasoned crafters.
These resources give you access to a variety of patterns and detailed instructions that can inspire and guide you toward more complex creations. By combining knowledge from these books with practice, you’ll have the skills to take your bracelet making to an expert level. Keep learning, keep experimenting, and watch your designs come to life.
