Gathering Your Bracelet-Making Supplies
Before starting your beaded bracelet project, you need the right supplies. Here’s what to gather:
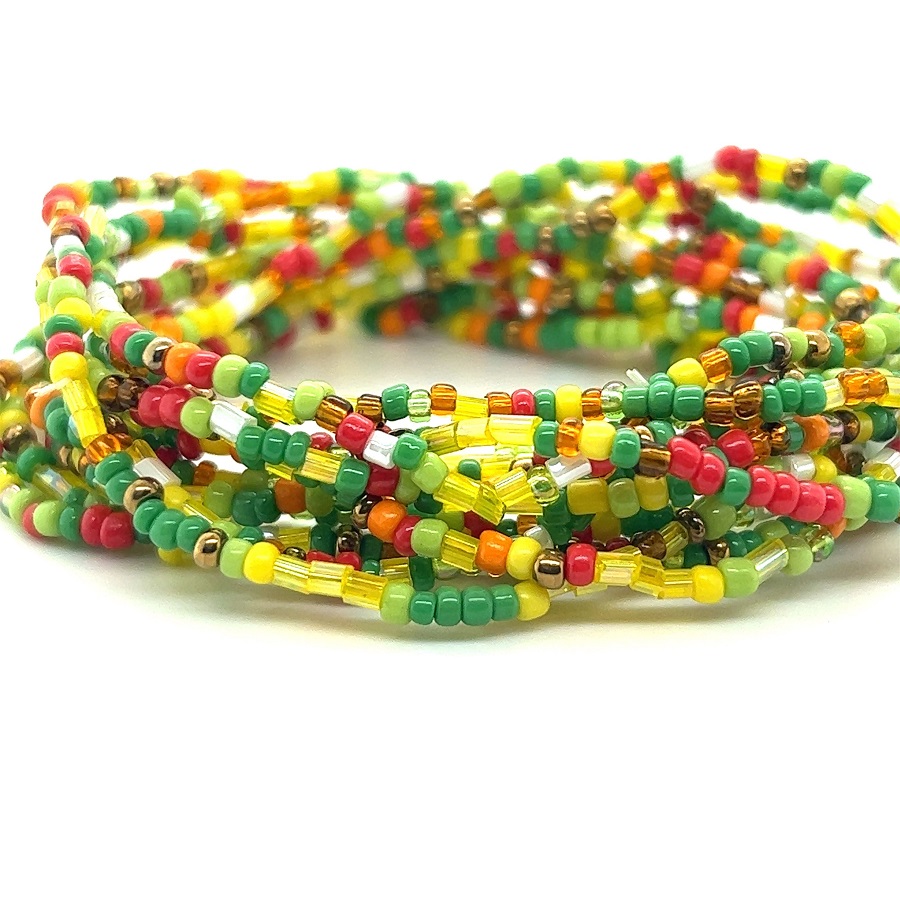
- Beads: Choose beads that fit your style. Consider size, color, and material.
- Stretch Elastic Cord: Select the correct thickness based on your bead weight. Options include .5mm, .6mm, .8mm, and 1.0mm.
- Ruler or Tape Measure: Use this to measure both the elastic and the bracelet length.
- Scissors: You’ll need a sharp pair to cut the elastic cord.
- Stopper: A bead bug, binder clip, or tape works to keep beads from slipping off.
- Bead Board (Optional): This helps to layout your design and measure the length.
- Beading Needle (Optional): Aid for stringing small beads like seed beads.
- GS Hypo Cement: A strong glue to secure the knot in your bracelet.
Start by selecting the type of beads you want. They can be paper beads, glass, stone, or a mix. Ensure your stretch elastic cord is thick enough for your bead choice. The general rule is, the heavier the bead, the thicker the cord should be. A ruler or measuring tape is essential to get the length just right. Especially when it comes to cutting the elastic, you’ll need sharp scissors. A stopper is vital to prevent beads from falling off as you work. A bead board, while not essential, makes the task of arranging the pattern of your beaded bracelet much simpler. If you’re working with tiny beads, a beading needle can be very helpful. Lastly, GS Hypo Cement will finish off your bracelet securely, ensuring your knot stays tied under the stress of everyday wear.
Remember to balance the size and style of your beads with the strength and stretch of your cord for a beautiful, durable bracelet you can wear with pride.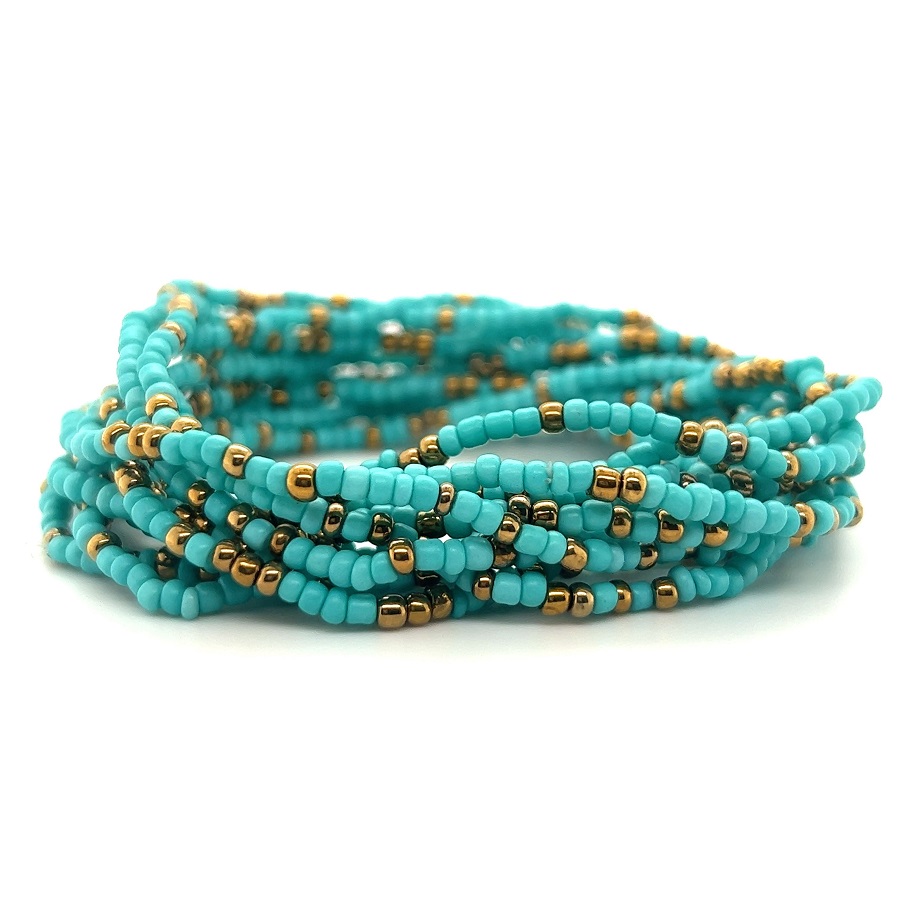
Measuring and Cutting the Stretch Elastic
Proper measurement and cutting of stretch elastic are crucial steps in making a durable beaded bracelet. Begin by wrapping the unstretched elastic around your wrist to find a comfortable fit that’s neither too tight nor too loose. For bracelets with larger beads, consider the space they occupy and adjust the length accordingly. Typically, adding an extra 2.5 to 3 inches to your wrist measurement will provide the optimal length for the elastic cord. Use a ruler or measuring tape to ensure accuracy.
Once you have determined the desired length, use sharp scissors to cut the elastic. Ensure the cut is clean to prevent fraying and provide a solid starting point for bead stringing. Remember, the type of elastic used should complement the weight and size of the beads to ensure the bracelet’s longevity and ease of wear.
Pre-Stretching the Elastic Cord
Before you begin stringing your beads, it’s essential to pre-stretch the elastic cord. This step prevents your finished bracelet from becoming overly stretched out with wear. Here’s how to do it:
- Hold the Elastic Firmly: Grasp your cut piece of elastic at both ends tightly.
- Stretch It Out: Gently pull the elastic to its full length. Do this about ten times.
- Let It Rest: After stretching, lay the elastic flat for a moment to relax.
By following these steps, you’re ensuring that your bracelet will maintain its shape and fit over time. No one wants a saggy bracelet, so don’t skip this simple yet crucial part of the process.
Laying Out Your Bead Design
Before sliding beads onto your stretch elastic, creating a design plan is essential. Grab your bead board if you have one; it’s great for laying beads in place and visualizing your bracelet. If not, any flat surface will do. Start by arranging beads in the order you’d like them to appear on the bracelet. Think about the pattern, color balance, and any special beads, like spacers, to enhance your design.
- Choose a Pattern: Decide if you want a simple repetitive pattern or a random arrangement.
- Check Your Length: Lay beads out end to end until you reach your desired bracelet length. Remember to factor in extra space for the knot.
- Visual Balance: Ensure heavier beads are evenly distributed to avoid the bracelet twisting on your wrist.
- Mix and Match: Try different beads together until you’re happy with the look.
Take your time to play with the design, rearranging beads as needed. It’s easier to adjust your layout now than to redo your beaded bracelet later. Once satisfied with your bead design, you’re ready for the next step: stringing beads onto the elastic.
Stringing Beads onto the Elastic
Once you’ve designed your bracelet and your beads are all laid out, it’s time to start stringing! Here’s a straightforward step-by-step guide to ensure you get it right:
- Secure Your Stopper: Attach your stopper (like a binder clip) to one end of the elastic. This keeps the beads from sliding off as you work.
- Start Stringing: Pick up your first bead and slide it onto the elastic. Continue adding beads according to the design you laid out. Take your time to prevent any mistakes.
- Check Your Design: As you string, periodically compare the bracelet to your layout, adjusting as necessary. Confirm lengths and patterns match your original design.
- Use a Beading Needle if Needed: If you are working with smaller beads, a beading needle can make the process easier. It helps guide the tiny beads onto the elastic.
- Continue Until Completion: Keep placing beads until your bracelet reaches the desired length. Make sure each bead sits snugly against the next for a smooth finish.
Following these steps will help you create a beautiful beaded bracelet with ease. Next, you’ll need to secure the beads permanently with a sturdy knot.
 Knotting the Elastic Securely
Once you’ve strung all your beads, it’s time to knot the elastic and finish your bracelet. Secure knotting is important to prevent your bracelet from coming undone. Here’s a step-by-step approach:
- Overlap the Ends: Make sure the two ends of the elastic overlap by at least 3 inches. This gives you enough room to tie the knot.
- Tie an Overhand Knot: Loop the ends and pull one through the other to create a basic overhand knot. Pull it tight so that there’s no gap between the beads and the knot.
- Tie a Surgeon’s Knot: For extra security, tie a surgeon’s knot by looping the elastic ends twice before pulling through the loop. This helps the knot hold under tension.
- Pull Firmly: Gently tug on each end of the elastic to tighten the knot securely. Make sure not to stretch the elastic too much.
- Test the Knot: Lightly pull on the bracelet ends to ensure the knot doesn’t slip. A secure knot should hold without any give.
By following these steps, your beaded bracelet’s knot will be sturdy and less likely to come undone with regular wear.
Applying Glue for a Durable Knot
To make sure your beaded bracelet lasts, applying glue to the knot is a key step. Here are simple instructions to ensure that your knot is as durable as possible:
- Choose the Right Glue: Use GS Hypo Cement or a similar jewelry glue that dries clear.
- Apply the Glue: Put a small dab of glue directly on the knot. A little goes a long way.
- Don’t Rush: Allow the glue to set. Waiting 24 hours is best.
- Hide the Knot: If possible, slide the knot into a nearby larger-holed bead. This hides it and adds extra protection.
- Trim Excess Elastic: Once the glue is dry, carefully trim the excess elastic close to the knot.
These steps help your bracelet withstand daily wear and tear. Just make sure you give the glue enough time to dry before wearing your new accessory.
Finishing Touches: Adding Charms and Covering the Knot
Once your beaded bracelet is strung, consider adding some final touches. Charms add personality and covering the knot keeps your bracelet secure. Here’s how to do both.
Adding Charms to Your Bracelet
- Select a Charm: Pick a charm that matches your bracelet’s style.
- Attach Using a Jump Ring: Open a jump ring with pliers and slide on the charm.
- Secure Charm to Elastic: Close the jump ring tightly, attaching the charm to the bracelet.
- Place Charm Strategically: Position it where it can be seen, often near the center.
Charms give your bracelet a unique touch. Use tools like pliers to attach the charm properly. Make sure it’s secure so it won’t fall off when you wear it.
Covering the Knot with a Bead
- Choose a Large-Hole Bead: Find one that the knot can hide inside.
- Tie The Knot: Secure your bracelet with a tight knot.
- Glue and Tuck: Apply GS Hypo Cement and tuck the knot into the bead.
- Let It Dry: Wait 24 hours before cutting any excess elastic.
Hiding the knot helps prevent wear and tear. It also gives your bracelet a clean, finished look. Waiting for the glue to dry is crucial for the bracelet’s durability.
With these final steps, your handmade beaded bracelet is not just crafted, but completed with finesse. Whether for personal use or as a gift, it’s ready to be worn and cherished.
Tips for Putting On and Removing Your Beaded Bracelet
Putting on and removing your beaded bracelet correctly can extend its life. Here are easy tips to follow:
- Collapsing Your Hand: Bring your fingers together to make your hand as small as possible.
- Rolling On: Place the bracelet over your finger tips. Slowly roll it over your hand up to your wrist.
- Gentle Guidance: Never stretch the bracelet to put it on. Always roll it gently.
When removing your bracelet:
- Reverse the Process: Again, make your hand small by bringing your fingers together.
- Rolling Off: Gently roll the bracelet back towards your fingers and off your hand.
- Avoid Snapping: Don’t let the bracelet snap back into shape. Remove it with care.
These steps help prevent over-stretching and keep the elastic from wearing out. Treat your bracelet gently for lasting wear.
Additional Creative Ideas for Your Beaded Bracelets
When crafting beaded bracelets, creativity knows no bounds. Here are additional ideas to enrich your designs:
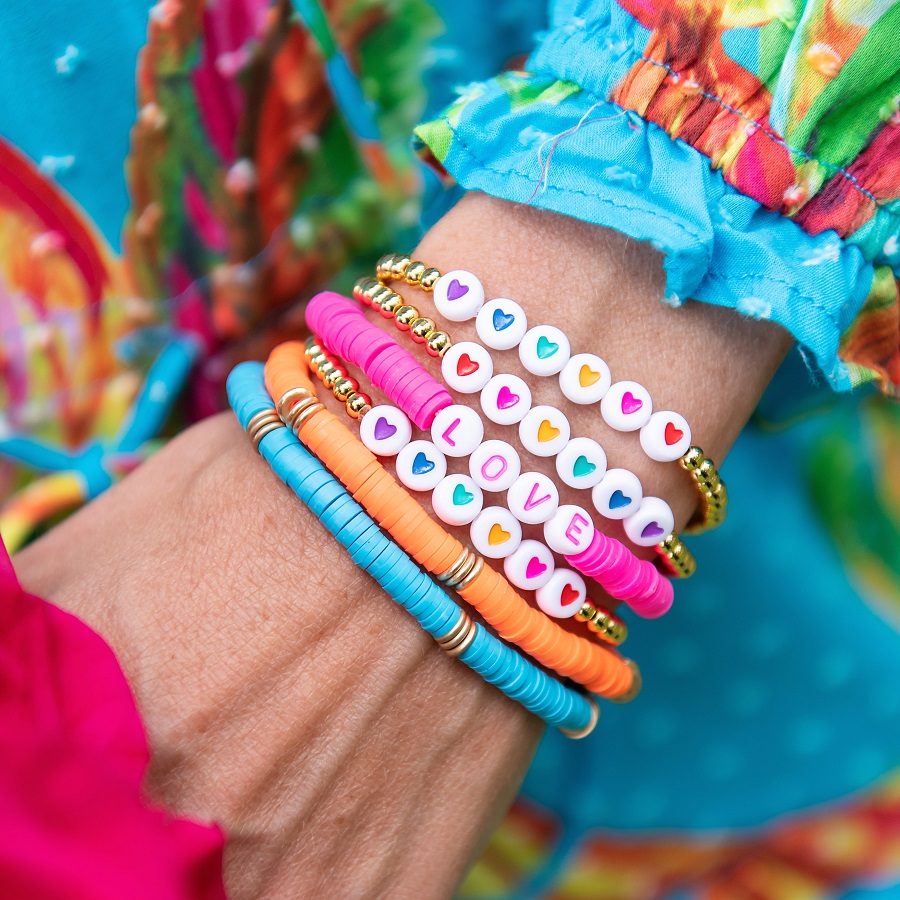
- Mix Textures: Combine smooth glass beads with rough stone beads for a tactile experience.
- Gradation in Colors: Create a gradient effect by arranging beads from light to dark shades or vice versa.
- Theme Bracelets: Focus on a theme, like ocean colors or forest-inspired beads, for a cohesive look.
- Incorporate Metal Elements: Adding gold or silver spacer beads can give your bracelet a touch of elegance.
- Alternate Bead Sizes: Use beads of varying sizes to add interest and depth to your design.
- Include Bead Charms: Attach charms that reflect personal interests or significant symbols.
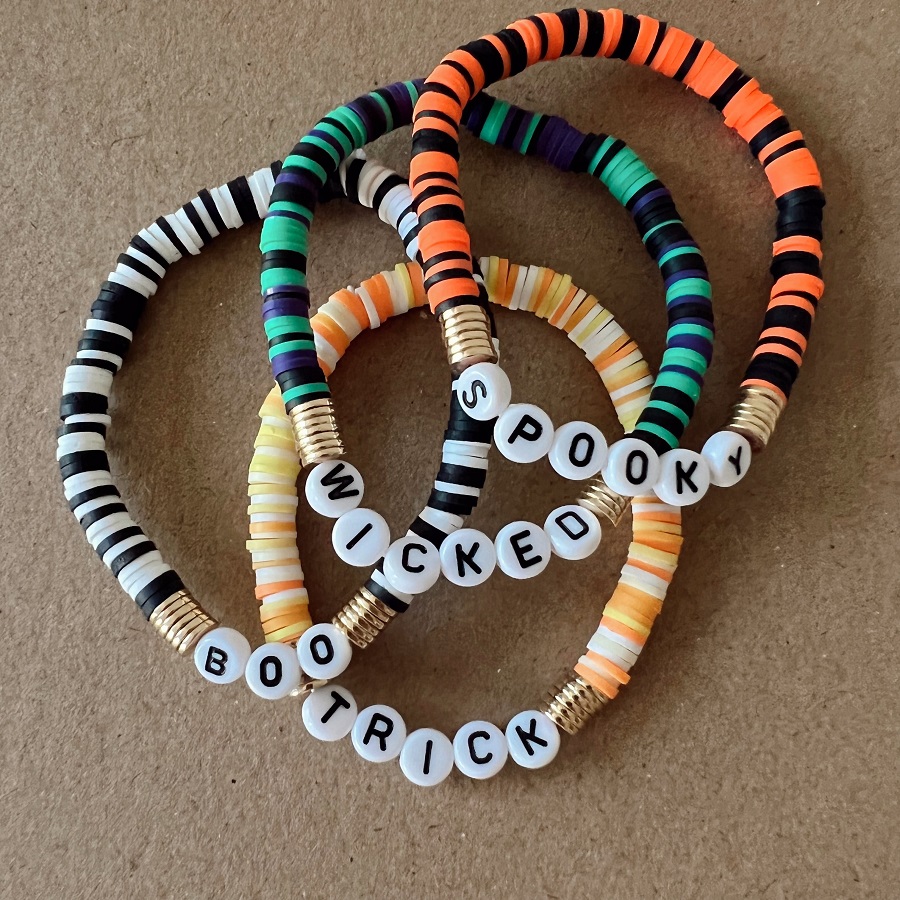
- Seasonal Inspirations: Adapt the color and style to match seasonal themes like spring flowers or winter sparkle.
With these suggestions, your beaded bracelets can reflect personal style or make thoughtful, customized gifts. Experiment with different combinations to find the look that best suits you.