Introduction to Paracord Crafting
Paracord crafting is a versatile hobby that allows for the creation of practical and stylish items. With origins in military applications, paracord, or ‘parachute cord’, is a lightweight nylon rope with a high tensile strength, making it suitable for various uses. In this blog, we’ll delve into the fascinating world of paracord and show you how to make a Shark Jawbone bracelet—a design inspired by the awe-inspiring creatures of the deep.
Overview of Paracord Material and Unique Characteristics
Paracord stands out due to its durability and flexibility. Originally used in parachute lines, paracord can withstand heavy loads and harsh conditions. It typically features a kernmantle construction with an outer sheath and multiple inner strands, providing both strength and elasticity. The versatility of paracord spans from survival situations to fashion, where it’s used in crafting bracelets, lanyards, and other accessories. One of its unique qualities is that it can be unraveled and used in emergencies, making it a must-have item for outdoor enthusiasts and survivalists.
In the next sections, we’ll guide you through the materials you’ll need, the steps to create your own paracord bracelet, and some tips to expand your paracord crafting skills. Let’s get started with this engaging and rewarding craft.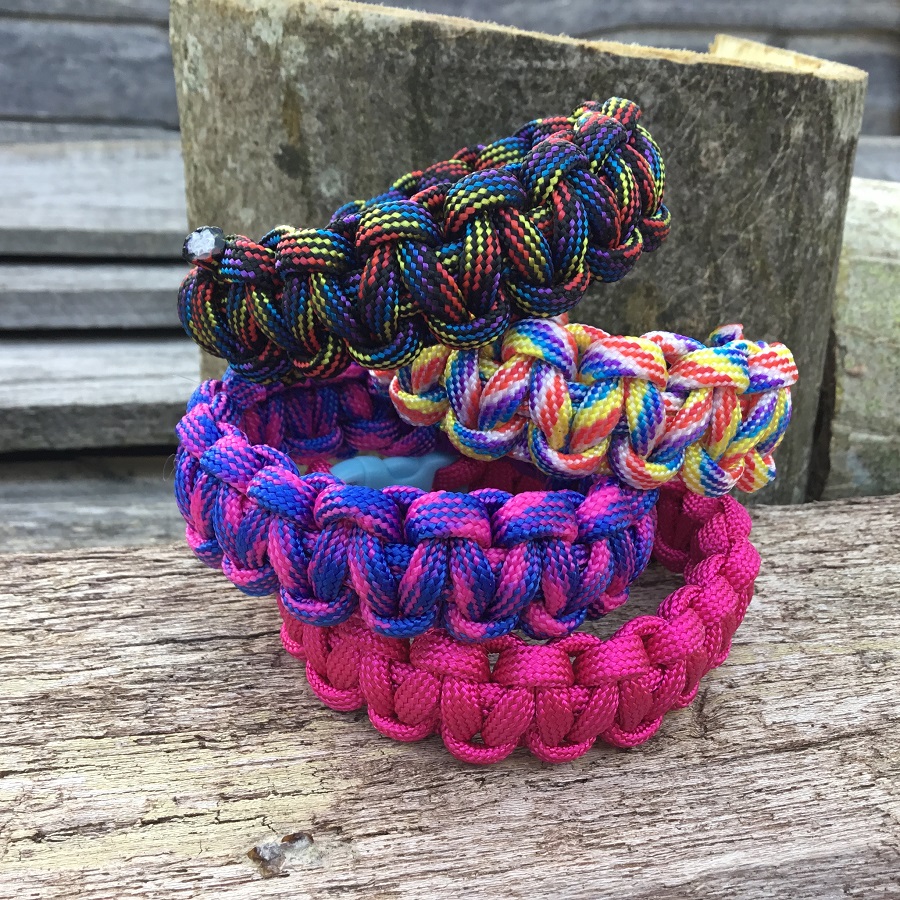
Essential Materials and Tools
Before you begin crafting your Shark Jawbone bracelet, gathering the right materials and tools is crucial. This ensures a smooth crafting process and a high-quality finished product.
Selecting the Right Type of Paracord
Selecting the appropriate type of paracord is critical for your bracelet’s durability and appearance. Here are some tips for choosing the best paracord:
- Check the Strength: Ensure the paracord is rated for at least 550 pounds. This type is often referred to as ‘550 cord’.
- Cord Flexibility: Opt for a cord that is flexible enough to knot easily but firm enough to hold its shape.
- Color and Texture: Select from various colors and patterns that best suit your style or the specific design you wish to accomplish.
Choosing the Best Buckles and Accessories
The choice of buckle and other accessories can greatly enhance the look and functionality of your bracelet. Consider the following:
- Buckle Type: Side release buckles are most common and user-friendly.
- Size Matters: The buckle size should fit the width of your paracord for a seamless look.
- Additional Features: Some buckles come with built-in whistles or fire starters, which can be useful for survival bracelets.
By carefully selecting your materials and tools, you’re setting a solid foundation for a beautifully crafted paracord bracelet.
Step-by-Step Guide to Crafting a Shark Jawbone Bracelet
Crafting a Shark Jawbone bracelet with paracord is both rewarding and enjoyable. This guide will walk you through each stage of the process, ensuring you end up with a bracelet you’re proud to wear or give as a gift.
Preparing the Paracord and Buckles
Before starting your bracelet, proper preparation of materials is essential. Here’s how you can prepare:
- Measure and Cut the Paracord: Depending on your wrist size, measure and cut about 10 feet of paracord. This allows ample length for knotting and adjustments.
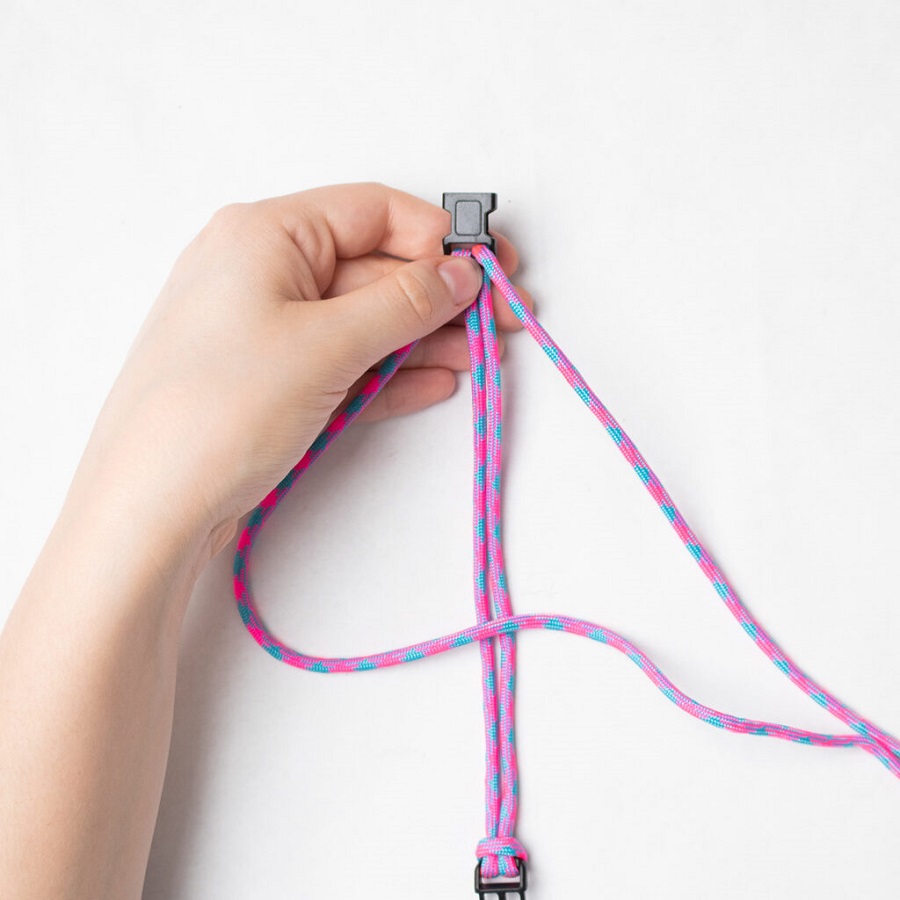
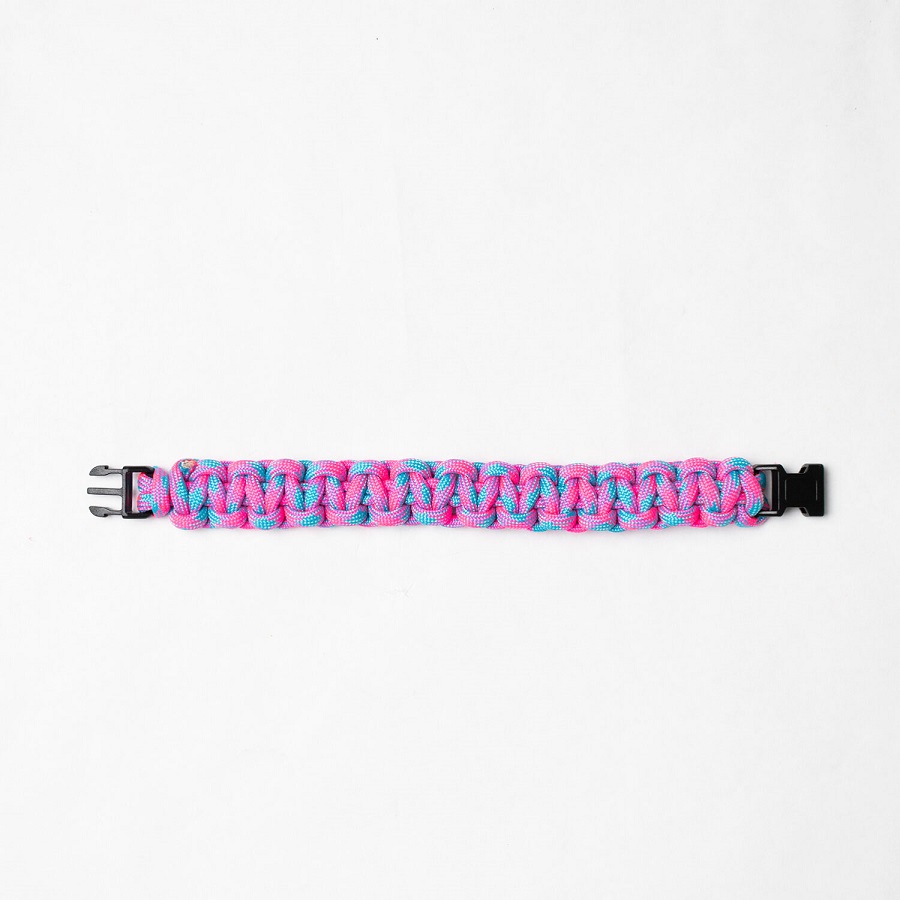
- Choose and Attach the Buckle: Select a side release buckle for ease of use. Attach one end of the paracord to one part of the buckle, usually by threading it through the slot and securing with a basic knot.
Mastering the Shark Jawbone Weave
The Shark Jawbone weave is distinctive and not very complicated once you understand the pattern. Follow these steps:
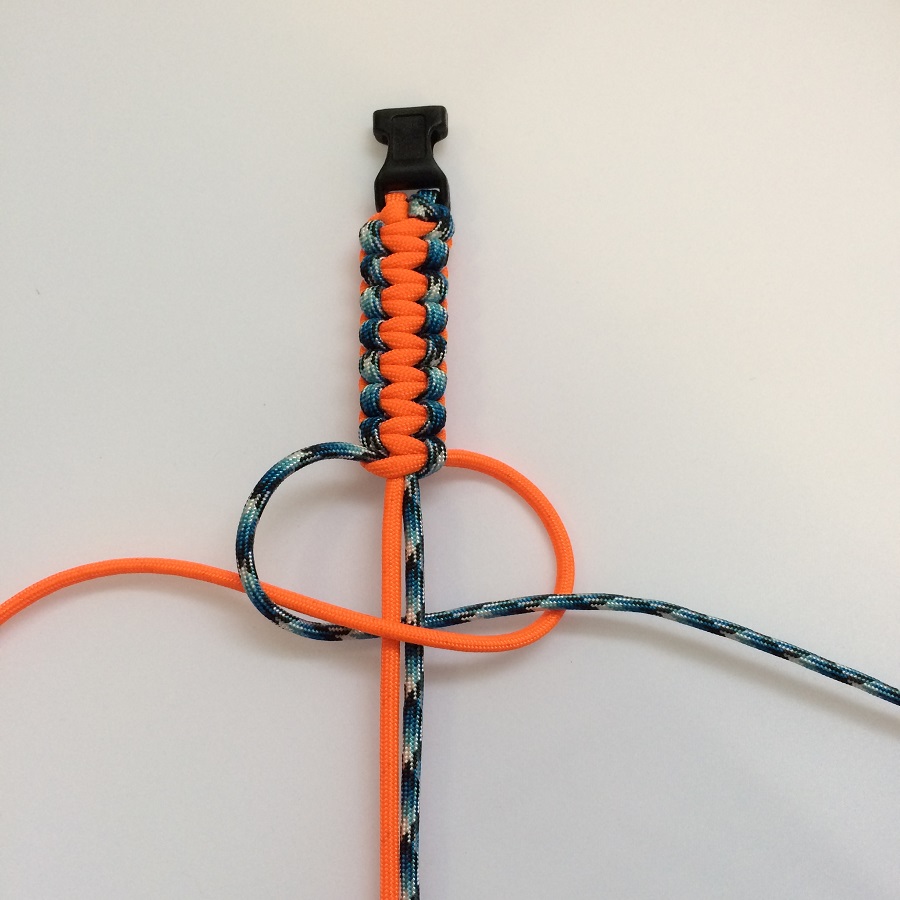
- Starting the Weave: With the paracord attached to the buckle, start your weave by creating loops and knots that resemble shark teeth. This part requires focus to maintain evenness in the teeth shapes.
- Continuing the Pattern: Consistently repeat the pattern until you reach the desired length of the bracelet.
Finishing Touches for Durability and Aesthetics
To ensure your bracelet is both durable and visually appealing, add these finishing touches:
- Tighten the Weave: Go over the bracelet one more time, pulling at each knot to tighten the weave, which ensures long-lasting wear.
- Trim and Melt the Ends: Cut any excess paracord from the ends. Carefully use a lighter to melt the tips, pressing them against the bracelet to prevent fraying.
By following these detailed steps, you will create a durable and stylish Shark Jawbone paracord bracelet.
Variations of the Shark Jawbone Bracelet
Once you have mastered the technique of crafting the Shark Jawbone bracelet, you can easily customize it. Personal touches make your bracelet unique and special. Below, we explore ways to make your creation one-of-a-kind.
Adding Custom Colors and Textures
Playing with colors and textures can transform the look of your paracord bracelet. Here’s how:
- Mix and Match Colors: Choose two or more paracord colors to create a vibrant design. Think about color combinations that reflect your personality or match your favorite outfits.
- Texture Variation: Different weaving techniques can alter the texture of your bracelet. Try the cobra weave or the fishtail for a change in pattern and feel.
- Experiment with Finishes: Matte, reflective, or glow-in-the-dark paracord offers unique finishes. Pick one that stands out or serves a purpose, like the glow-in-the-dark for camping trips.
Selecting the right colors and experimenting with textures will add flair to your Shark Jawbone bracelet, making it truly your own.
Incorporating Beads and Other Decorative Items
To add extra flair to your bracelet, consider these embellishments:
- Beads: Slide beads onto the paracord before starting your weave. Place them between knots or at the ends for a decorative touch.
- Charms: Attach metal charms or pendants that represent something significant to you. They add personality and can serve as conversation starters.
- Other Items: Think outside the box. Small buttons, rings, or even paracord in a different size can be intertwined into your design.
By incorporating beads, charms, and other items, you turn a simple paracord bracelet into a statement piece that truly reflects your style.
Maintenance and Care of Your Paracord Bracelet
Proper maintenance and care prolong the life of your paracord bracelet and keep it looking great. Here’s how to maintain its condition effectively.
Cleaning and Storage Guidelines
To ensure that your paracord bracelet remains in top shape, follow these simple cleaning and storage tips:
- Cleaning: Wash your paracord bracelet gently with mild soap and lukewarm water. Avoid abrasive cleaners that can damage the fibers. Rinse it thoroughly and air dry completely before storing.
- Avoid Chemical Exposure: Keep your bracelet away from harsh chemicals. Exposure can weaken the fibers and fade the colors.
- Proper Storage: Store your paracord bracelet in a cool, dry place when not in use. Avoid damp areas which can lead to mildew.
- Regular Inspection: Regularly check your bracelet for signs of wear or fraying. Early detection can help in doing minor repairs before they turn into major ones. Repair any loose threads by melting them with a lighter to prevent further unraveling.
By implementing these guidelines, you can keep your paracord bracelet in pristine condition for years to come.
 Expanding Your Crafting Skills
Once you’ve mastered the Shark Jawbone bracelet, there’s a world of paracord projects to explore. Whether you’re after practical items or unique fashion pieces, paracord offers endless possibilities. Below, we discuss some other crafts you can dive into.
Exploring Other Paracord Craft Projects
With the basics down, you can tackle other exciting projects. Here are a few ideas:
- Dragon’s Tongue Bracelet: It’s a balance between thick and thin weaves, great for showcasing team colors.
- EMS Bracelet: Add a third color to a Cobra weave for meaning, like the Thin Blue Line.
- Trilobite Bracelet: Perfect for those wanting a chunkier accessory with options for multiple colors.
- Rainbow Bracelet: Spice up the classic cobra weave with colorful stripes for impact.
- Tri Cobra Braid Bracelet: Combine three basic Cobra braids for a standout piece.
Incorporating these fresh designs will not only improve your skillset but also expand your paracord collection.
Tips for Advanced Paracord Techniques
Elevate your crafting with these advanced tips:
- Weave Tightness: Adjusting the tightness can change the bracelet’s look and feel.
- Melting Techniques: Use different methods like a soldering iron for a professional finish.
- Core Variations: Experiment with two, four, or six strand cores for different thicknesses.
- Layering: Try a second layer of knots, like the king cobra stitch, for a chunkier design.
By exploring these advanced techniques, you’ll broaden your horizons in the paracord crafting community. Keep practicing, and soon, you’ll be ready to create amazing items with just a few feet of paracord and a dash of creativity.
Conclusion
As we wrap up, let’s recap the key steps in making a Shark Jawbone paracord bracelet. First, collect the right paracord and buckle, measuring for your wrist size. Next, cut about 10 feet of paracord, attach one end to the buckle, and prepare for the distinctive Shark Jawbone weave. Work carefully to maintain the pattern’s consistency. Once the desired length is reached, secure the bracelet with finishing knots, trim excess cord, and melt the ends for durability.
Recap of the Crafting Process
To create your bracelet, you followed these simple steps: prepare the paracord, master the weave, and add final touches. Remember, the process requires patience and attention to detail, ensuring each knot is tight and the pattern is uniform. The result is a durable, stylish Shark Jawbone bracelet to wear proudly or give as a gift.
Encouragement for Further Exploration in Paracord Crafting
Now that you’ve learned how to make a paracord bracelet, why stop there? Try new designs, play with colors, add beads, or learn advanced techniques. Each project improves your skills, expands your creativity, and adds to your handmade collection. So keep crafting, experimenting, and most importantly, enjoy every twist and knot of your paracord journey.